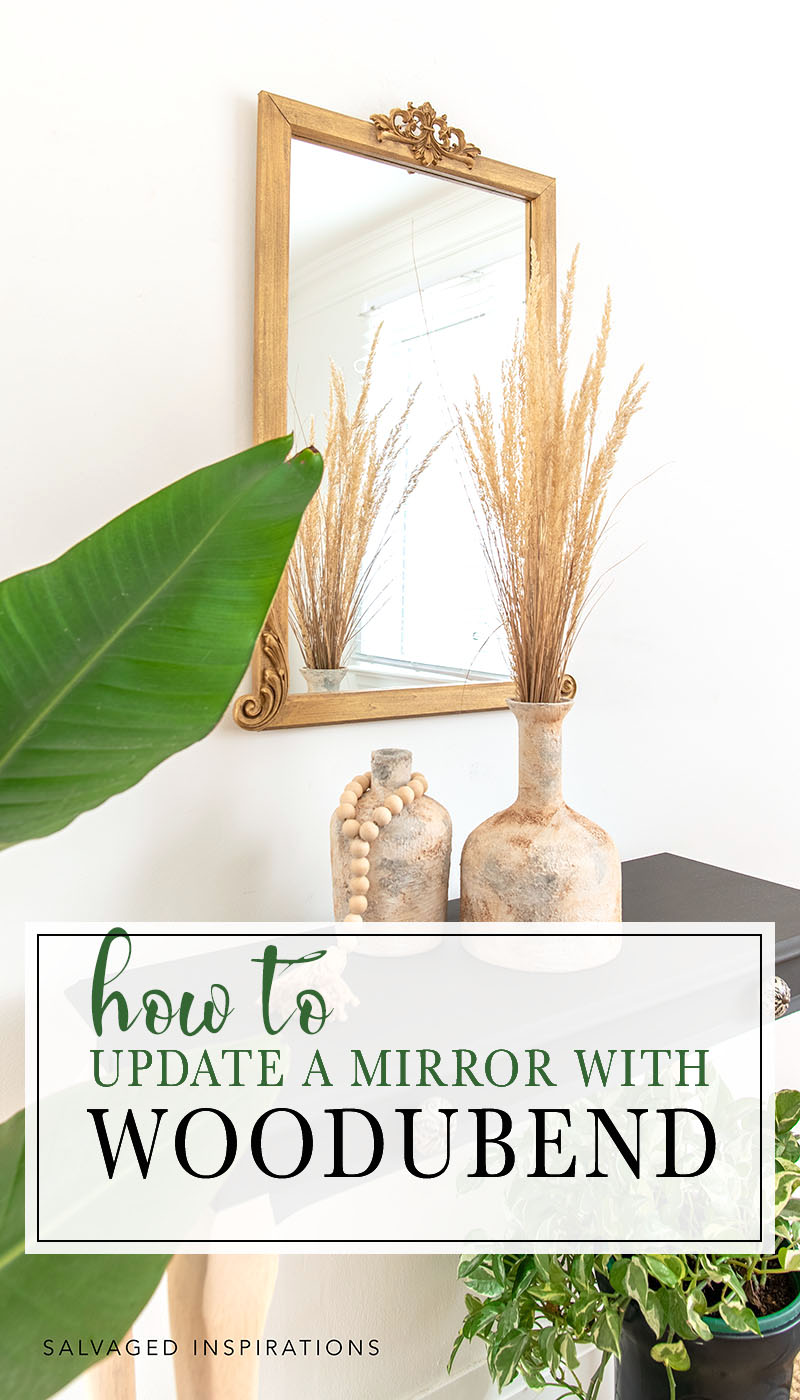
HOW TO SALVAGE A MIRROR USING EASY-TO-USE WOODUBEND MOULDINGS| TRASH TO TREASURE MIRROR MAKEOVER
 Hi creative friends! Do you love mirror makeovers as much as I do? I’m excited to share this salvaged mirror using easy-to-use Woodubend Mouldings. I see so many gorgeous mirrors that I would LOVE to buy but they can be expensive. You can easily spend hundreds of dollars. I’ve found that I can often make a dupe or a replica for a fraction of the cost and I’ve included some examples in the “Related Posts” below! Today’s DIY is also a perfect example. This makeover is an amazing before and after as this mirror was trash bound and looking pretty rough.
Psst…it’s also the second Tuesday of the month — Trash To Treasure Day where I’m sharing my blogging besties’ T2T makeovers below so I hope you check them out as well!
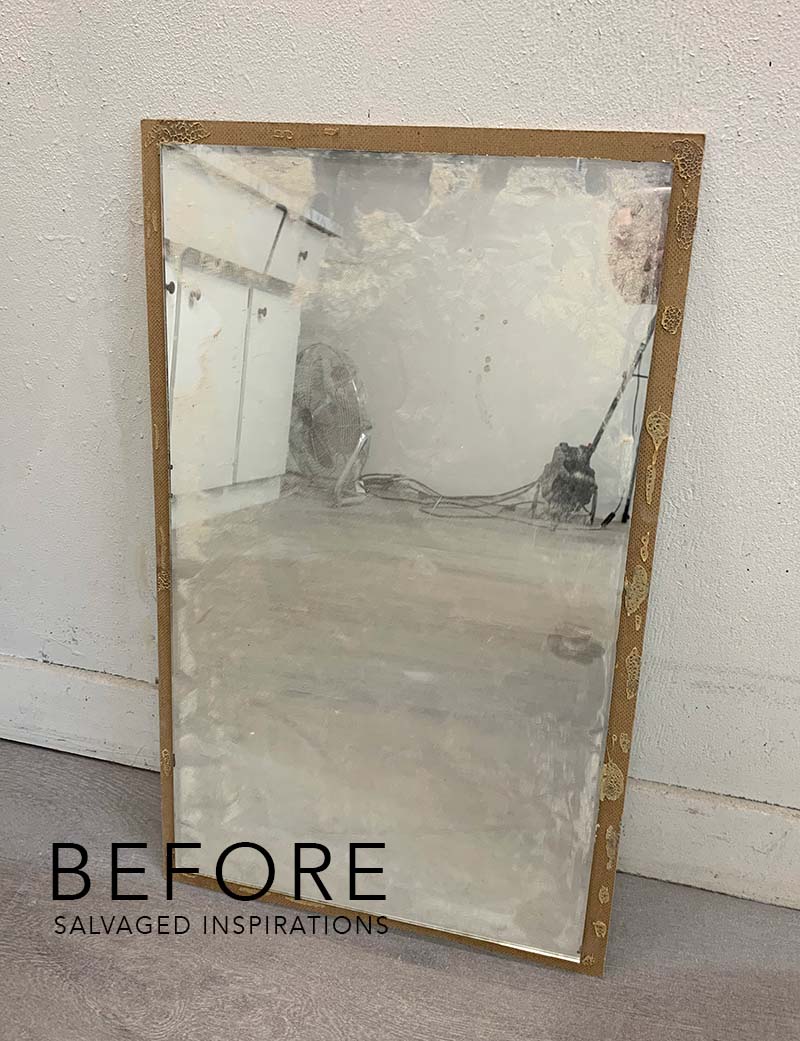
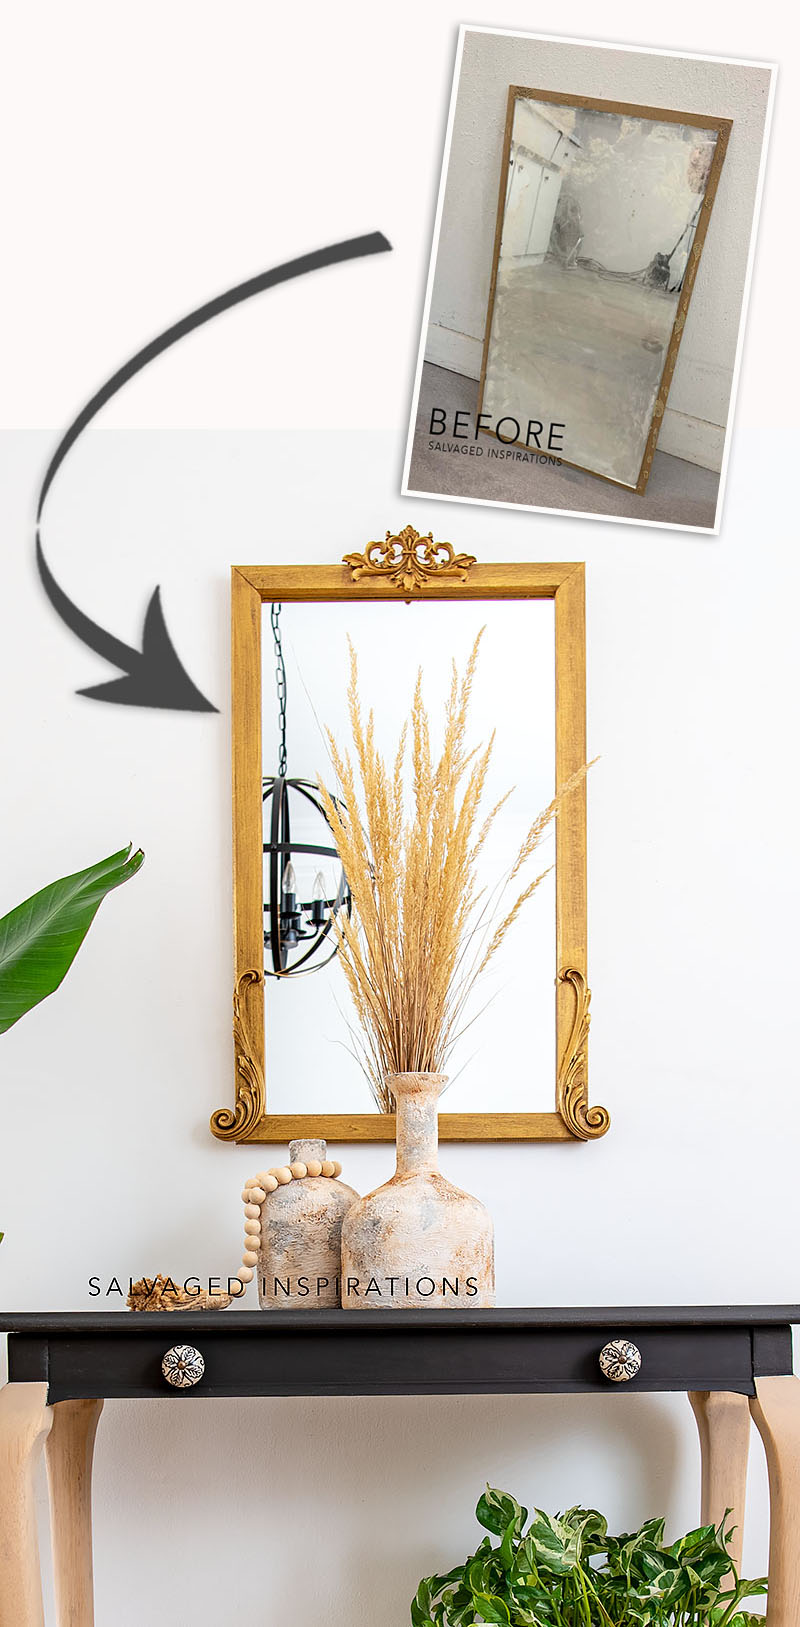
Here’s the trashed mirror I started with. It’s been in my inventory for so long that I can’t remember where or when I picked it up but I know it was curbside.
THIS POST IS SPONSORED AND/OR CONTAINS AFFILIATE LINKS TO PRODUCTS I LOVE AND USE. YOU CAN SEE MY FULL DISCLOSURE HERE.
SOURCE LIST
Mirror – SALVAGED
Woodworking Square
Shop Towels| Craft Knife
Pencil | Glue | Drill
No More Nails
Paint Brush
WoodUbend Mouldings
Metallic Gold Paint
Brown Wax
TOOL LIST
Paint Scraper Multi-Tool
Heat Gun
Bosch Router
Ryobi Miter Saw
Woodworking Square
Measuring Tape
WOODUBEND MIRROR MAKEOVER
Here’s how I turned this trash into a treasure… 😉
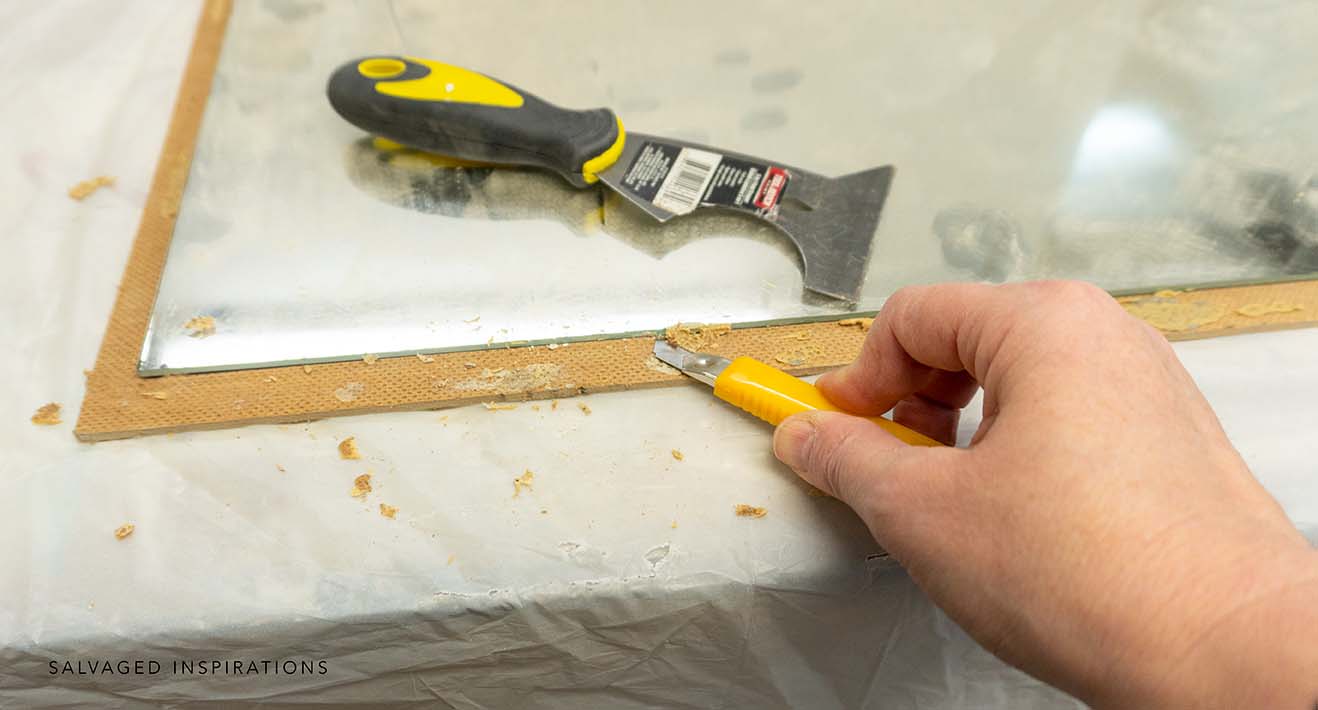
REMOVING GLUE
This mirror was REALLY stuck onto this backing. So rather than take the chance of breaking the mirror while trying to remove it, I decided to work with the backing that was attached. To clean it up, I took a painter scraper and craft knife and removed all the old stuck-on glue.
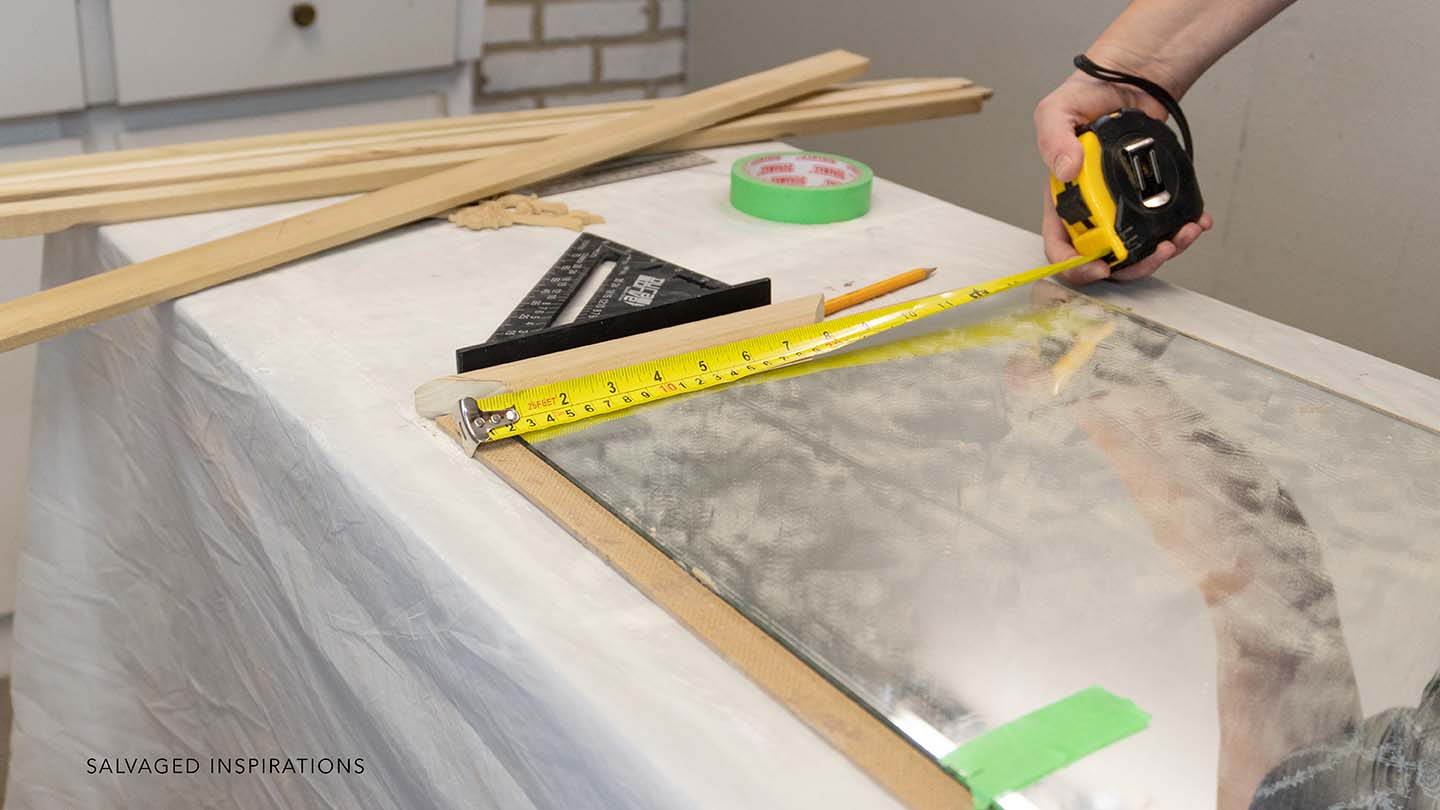
SALVAGED SPINDLE FRAME
To create a new frame for this mirror, I used salvaged stair spindles. I modified the spindles by using one of my favorite tools – this super light and compact Bosch Router.
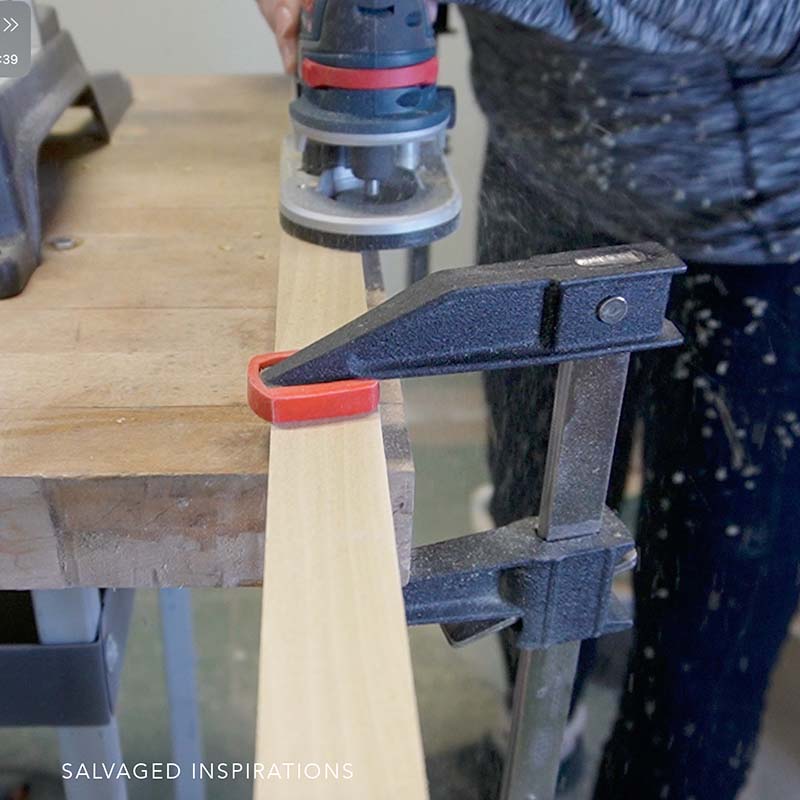
I routed out the back of all four spindles to create a ‘ledge’ for the mirror to nestle into.
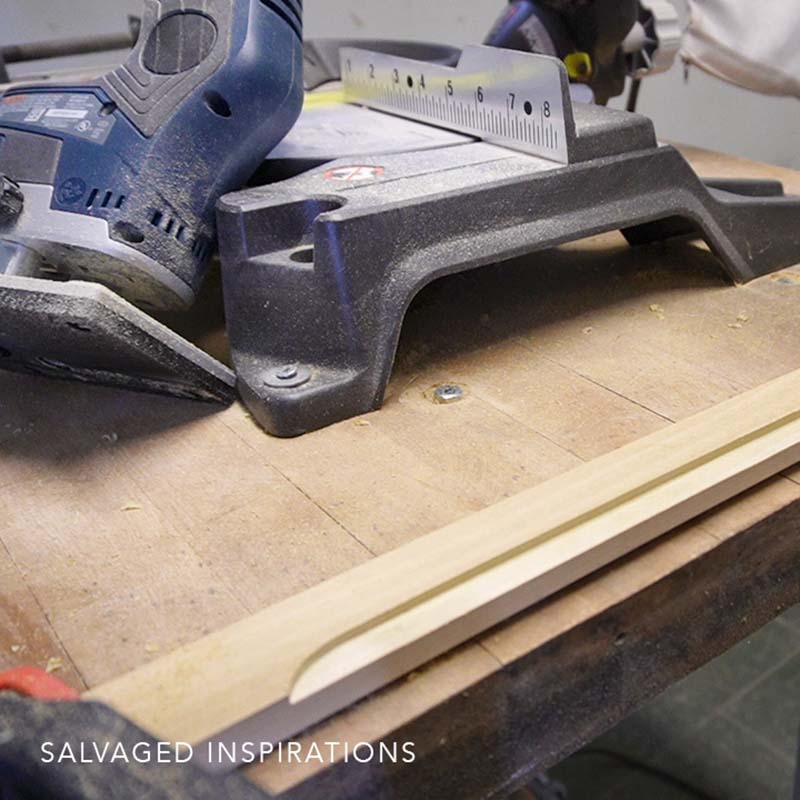
CUT FRAME
Making a frame from the spindles took me a long time. I don’t have much experience cutting miter corners so I won’t go into detail explaining “how to” until I get more comfortable doing them. I measured and re-measured. Then I fooled around with my miter saw and a few scrap pieces of wood before I figured it out.
What should have been a twenty-minute job took me over two hours. But I have to admit, even though my mitered corners didn’t turn out absolutely perfect, I’m really proud of myself that I tried and that I’m learning. I’ve shared more on the Youtube video below.

GLUE
To attach the frame to the mirror, I used this No More Nails. Then I attached clamps and a few pin nails on the corners. No More Nails is phenomenal because once it bonds, it’s not budging. It’s seriously as if it’s been nailed. My brother-in-law accidentally ripped off an entire 4×4 hunk of drywall along with a shelf that had been glued with this stuff. So if you decide to use this glue, be sure to only use it on projects that you won’t need to take apart in the future.
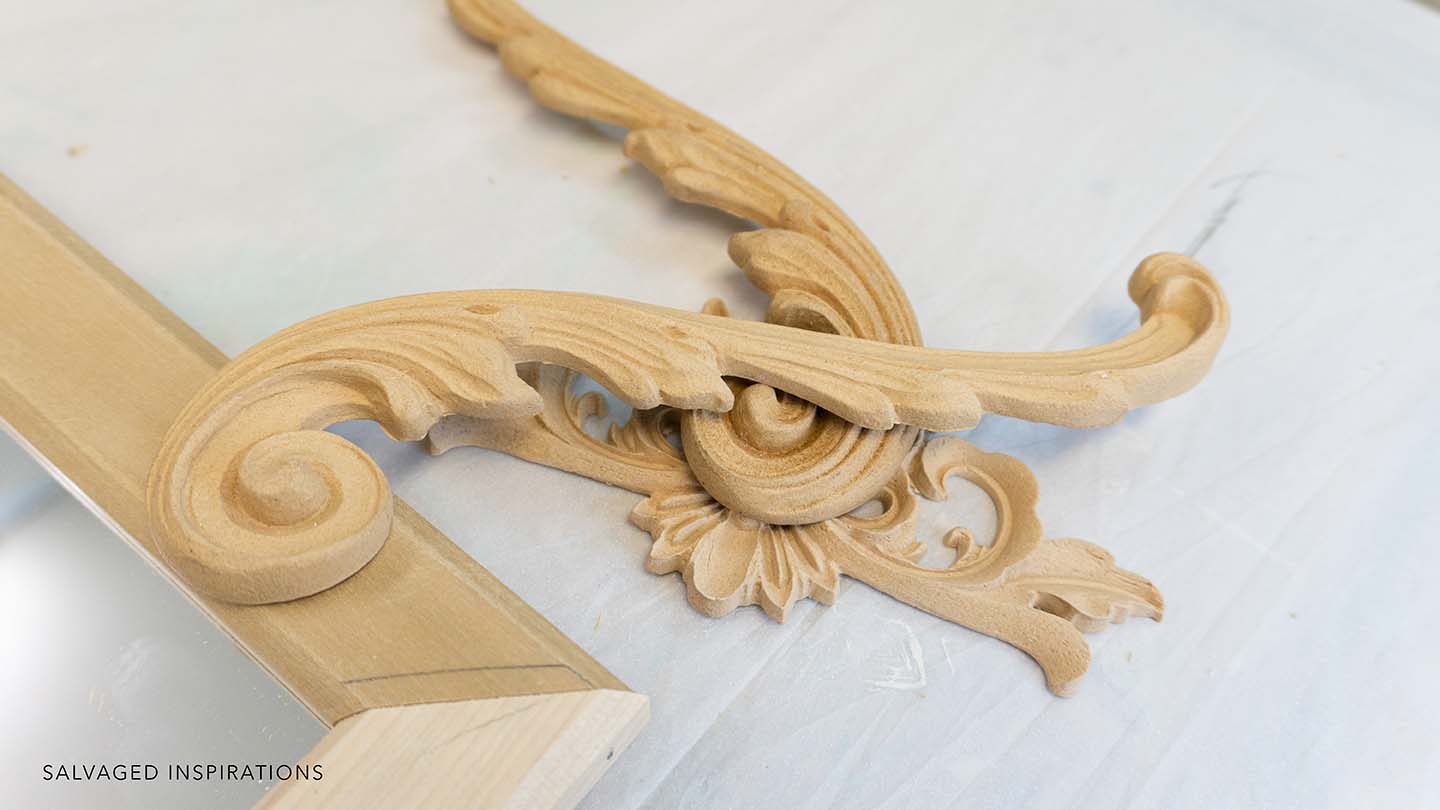
WOODUBEND
Now for the fun part – choosing Woodubend Mouldings to dress up the frame!
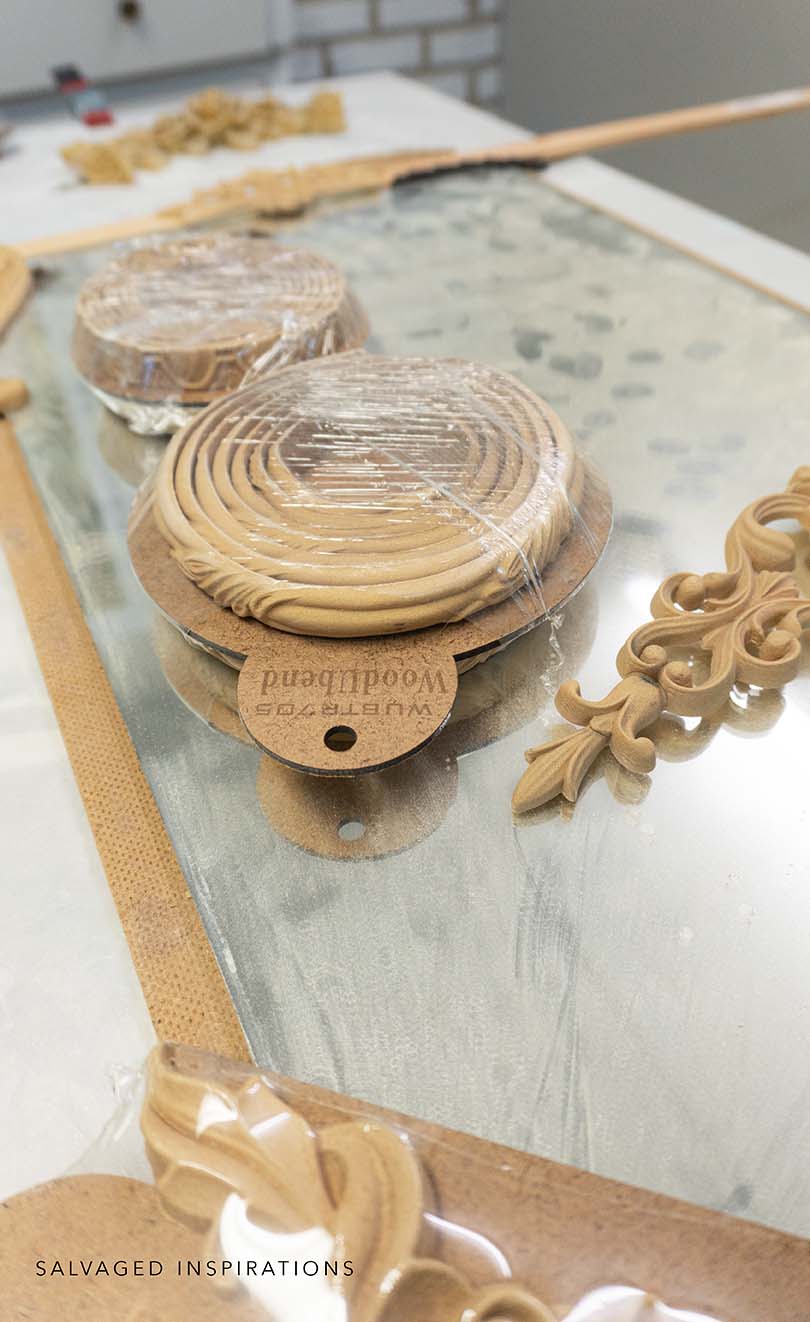
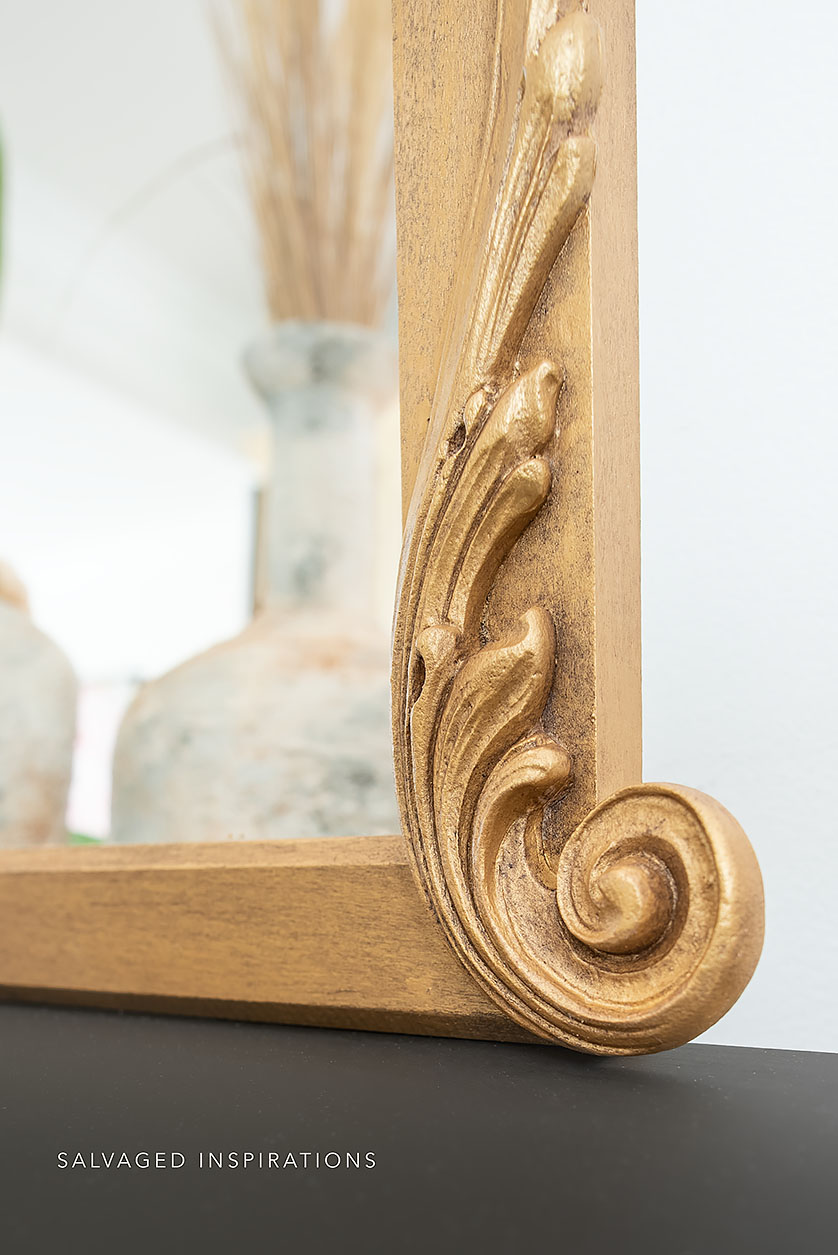
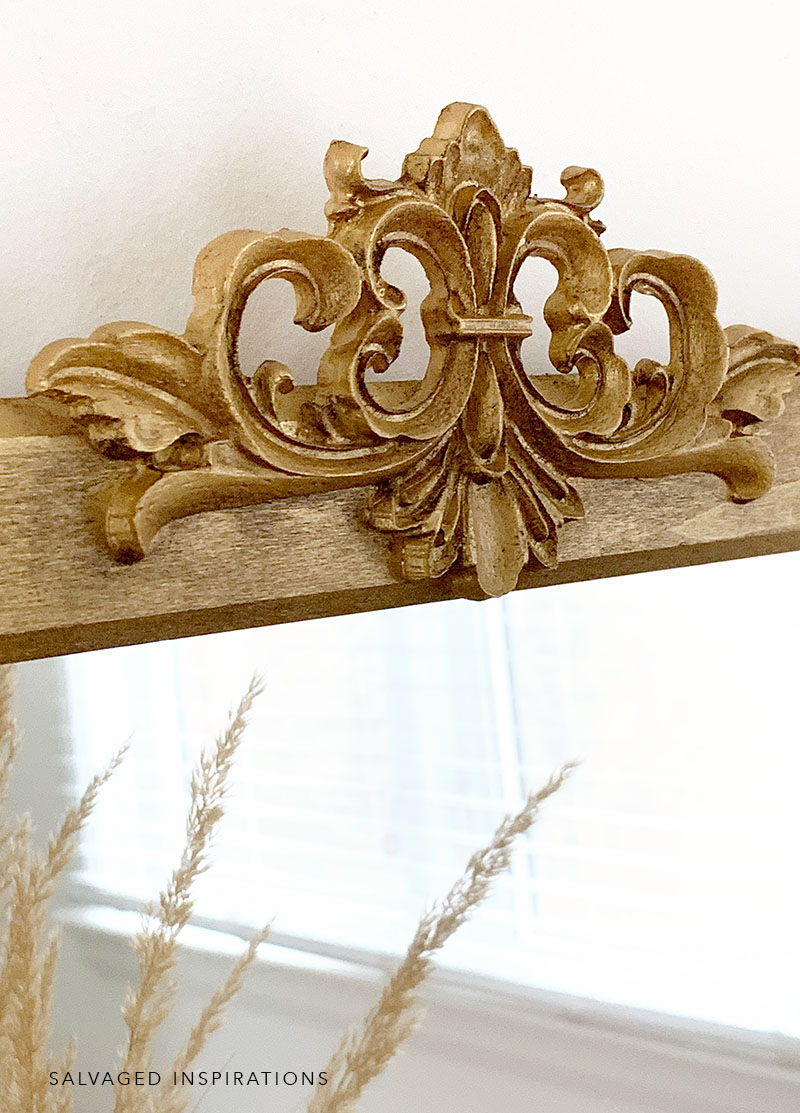
I went through my stash and decided to keep it simple. I picked these three mouldings below. WUB2091 Pediment which comes in a pack of two. And WUB6006 Scrolls also come in a pack of two.
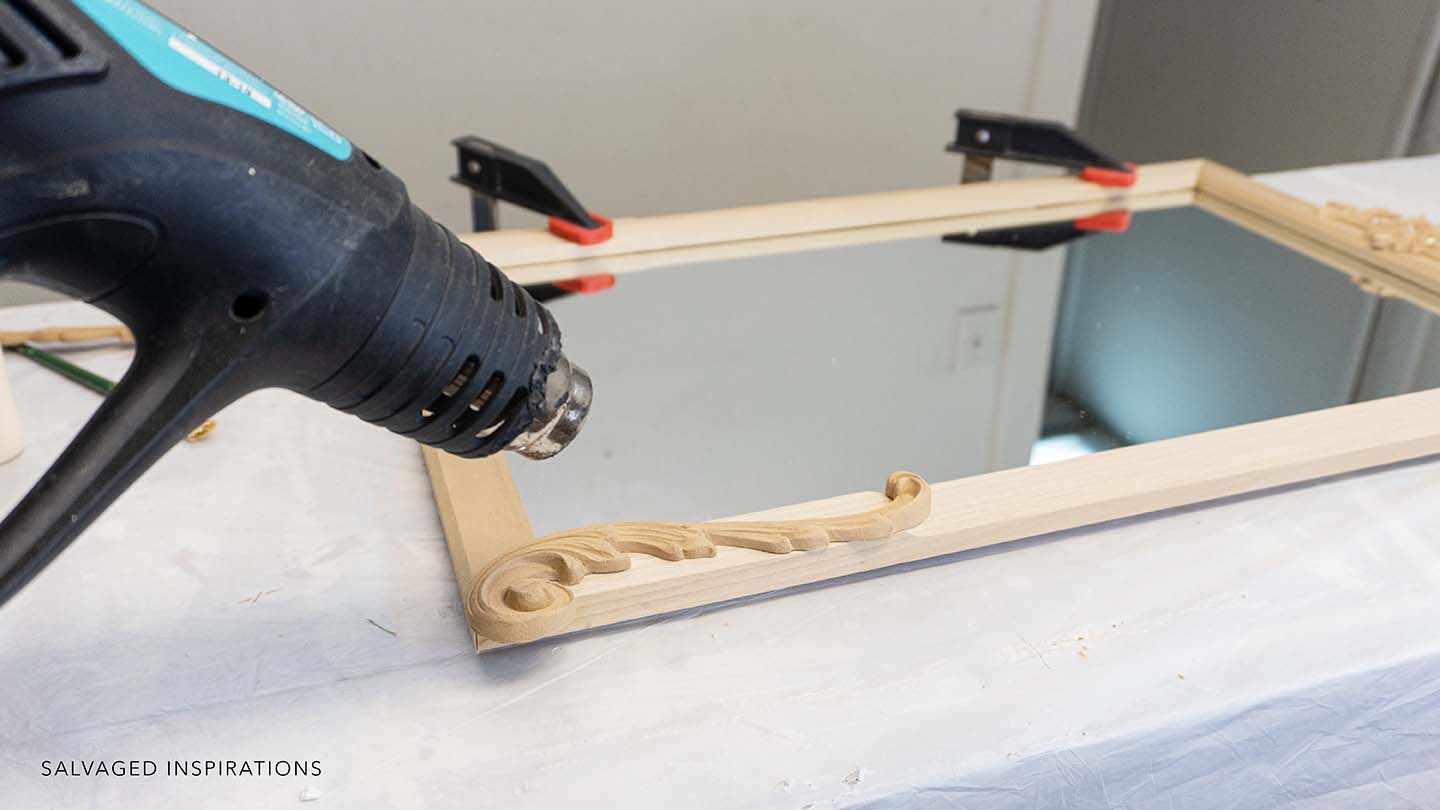
To attach the Woodubend, I use wood glue and my heat gun. This Woodubend is bendable once heated up. You can also easily cut it to any size or shape, sand it, stain it, or paint it. I have a full tutorial on How To Apply WoodUbend here.
PAINTING
Once everything had dried, it was time to paint. I applied one coat of Gold Metallic Paint (no priming) and was really happy with the coverage. A little bit of the wood grain was showing through and looked amazing.

To darken it up and antique it, I applied a little Brown Wax with a chip brush and then wiped off the excess. These waxes come in 4oz sizes now… perfect for small projects!

D RINGS FOR HANGING
To create a hanging wire, I used D Rings Hangers rated for up to 35 pounds and a heavy gauge wire. I had to drill the D Ring Hangers in very close to the top as I only had about an inch of frame for the screws to grab into.

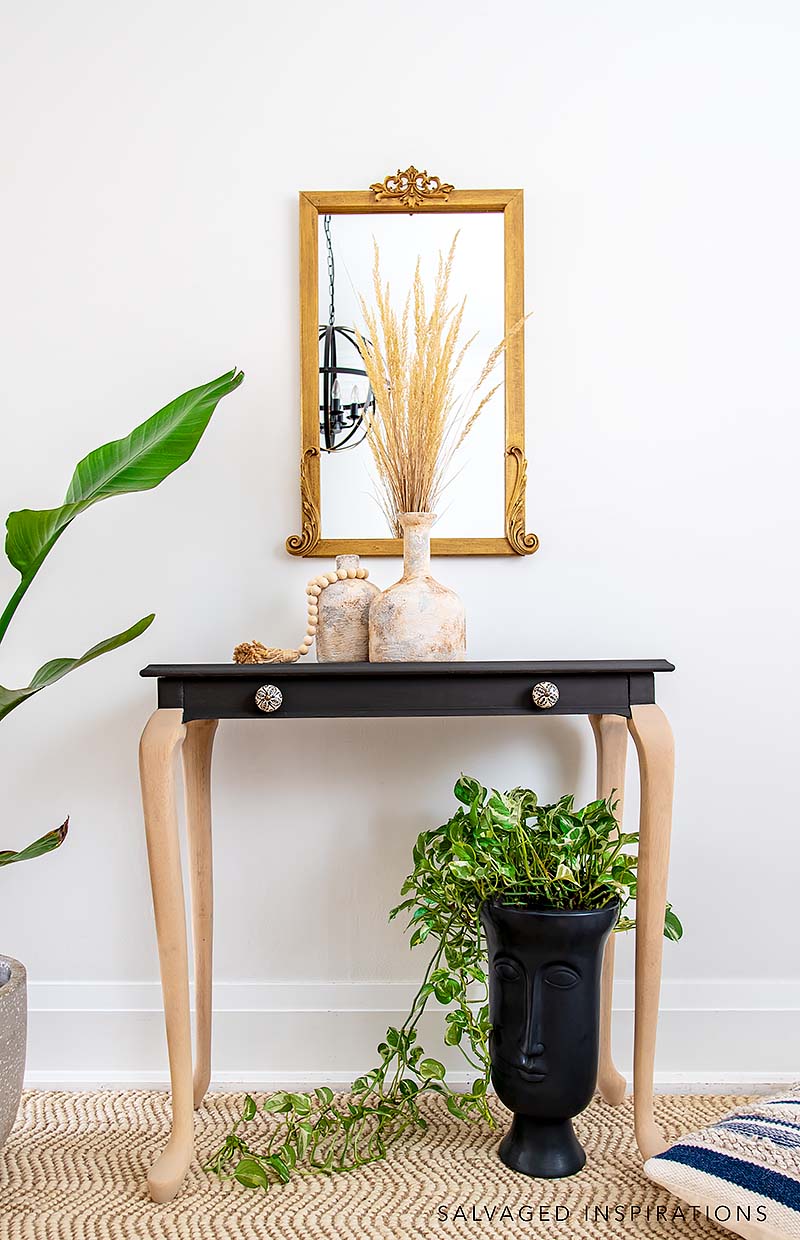
And here’s the finished look!

I LOVE the way the brown wax antiqued the metallic gold paint. Even close up, it looks authentic!
I’m really happy with how it all came together. It’s going to get a lot of use staging and styling my painted furniture.
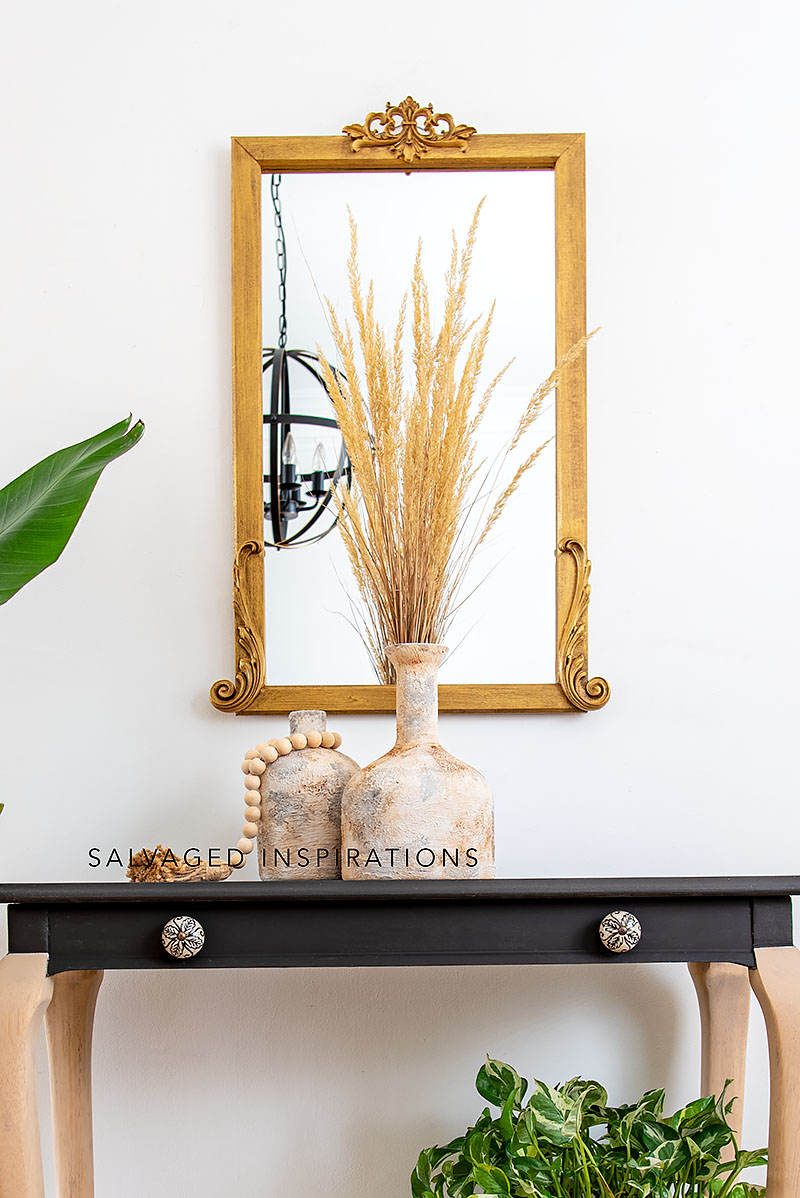
And I thought you might like to see what it looks like styled with some furniture. I used this black little table with natural legs.
YOUTUBE TUTORIAL
Here’s a step-by-step tutorial on Youtube. If you have any problems viewing it below, feel free to watch it on my Youtube Channel HERE. Our #siyoutubefamily is already a community of 34.5K so don’t forget to subscribe if you haven’t done so already! So exciting, thank YOU! 🙂
AND NOW FOR SOME TRASH TO TREASURE FUN!
You’re going to LOVE what my creative team of Trash To Treasure ladies do and (FYI) Jen will be rejoining us next month. 🙂 Below are the BEFORE photos. Visit the links underneath to see the amazing AFTERS and learn how they did it! I’m heading over to take a peek as well! x
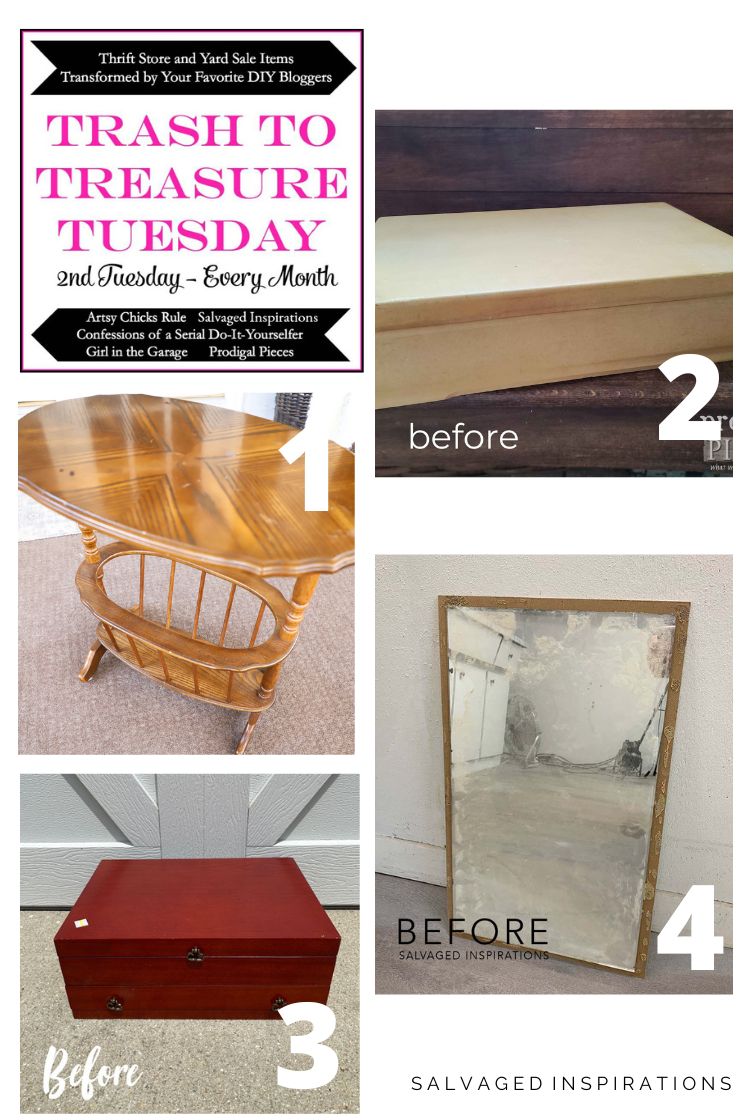
1. ARTSY CHICKS RULE
2. PRODIGAL PIECES
3. CONFESSIONS OF A SERIAL DIYER
4. SALVAGED INSPIRATIONS (HAPPY YOU’RE HERE!)
Here’s another look at this before and after. I hope this mirror makeover has inspired you and given you some new ideas for your projects.
And before you go, guess what?! Remember last week’s Drop Cloth Dresser Makeover? It SOLD within 2 hours of listing and it went to the PERFECT home! Thank you, Karey!
LET ME KNOW WHAT YOU THINK OF THIS WOODUBEND MIRROR PROJECT. FEEL FREE TO ASK ANY QUESTIONS YOU MAY HAVE… I ALWAYS LOVE HEARING FROM YOU. IT MAKES MY DAY! 🙂
Happy furniture painting friends!
Denise x
RELATED POSTS::
DIY WOODUBEND MIRROR
EASY DIY ROPE MIRROR
MIRROR TO CHALKBOARD
HOW TO PAINT GLASS VASES
HOW TO DISTRESS A MIRROR
PIN AND SHARE!


Beautiful outcome ! Must try that woodubend..but I must ask how on earth you cleaned that mirror?
You’d love the Woodubend Denise! Cleaned it up with Windex. 🙂
This mirror is gorgeous! I wabt to try some of this Woodubend on a few of my mirrors!
Thanks Nicki! And you’d love it. A little goes a long way! 🙂
Super amazing, you’re a genius! Stair spindles! Just wow.
Aw, thanks my friend! XOXO
It truly is trash to treasure! I can’t believe the transformation. It’s really beautiful. Great work!
It was pretty trashy looking, wasn’t it? lol Thanks so much Lizzy. So glad you like it!
That is a fantastic upcycle, restyle or whatever best describes it! It’s absolutely gorgeous now! Great vision and execution!
Thank you Sue! 🙂
Hi Denise. I love Trash to Treasure Tuesday:). Your mirror looks amazing. It would be very expensive in any store. Excellent vision and execution!
Thanks Monique! I’m really happy with it. And I’m super happy you’re enjoying our Trash To Treasure Tuesdays!!!
I knew this is going to be gorgeous before I even clicked over! Love, love, love this one! XOXO
Thanks my friend! XOXO
Wow! Every time you use Woodubend, I’ve been eager to try it out. This is gorgeous, Denise!
You’d do AMAZING things with it Larissa! And it’s a ton of fun!