HOW TO USE REDESIGN WITH PRIMA SILK SCREEN STENCILS TO FANCY-UP YOUR FURNITURE… OR ANY PROJECT!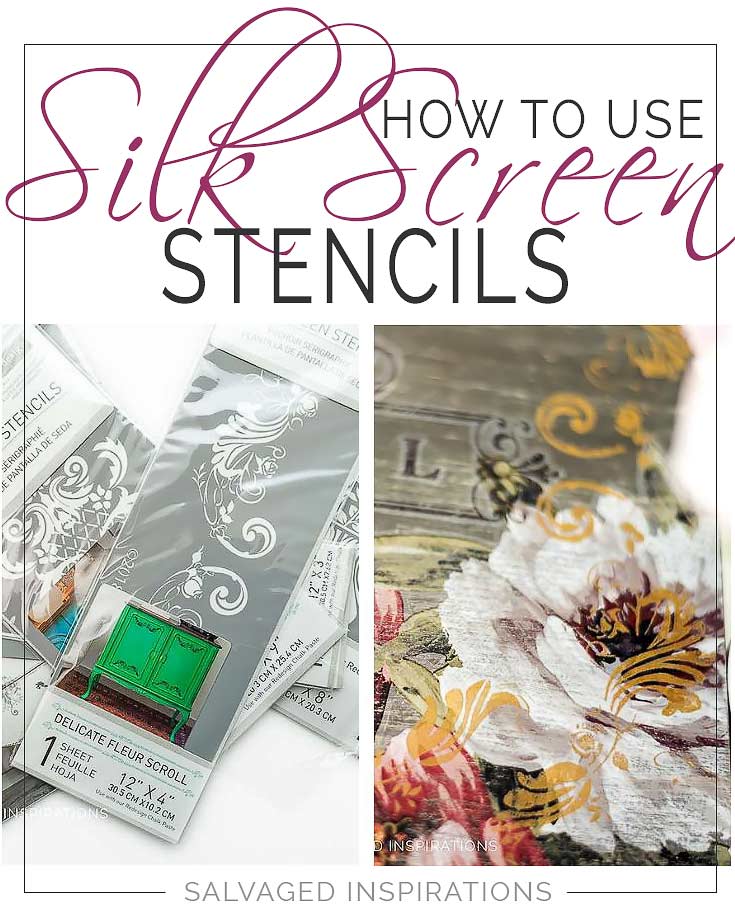
Hi creative friends! What do YOU do when a project fails and doesn’t turn out anything as you imagined? It happens to all of us at one point or another and today I’m sharing MY process for overcoming a CREATIVE FAILURE… well, we don’t call it failing around here… we call it CREATIVE LEARNING.
I have the perfect build-your-confidence project for you today… and I know this because trying this new technique was a confidence builder for me!
ReDesign with Prima sent me two adorable wood luggage boxes and asked me to create something spectacular that I can share and teach at the 2019 Prima DB Workshop. I wanted to incorporate some AMAZING furniture painting techniques and products – including a silk screen stencil design, to demonstrate how easy it is to fancy-up your furniture and projects.
Mission accomplished… but it didn’t happen on the first try!
To give you a step by step visual, I’ve Included is a short video on How To Use Silk Screen Stencils which includes MY creative process for a mishap and creative learning experience! 🤗
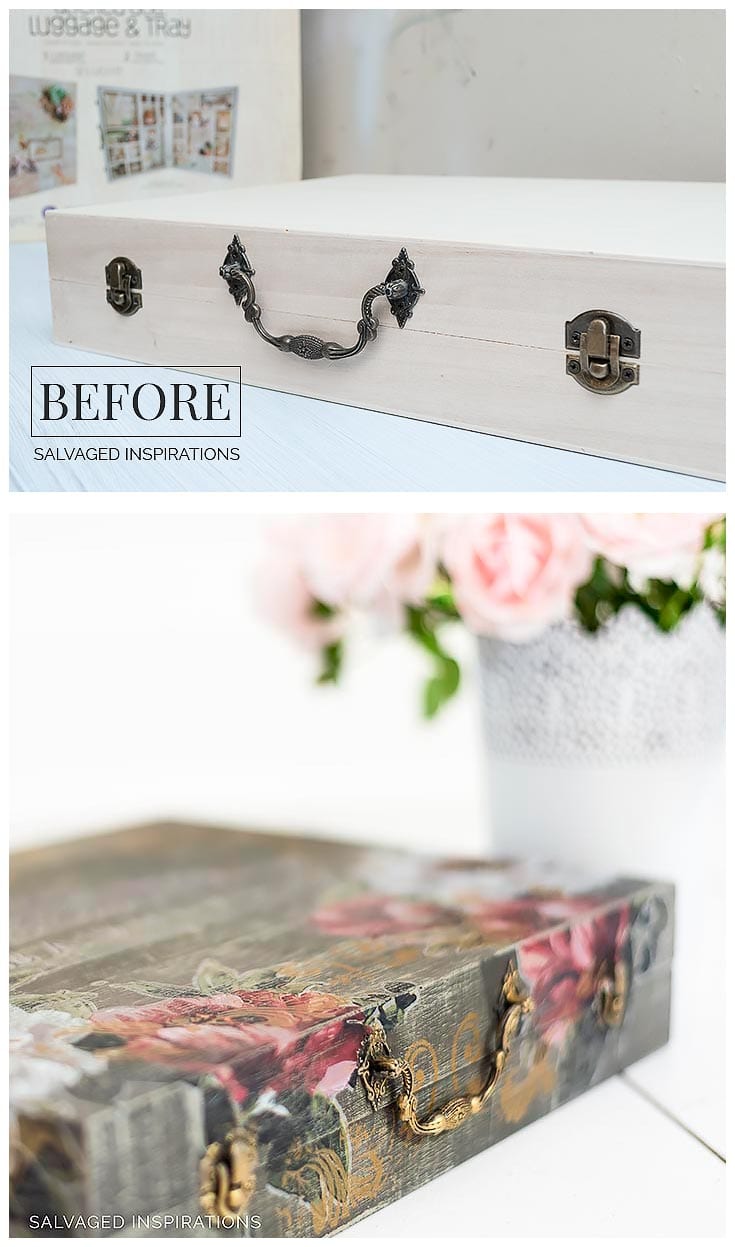
But first, here’s the before and “successful” after… what do you think?
THIS POST IS SPONSORED/CONTAINS AFFILIATE LINKS TO PRODUCTS I USE. YOU CAN SEE MY FULL DISCLOSURE HERE.
SOURCE LIST::
HOW TO USE REDESIGN WITH PRIMA SILK SCREEN STENCILS::
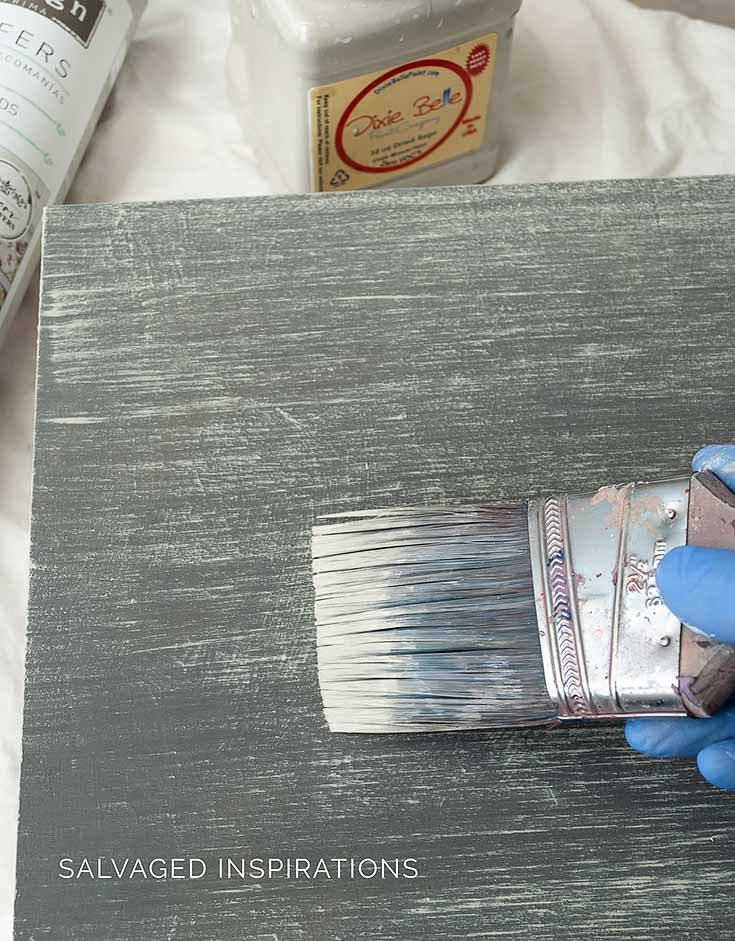
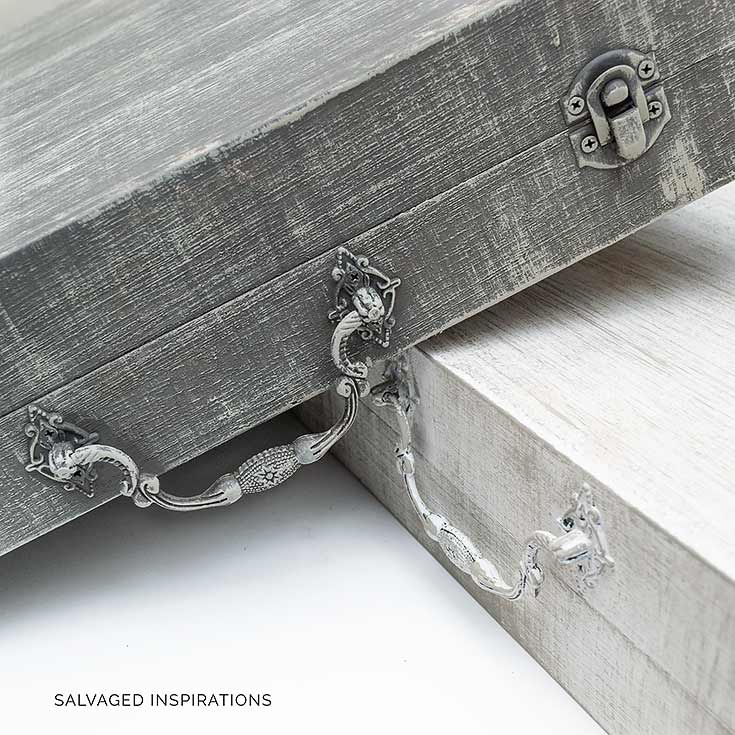
Before I share the video on what effects you can create with silkscreen stencils, this is how the box started out.
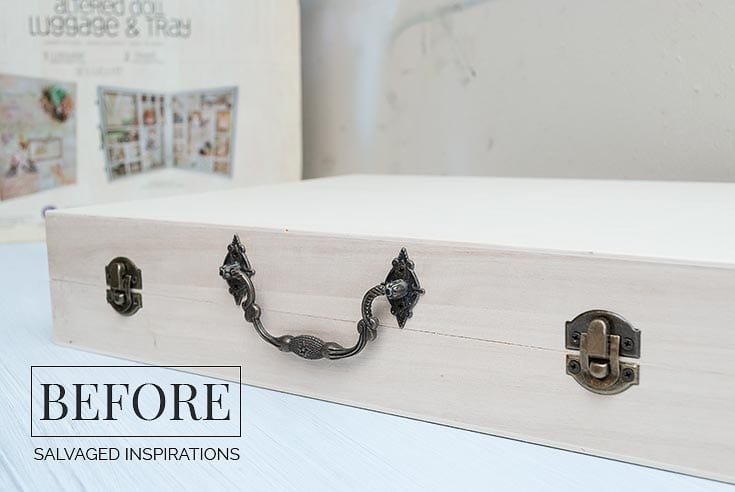
I used a textured dry brush technique on both. The white one was texture painted in Fluff and then dry brushed with Dried Sage. The darker box was textured in this Gravel Road, then dry brushed in this Dried Sage.
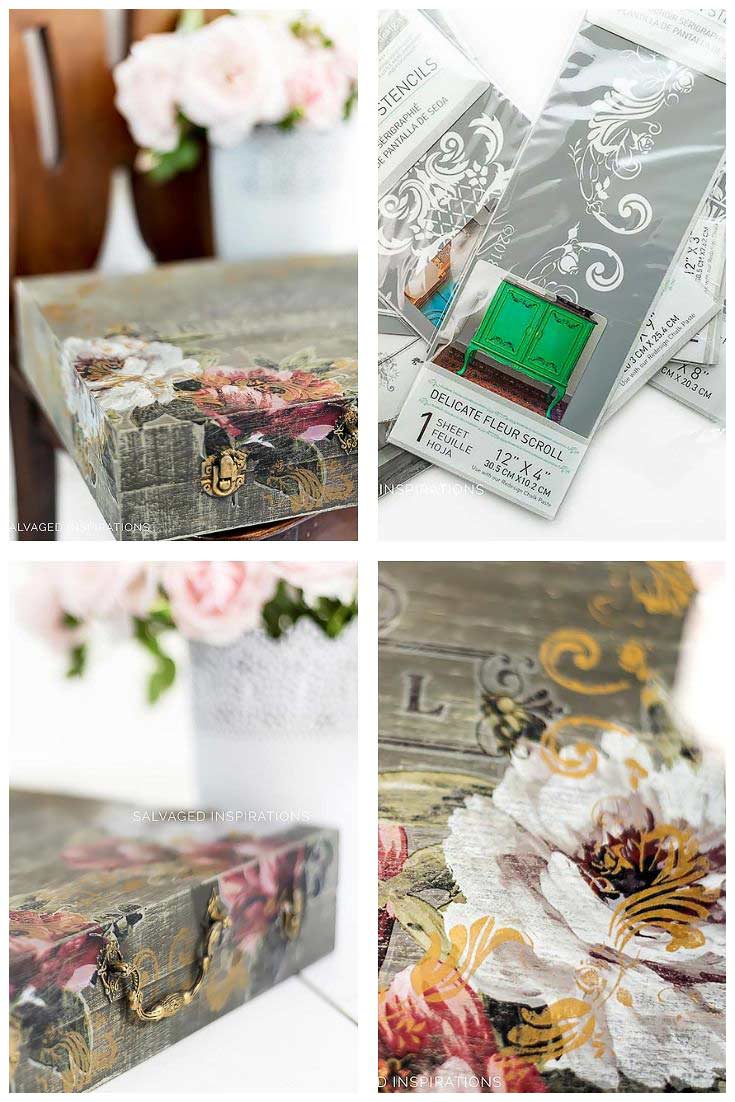
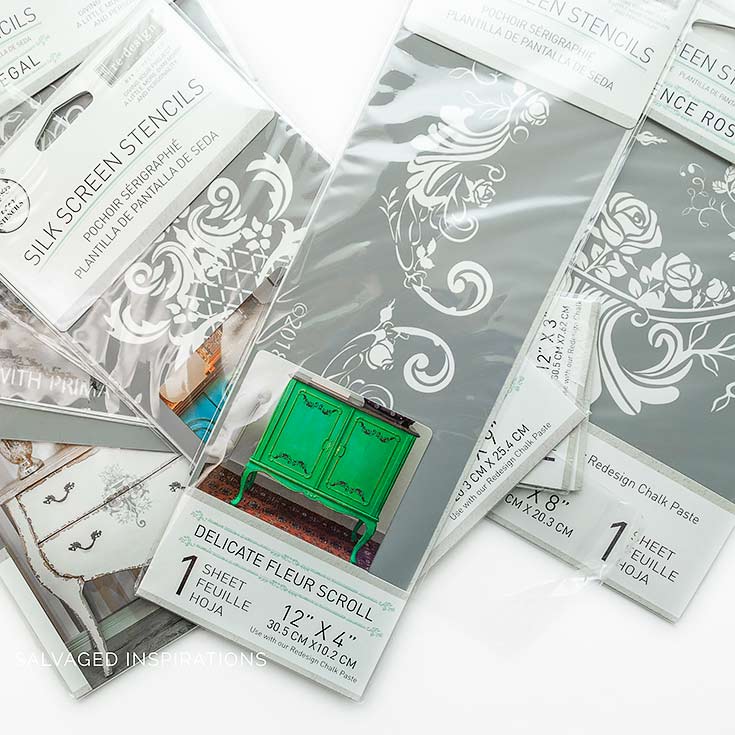
Then I busted out my Silk Screen Stencil Stash and started experimenting.
Here’s the Youtube Video On How To Use Silk Screen Stencils
If you have any issues with the playback, feel free to watch it on my Youtube Channel here.
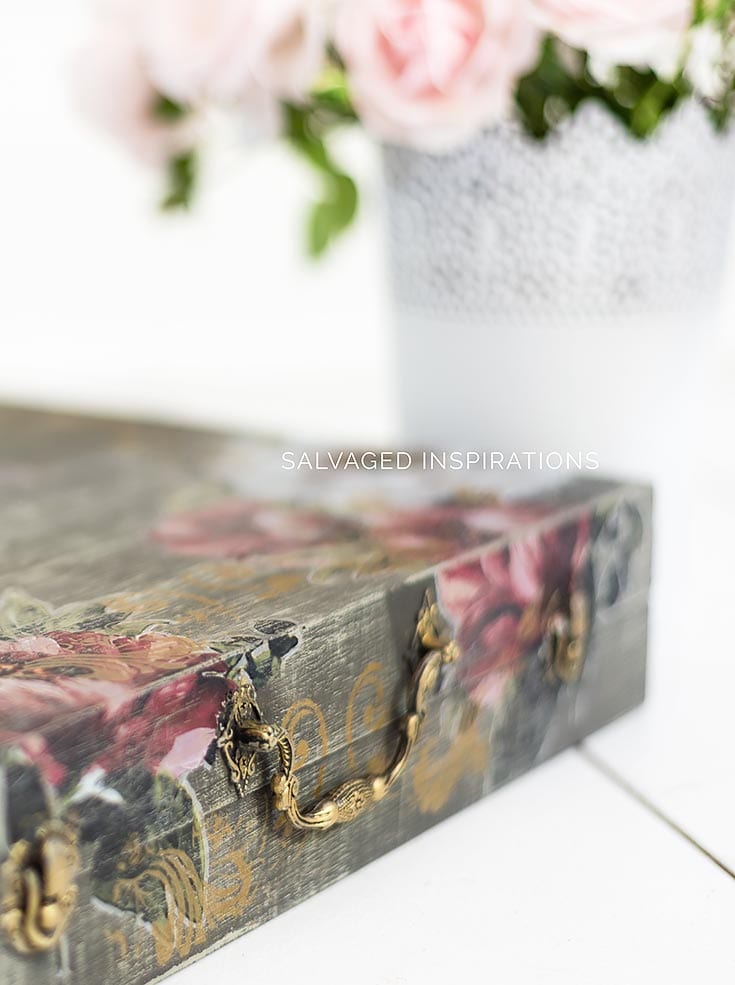
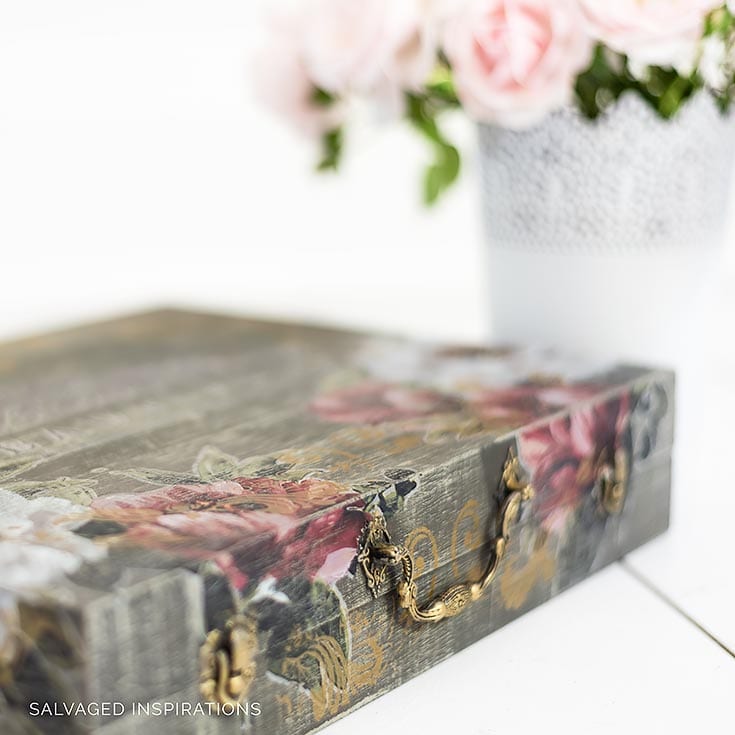
I love how the second box turned out and can’t wait to share the full process come September! Here’s a closer look.
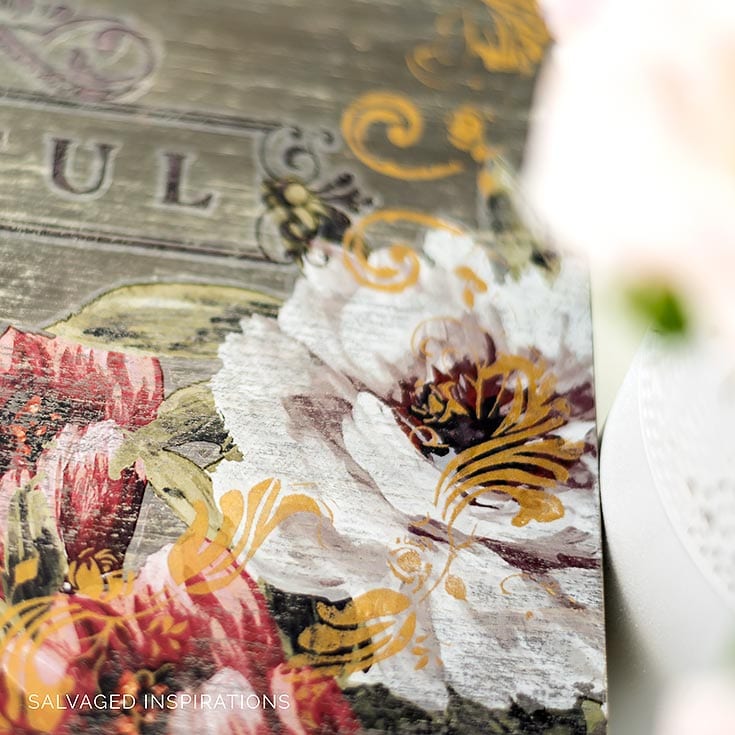
I have to say I LOVE how this box turned out!
LET ME KNOW WHAT YOU THINK OF THESE SILK SCREEN STENCILS AND HOW YOU LIKED THE VIDEO… OR FEEL FREE TO ASK ANY QUESTIONS YOU MAY HAVE… I ALWAYS LOVE HEARING FROM YOU.
Thanks for reading. 🙂
Wishing you a beautiful day filled with inspiration and Happy Painting friends!
Denise XO
RELATED POSTS::
How To Apply Furniture Transfers
Adding Graphics | Vintage TeaCart Makeover
Pottery Barn Knock-Off Buffet Makeover
Stop Bleed Through When Painting
5 Ideas To Update An Old Desk
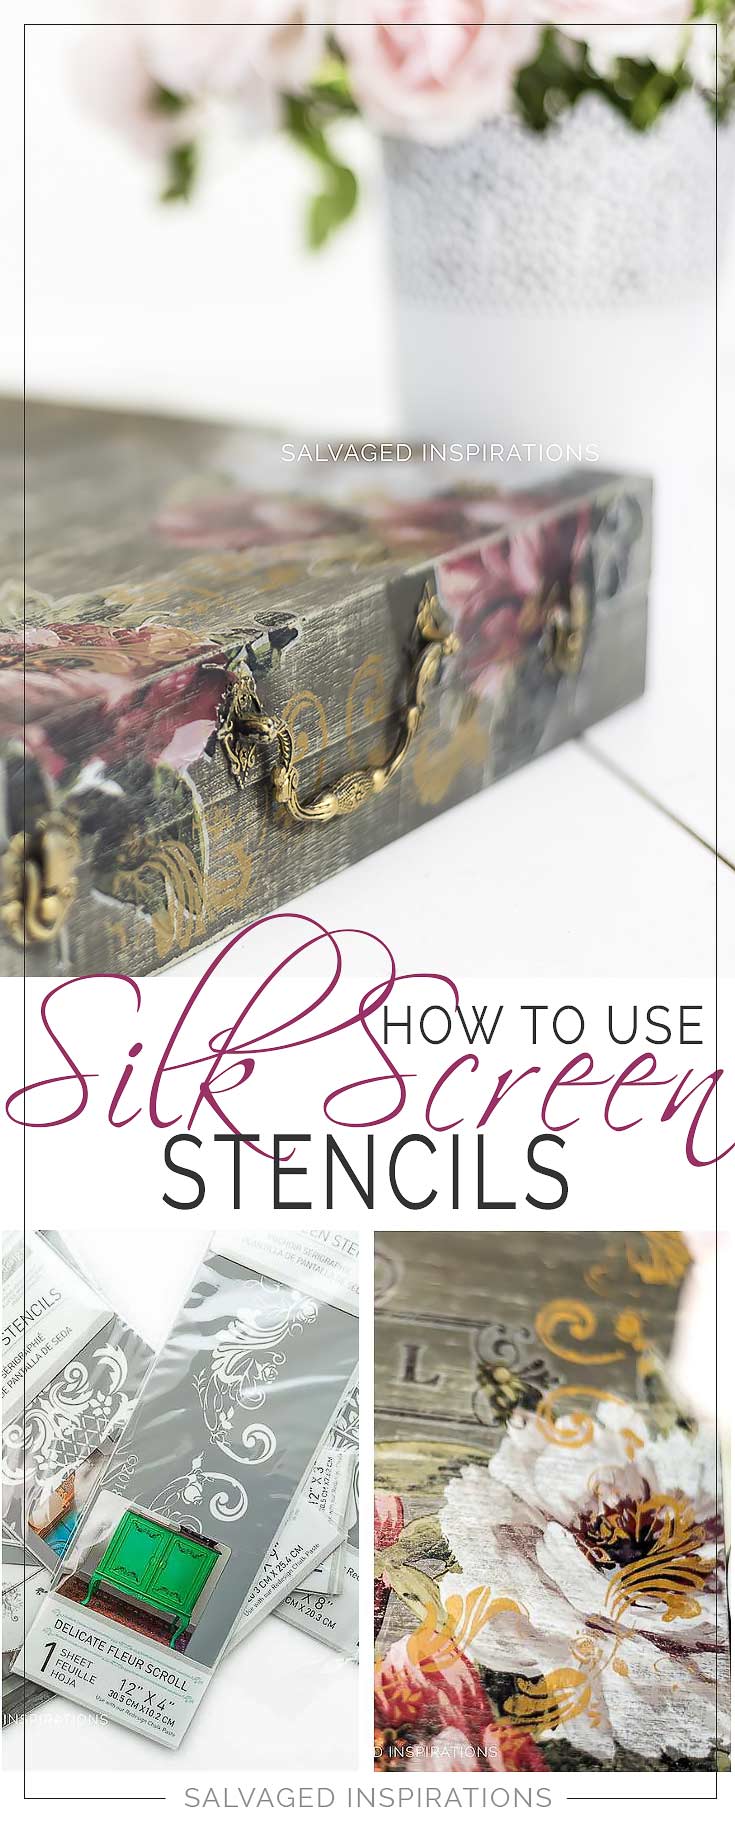
PIN AND SHARE!

I am loving these boxes. Thank you for sharing. Where do you get the silk screen stencils. The only thi k I can fine on Amazon are simple ones and. Christmas stencils. Thanks for sharon g
OK, now I am hooked!!!!!
Where can I purchase (Ontario or the GTA) the silk screen stencils, the small pots of paint and the other Prima products you used on the second suitcase project. Oh, also where can the wooden suitcase be purchased.
That’s all for now, Nancy
Hi Nancy! What timing… I just got back from shipping your box of goodies! 🙂 I’ve included the Amazon links to the silkscreen stencils, chalk paste and wood luggage box under the “Source List” section. It should direct you to Amazon.ca. If you have any issues feel free to reach out. 🙂
HI. Lovely work. I noticed you used the silk screens several times but can you store them and use again at another time? If so how would you store them being sticky.
Hi Elaine! I store them in their original package. That way the sticky part is on plastic, it’s well sealed AND I know the name of the stencil when I use it again. 🙂
This turned out so pretty, love the dry brush base too.
Thanks my friend. 🙂
Another beautiful “inspiration”!!
Thanks Jackie! xo
Hi Denise. What a beautiful project. I’ve done stencilling in the past and ALWAYS had bleeding around the edges. This type of silk screen stencil looks easy and very precise. Would love to see these techniques and colors on a piece of furniture. Absolutely stunning!
Thanks! And ya, I find these silk screen stencils are easier to work with and create way more ‘crips’ designs than regular stencils. The downfall is there aren’t as many designs to choose from.
I love the combination of the pretty furniture transfer and silk screen stencils – so pretty! Looking forward to seeing what you ended up doing with the other box.
Thanks Marie! I think I’ll leave the other box for a bit before I give it another go. I’m itching to get my hands on a dresser I started over a week ago. 🙂
Hi Denise,
I am planning to attempt a makeover of my !990’s repro cherry bedroom furniture. Can you please recommend a site where I can buy new hardware? They will really make the pieces pop.
Thank you!
I wrote a post on Where to Buy Hardware with a free downloadable PDF you may find helpful.
Now that looks like fun! It’s like icing a cake. Very nice! I’ll be trying this soon. 🙂
A little gold icing paste goes a long way, right! 😉
I love the flowers on the box. How did you do them?
Thanks Diane! They are rub on floral transfers by Redesign With Prima. I created a youtube video on How To Apply Transfers applying them on an antique mirror. Process is exactly the same for furniture or ANY project. 🙂
Hello. On the silkscreen stencils I am assuming that I could use chalk/mineral paint. Is that right? Your luggage boxes are beautiful. Thanks
A thicker pudding consistency works better with these silk screen stencils. That said, you can always thicken your chalk/mineral paint by adding one of these ingredients. 🙂
Love, love, love!!! Thank you for sharing this with us, Denise!
Thanks so much Valerie! xo