How To Hide All Your Furniture Imperfections With A Raised Stencil | YouTube Video
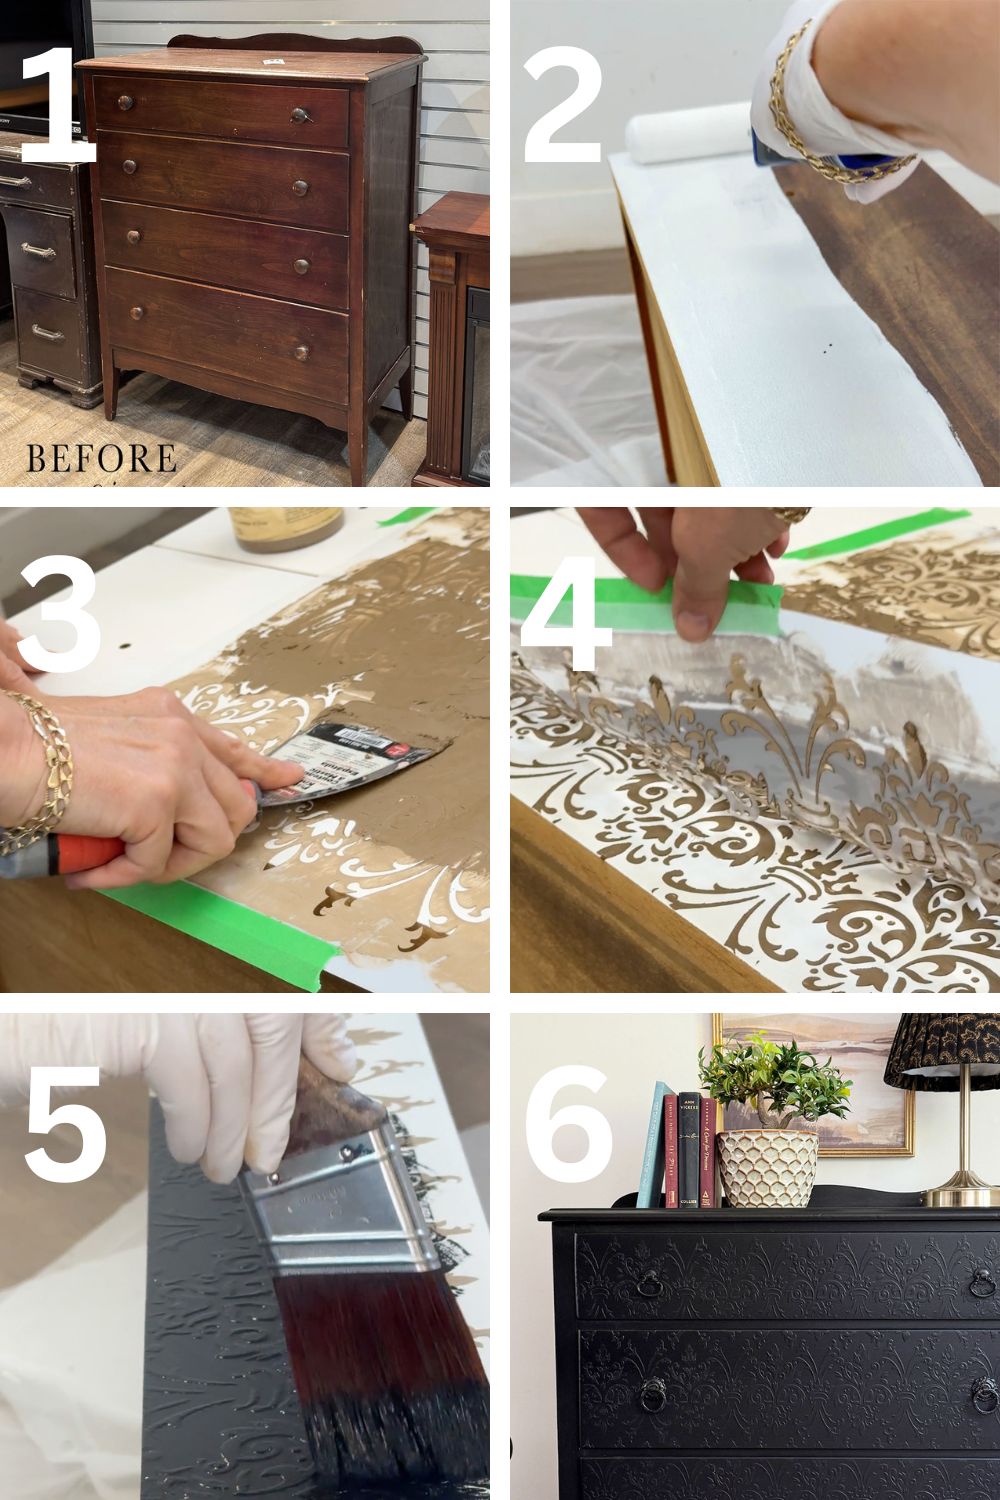
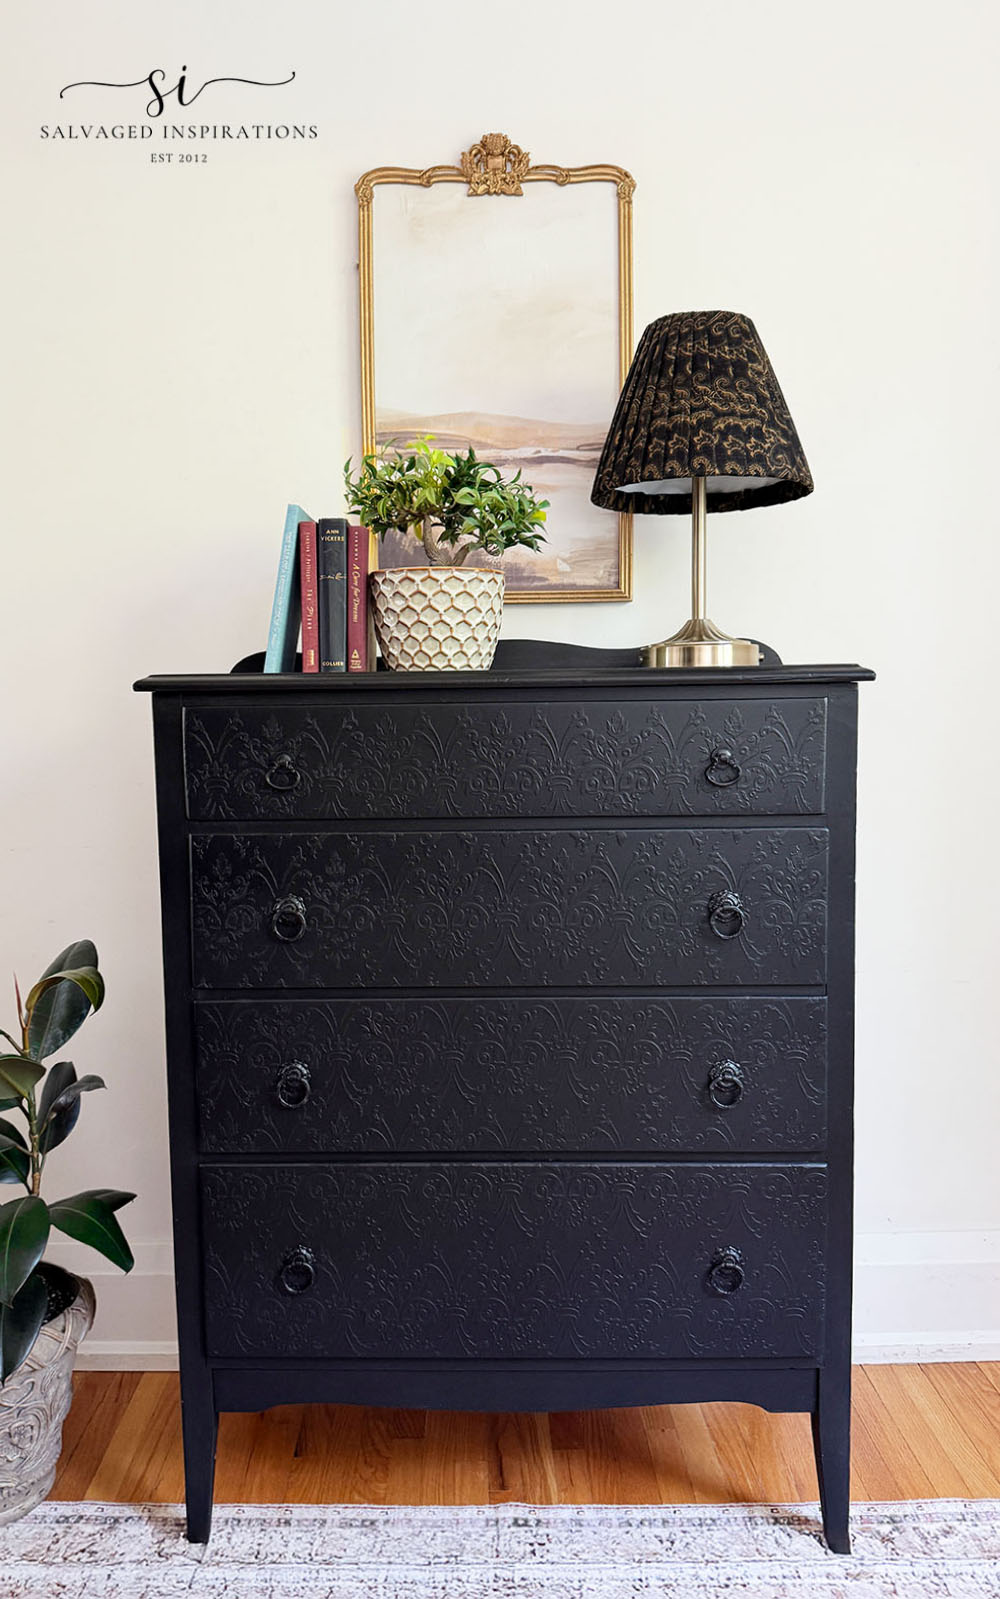
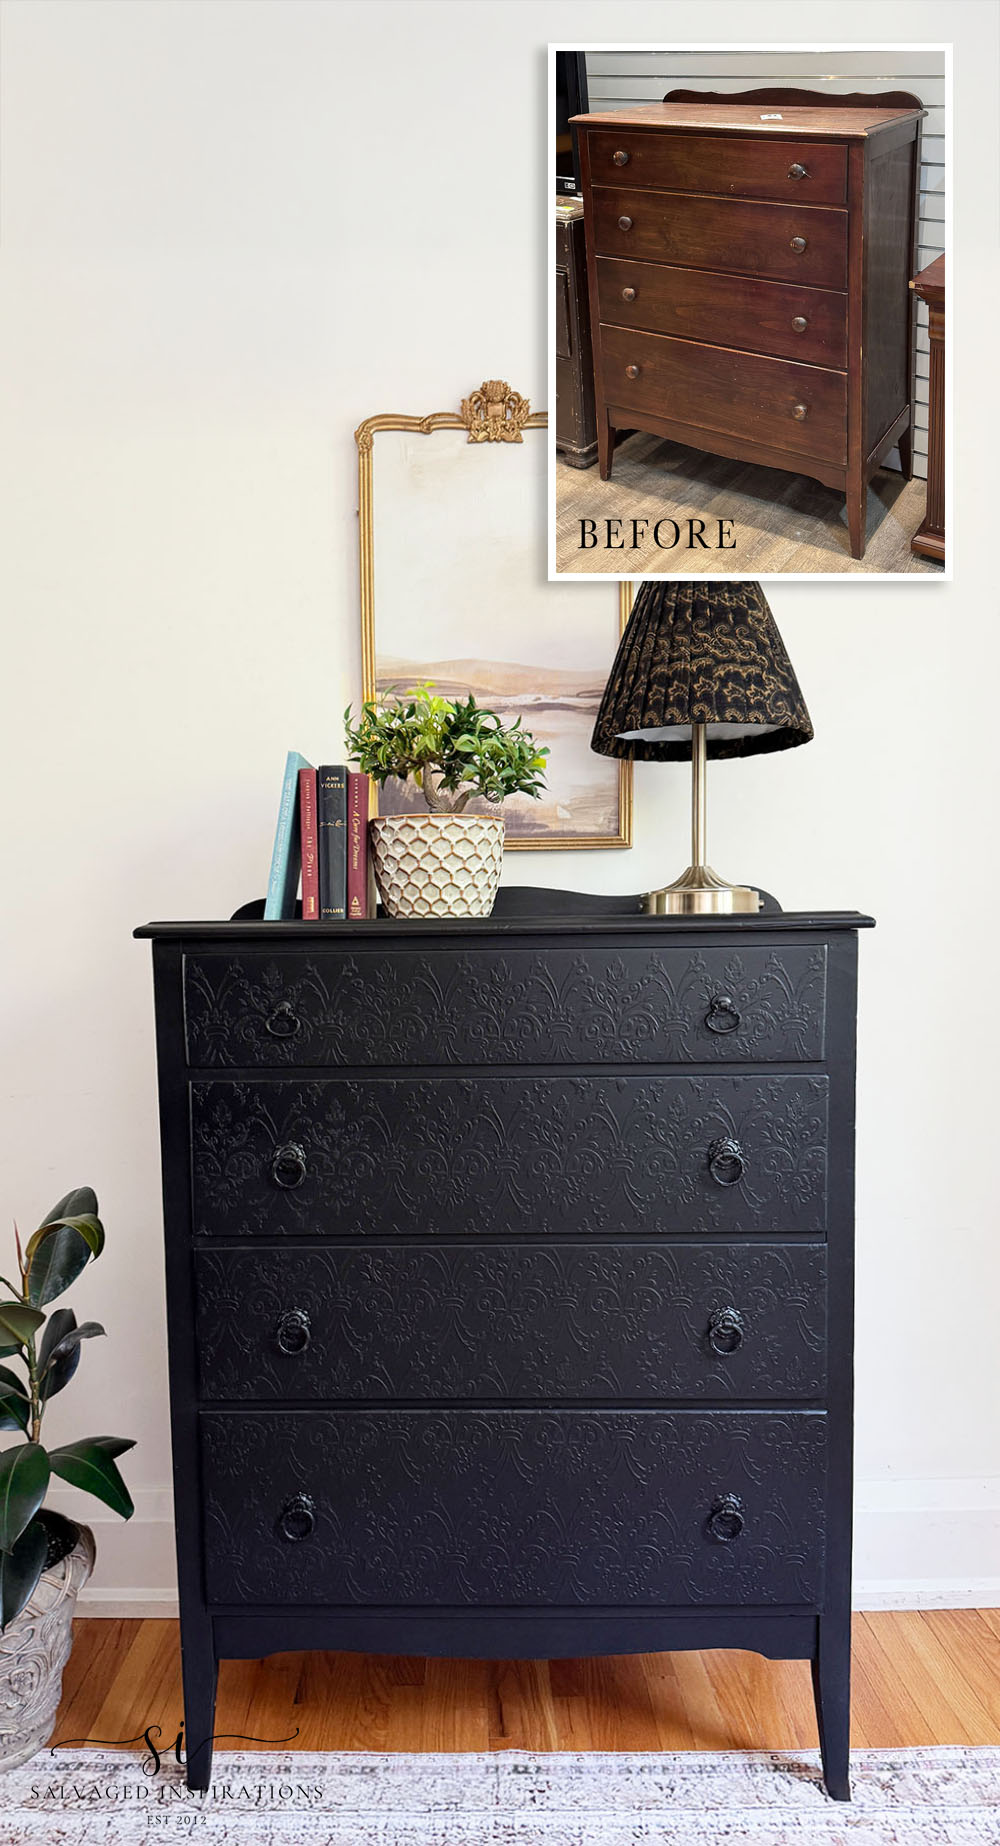
This thrift store tallboy was the perfect blank canvas to get creative with… except it wasn’t exactly perfect. It had plenty of little imperfections, repairs, and flat surfaces that needed some help.
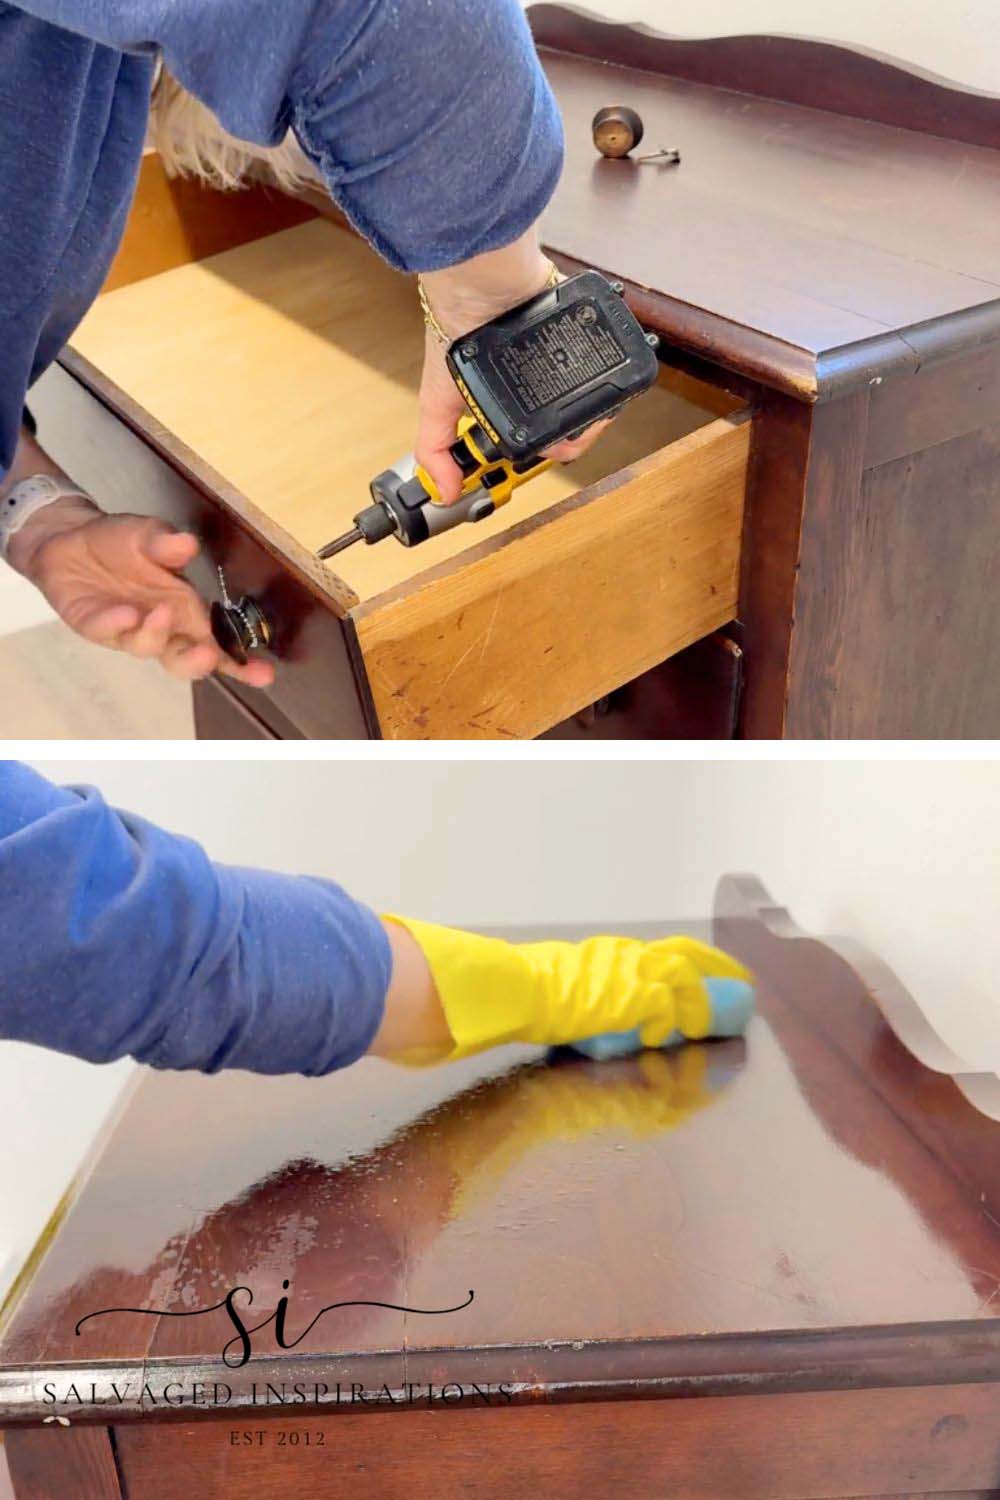
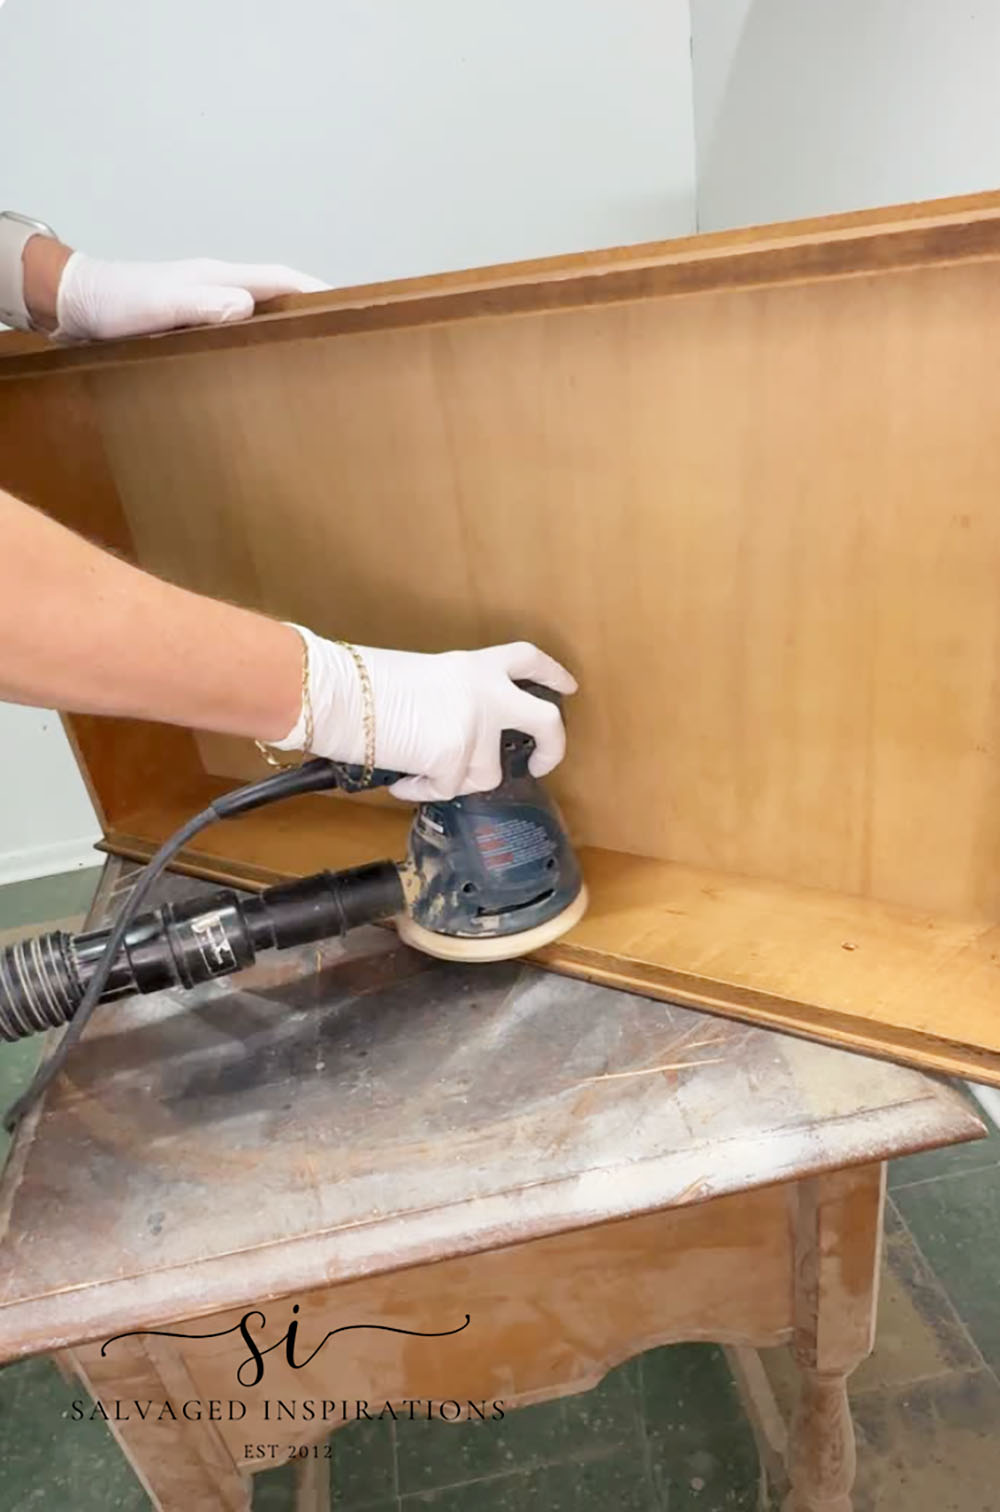
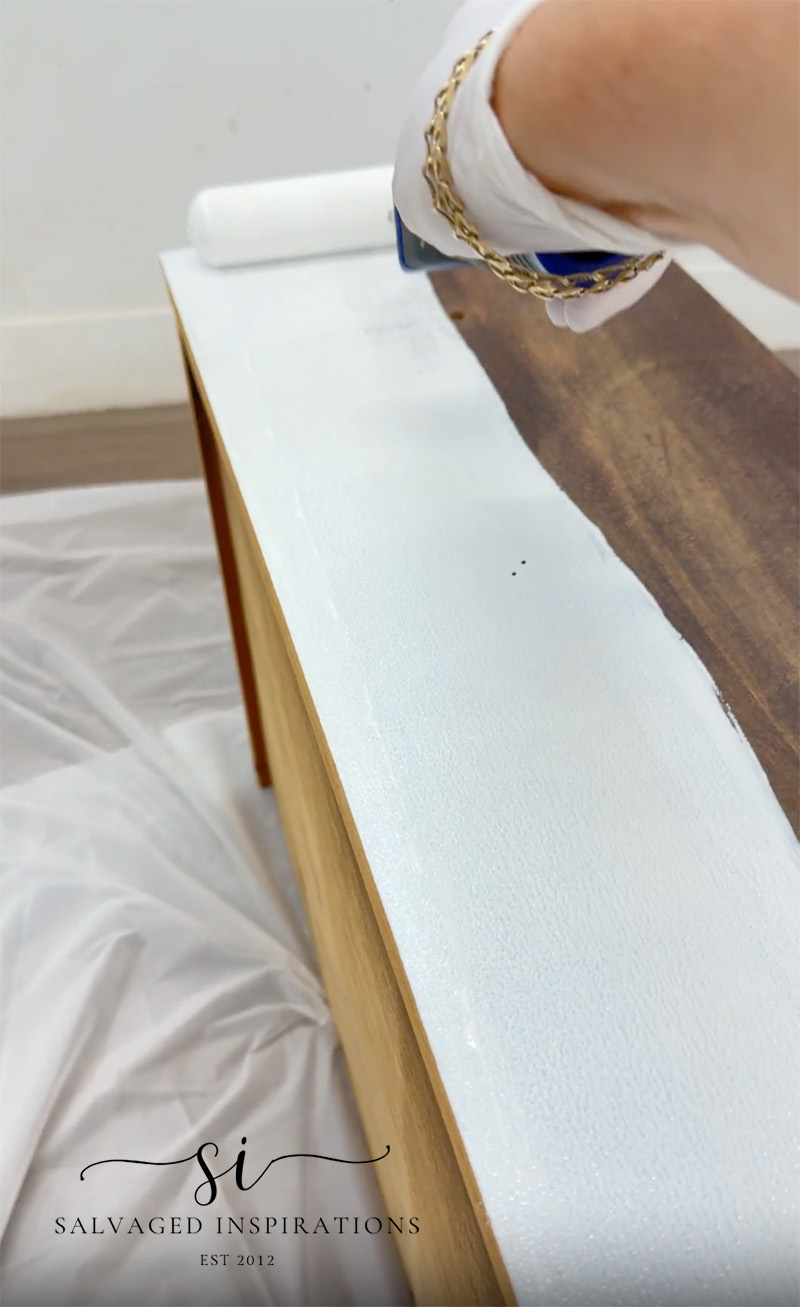
Even while I was cleaning, sanding, and priming, I had NO idea where this makeover was going. But I’ve learned that’s okay. Sometimes you just have to START. Action always seems to spark more ideas than sitting there and staring at a piece. And eventually, the idea came — raised stencils!
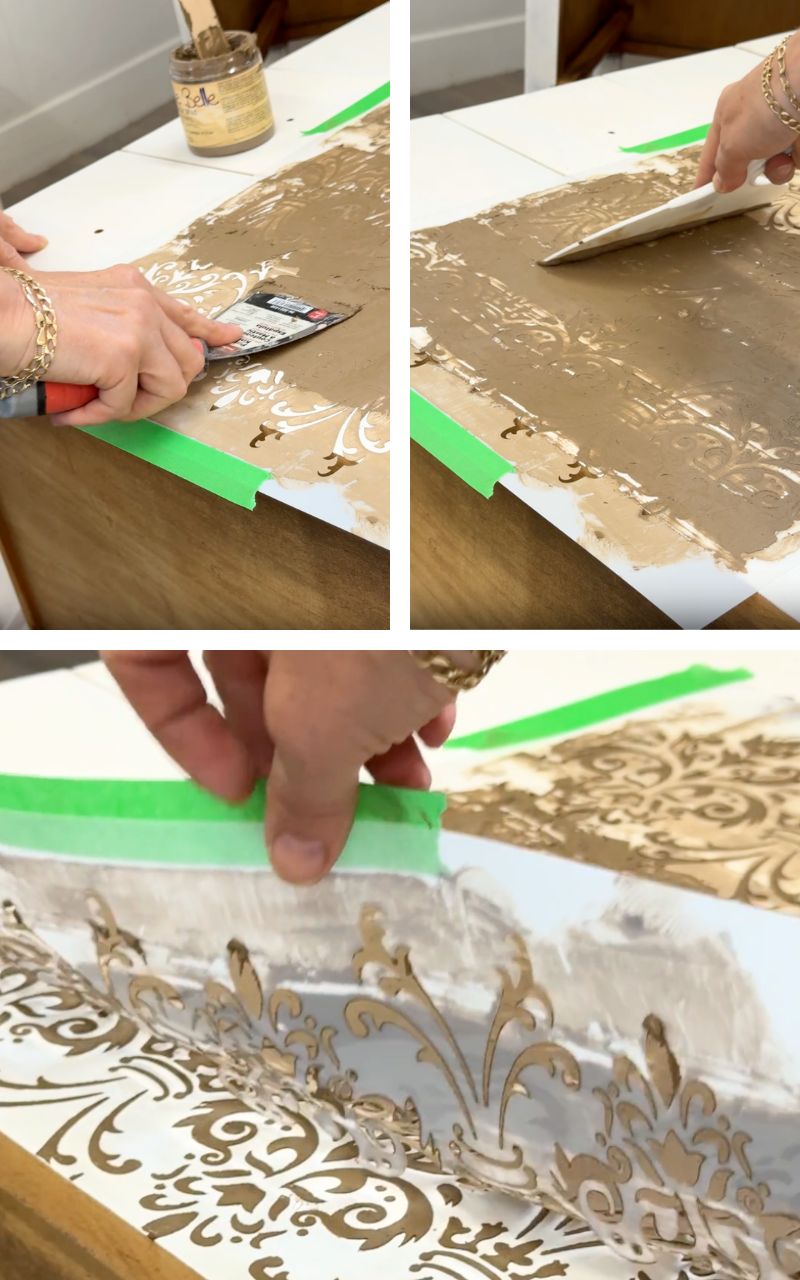
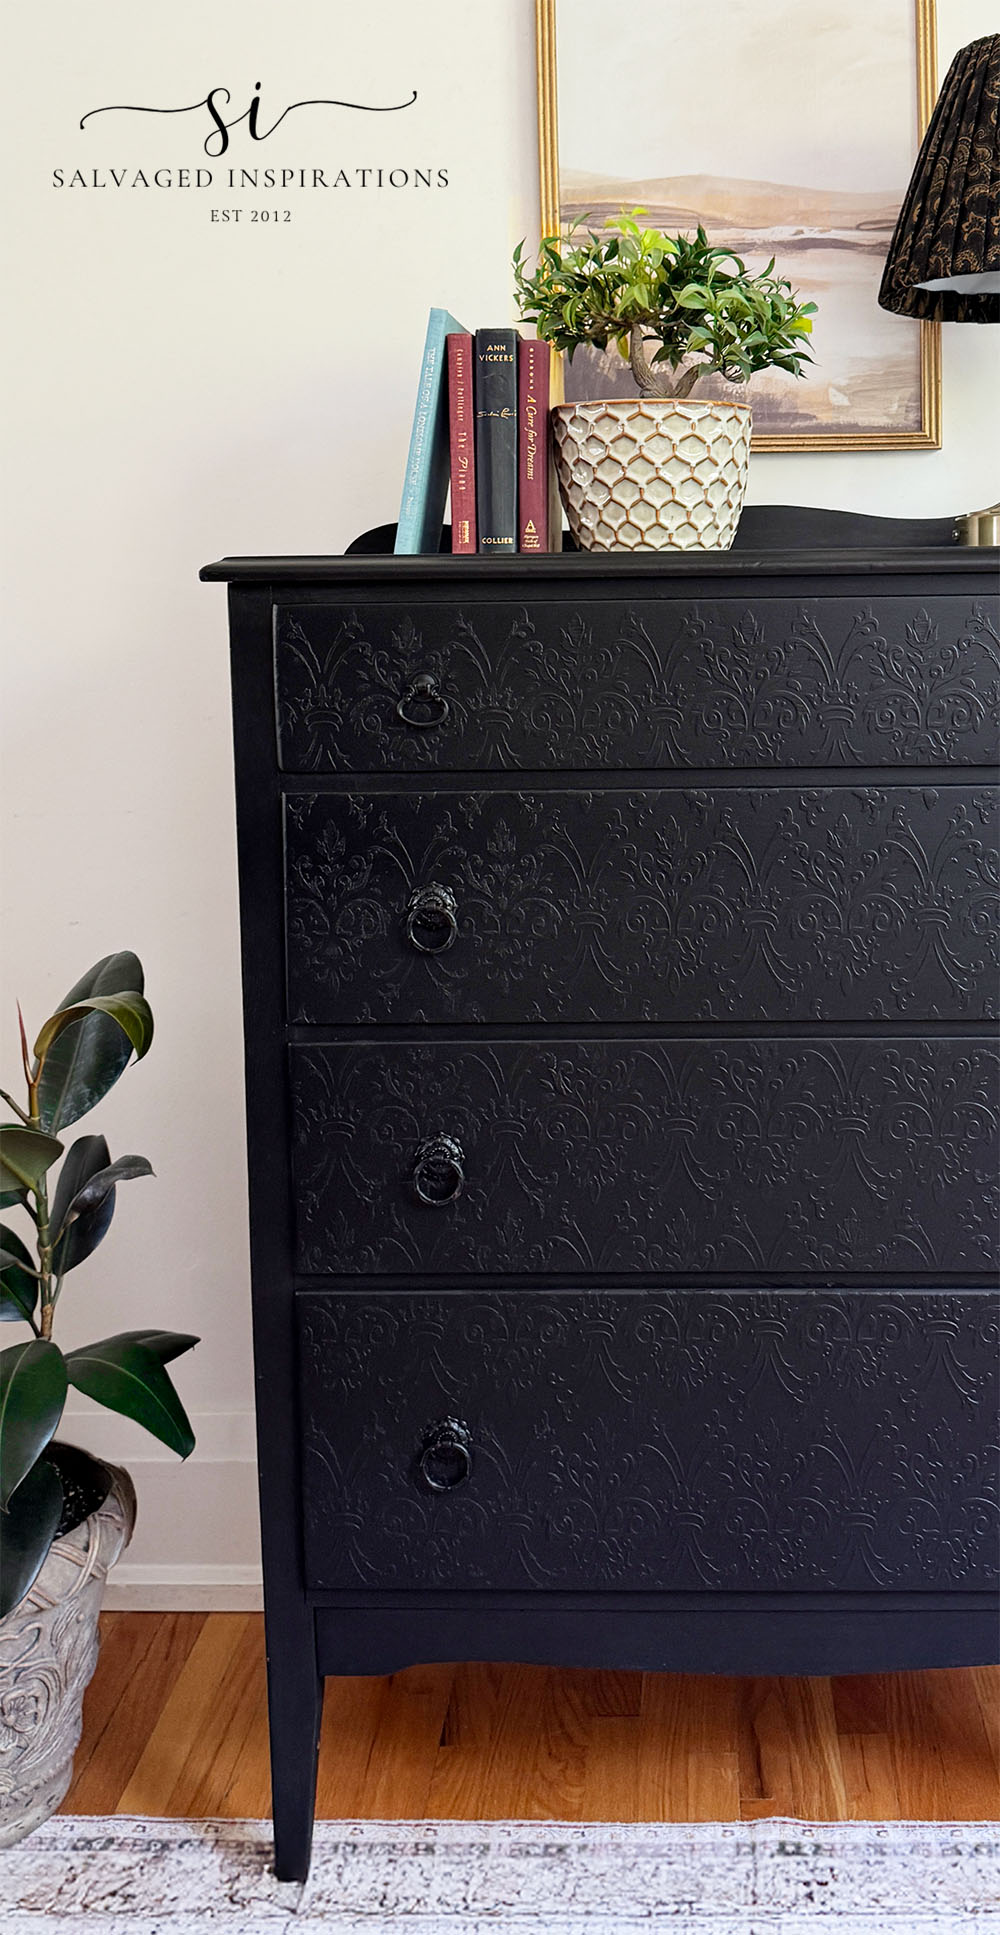
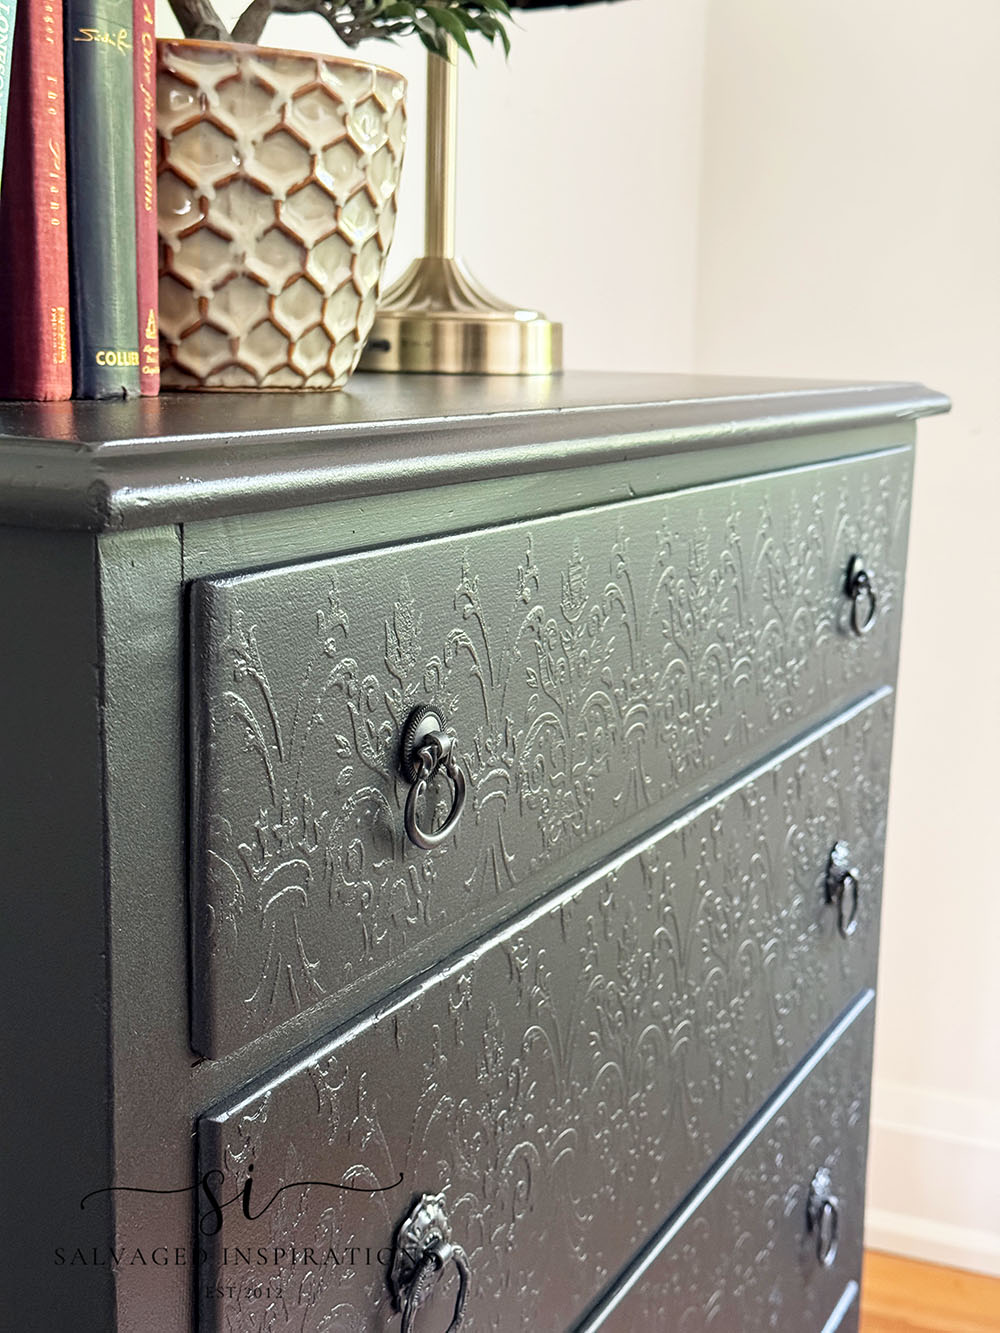
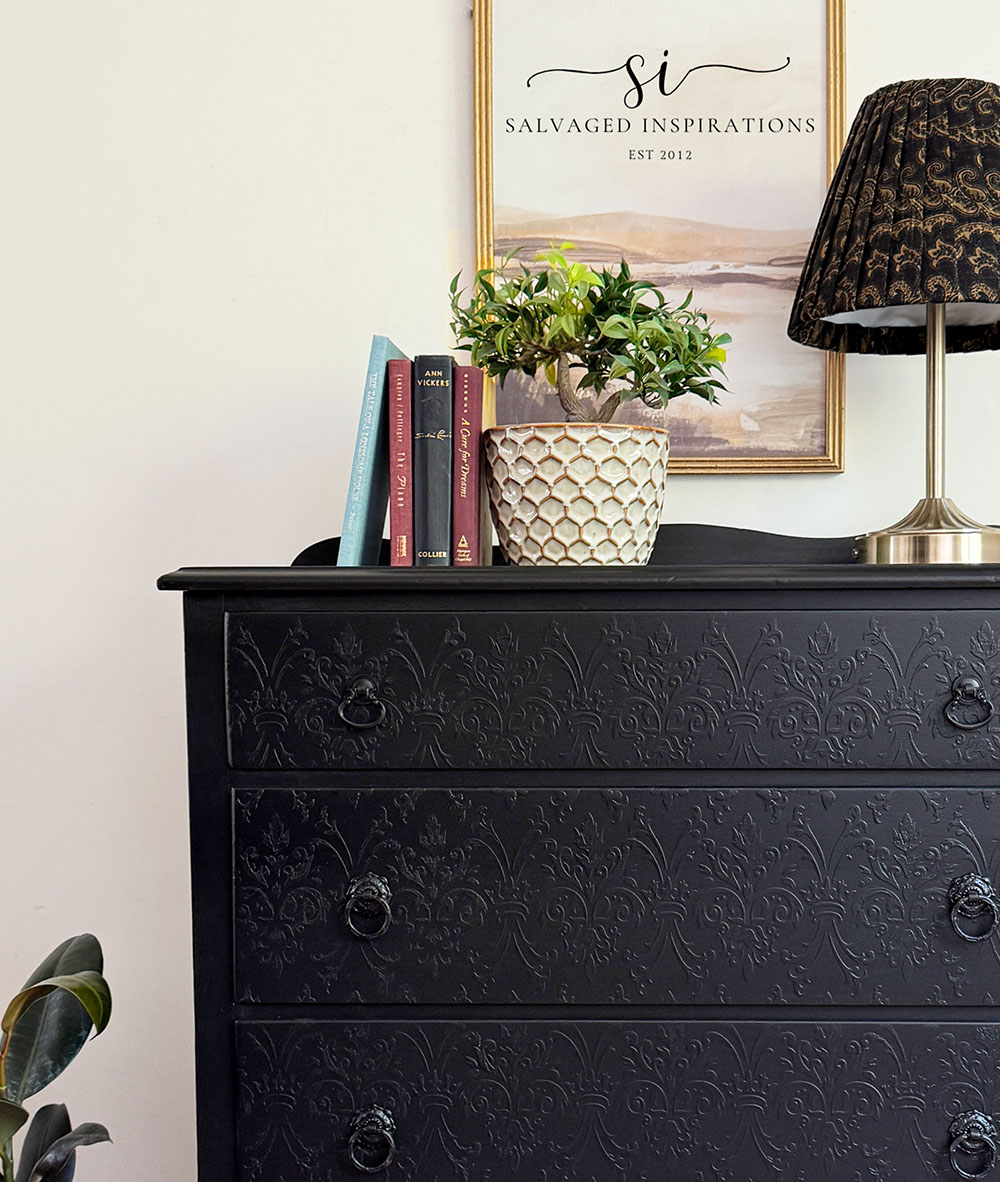
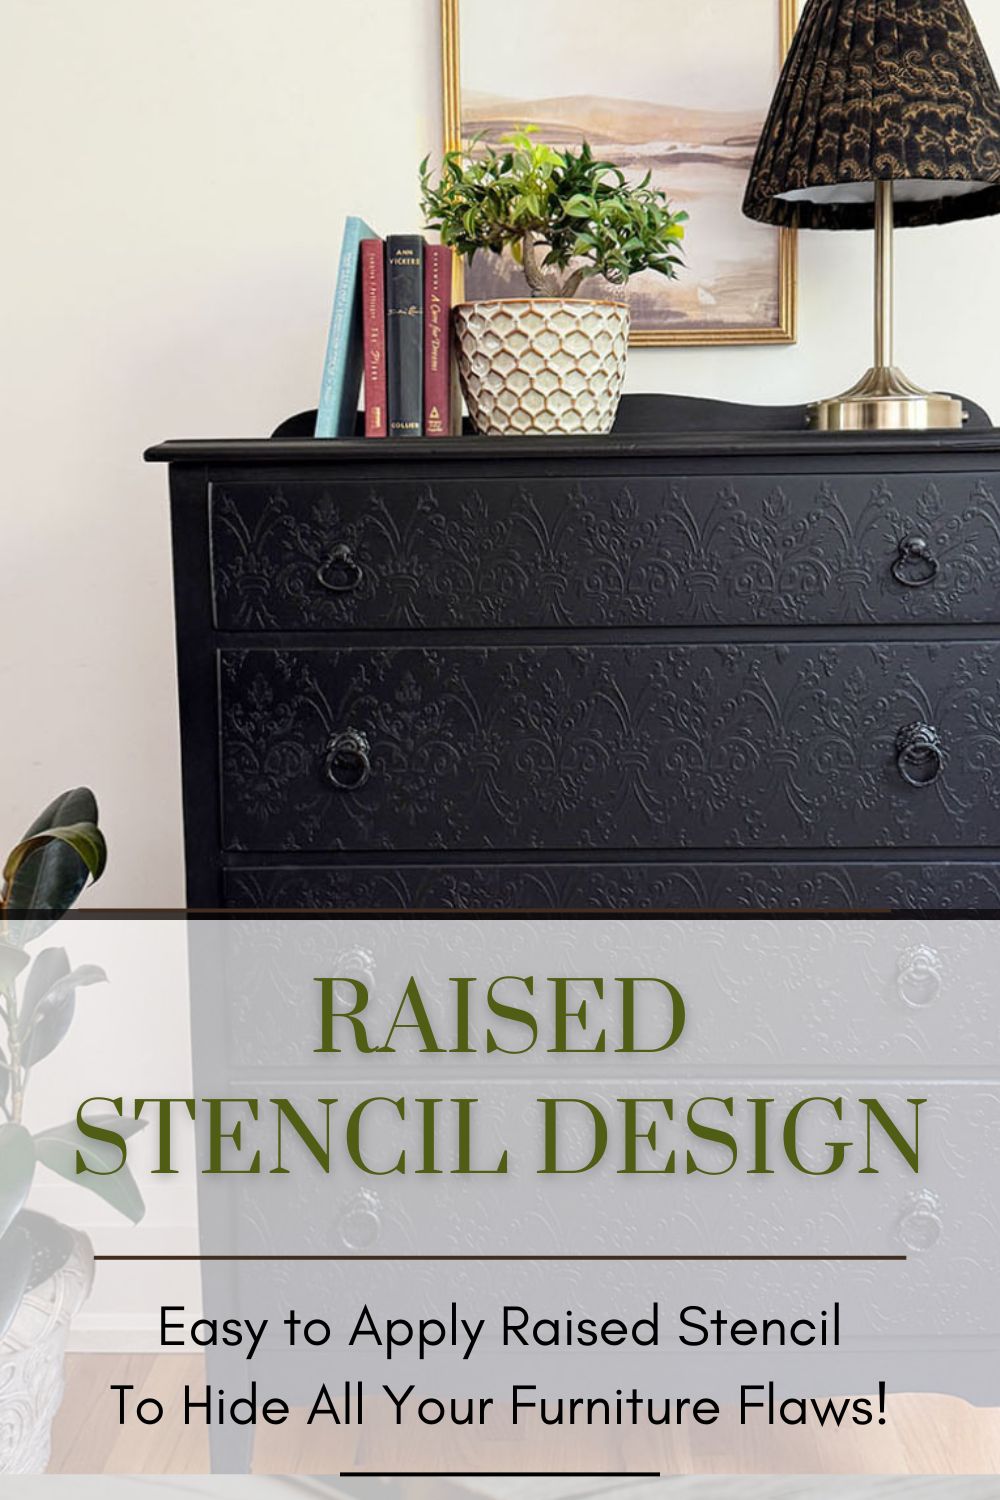
I’ve been using this technique on furniture since 2015, and it’s such an easy way to add texture and character to plain furniture. But on this dresser, the raised stencil had another job too… disguising all those little flaws and imperfections.
Here’s how this imperfect thrift store tallboy came together!
*As an Amazon Associate, I earn from qualifying purchases. There are affiliate links in this post to other companies/products I use and love as well. You will never be charged extra when you purchase through these affiliate links. If you purchase from my links – A BIG thank you for supporting me and the #siblog! To see my full disclaimer, click here.
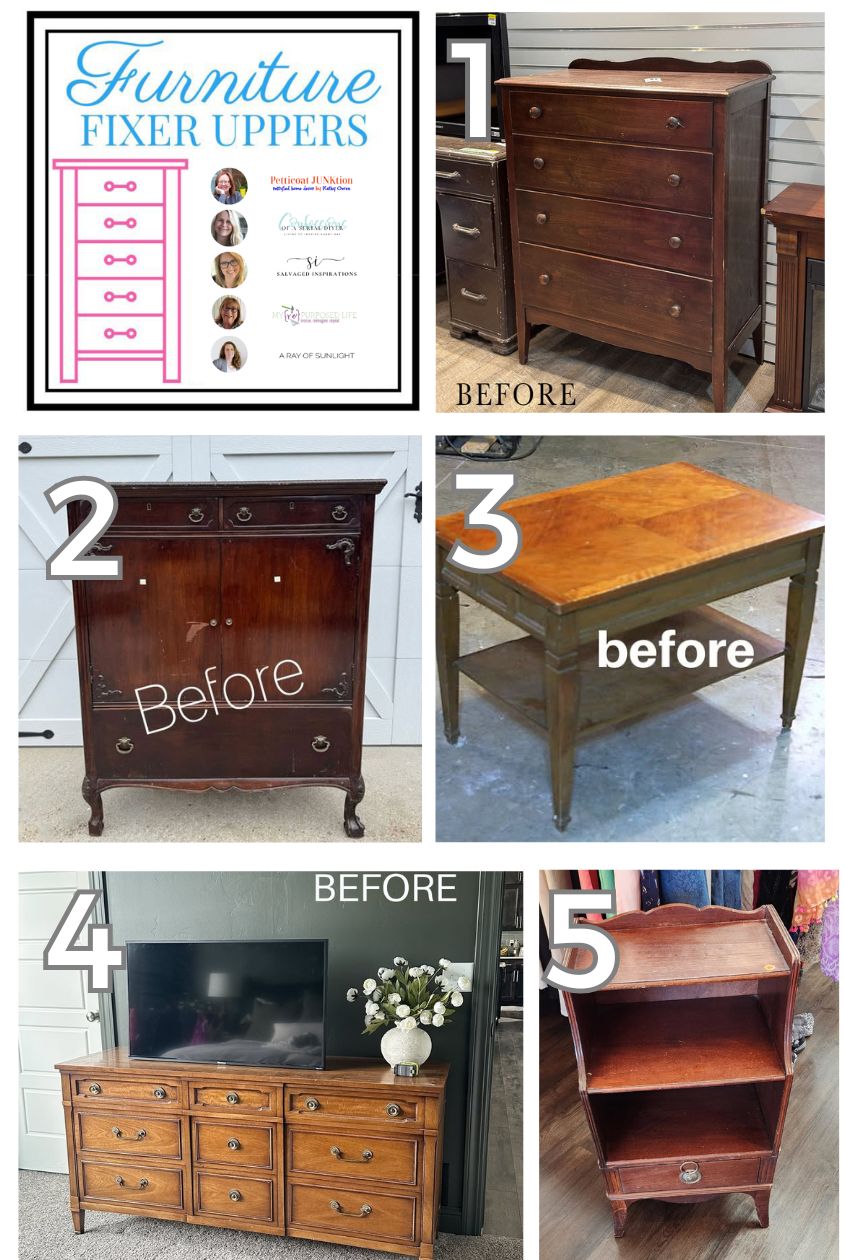
Bonus, it’s Furniture Fixer Upper Day! If you’re new here, on the fourth Thursday of every month, I join four super-talented friends (Christy – Confessions of a Serial DIYer, Kathy – Petticoat Junktion, Natalie – A Ray of Sunlight, and Gail – My Repurposed Life) to share our before-and-after furniture restyles. I’ve included the links at the bottom of today’s post, and I hope you join me in seeing what they’ve created this month! I always learn something new from these talented ladies.

Here’s the Tallboy Dresser I found at my local Mission Thrift Store. It was structurally sound with great bones but had a bunch of small dings, holes, and scratches all over it.
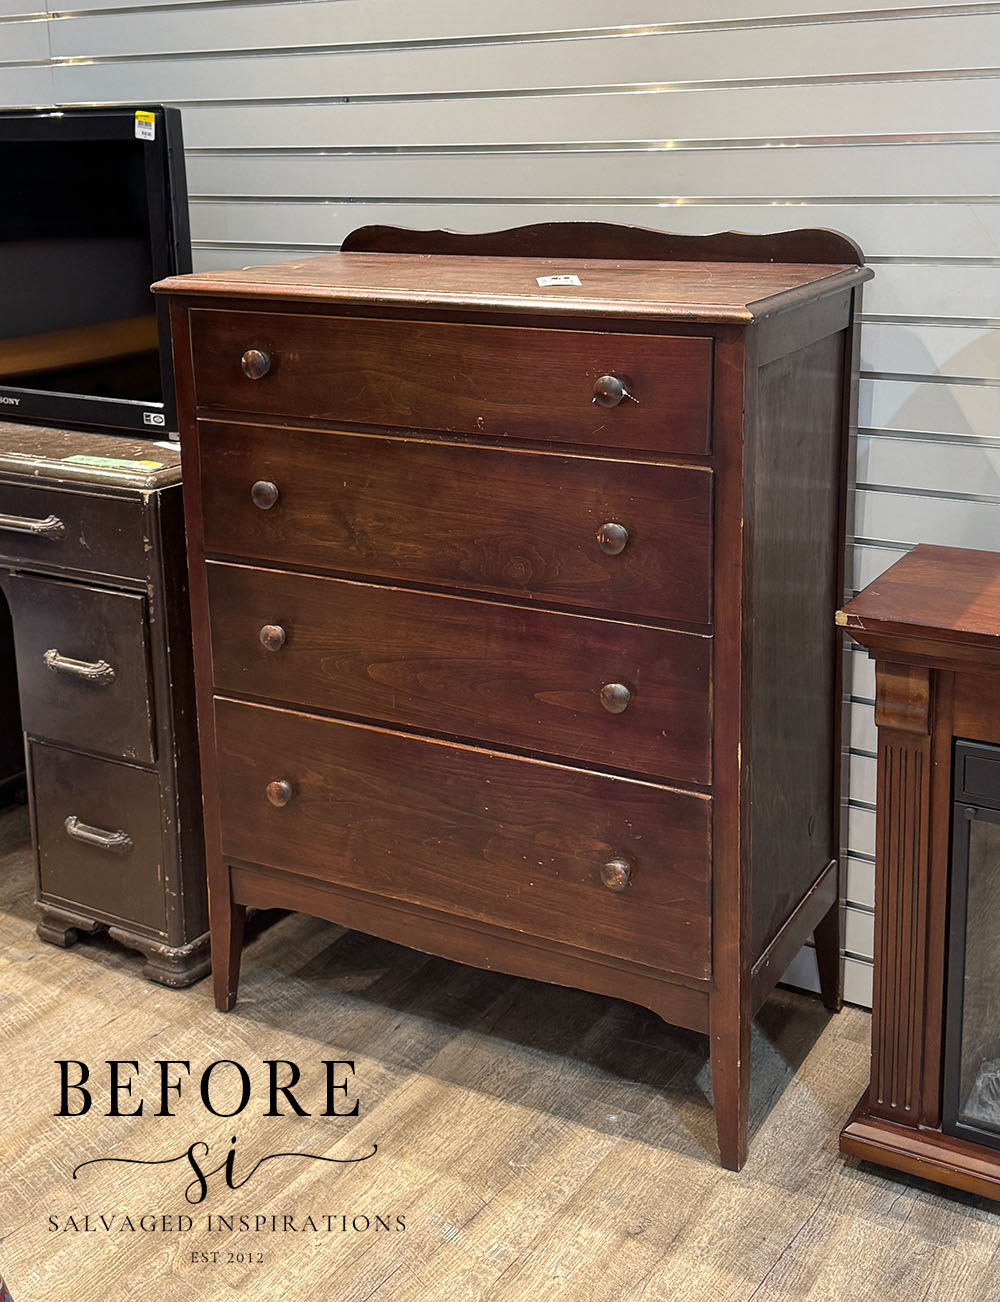
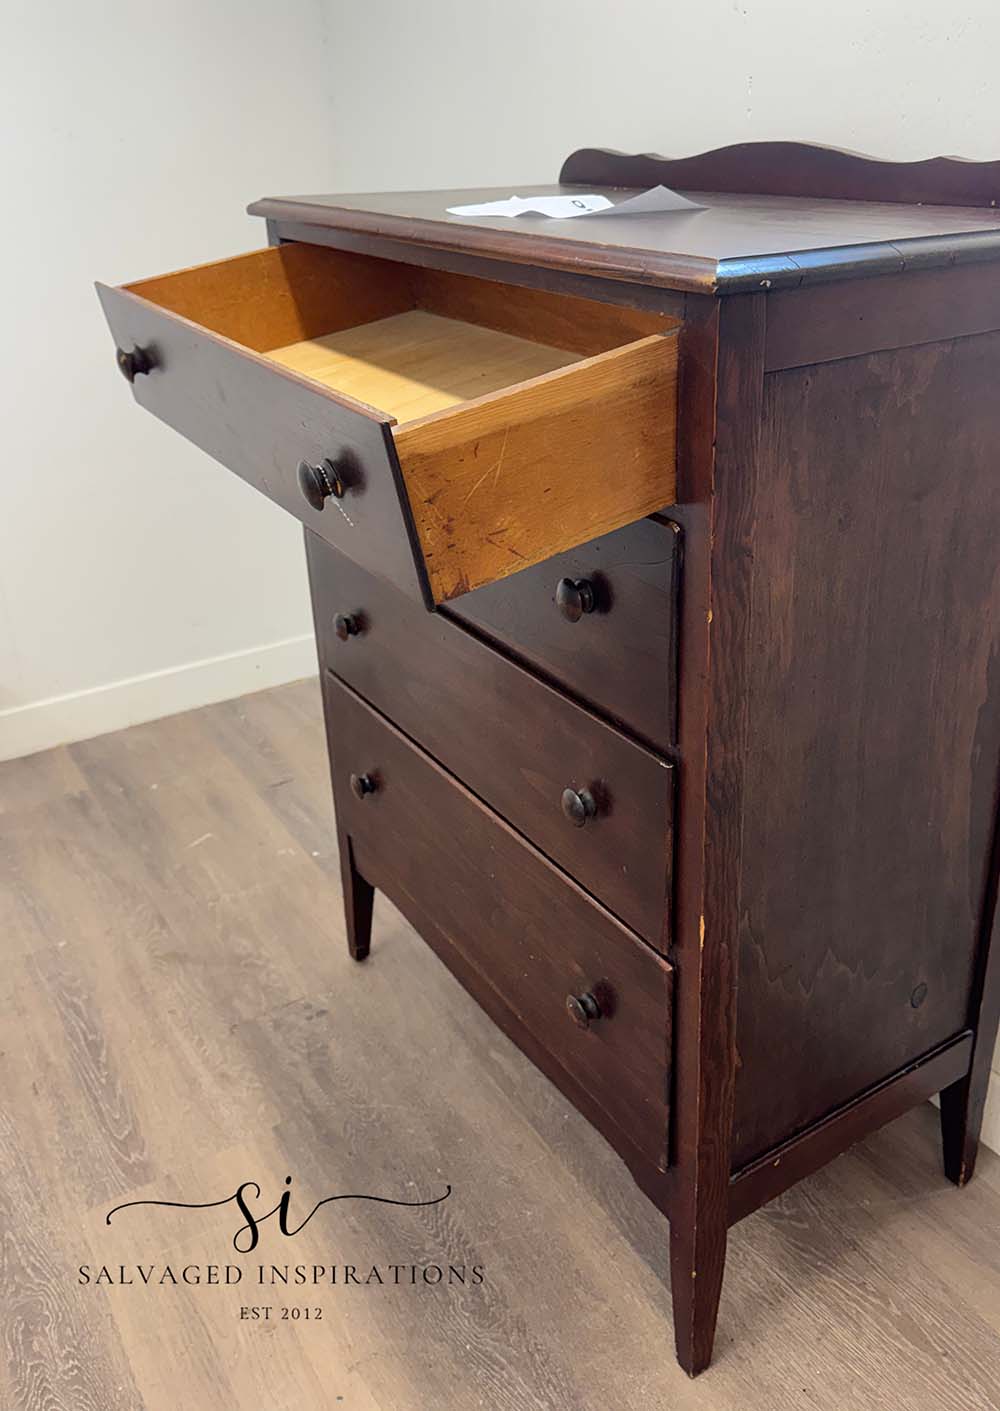
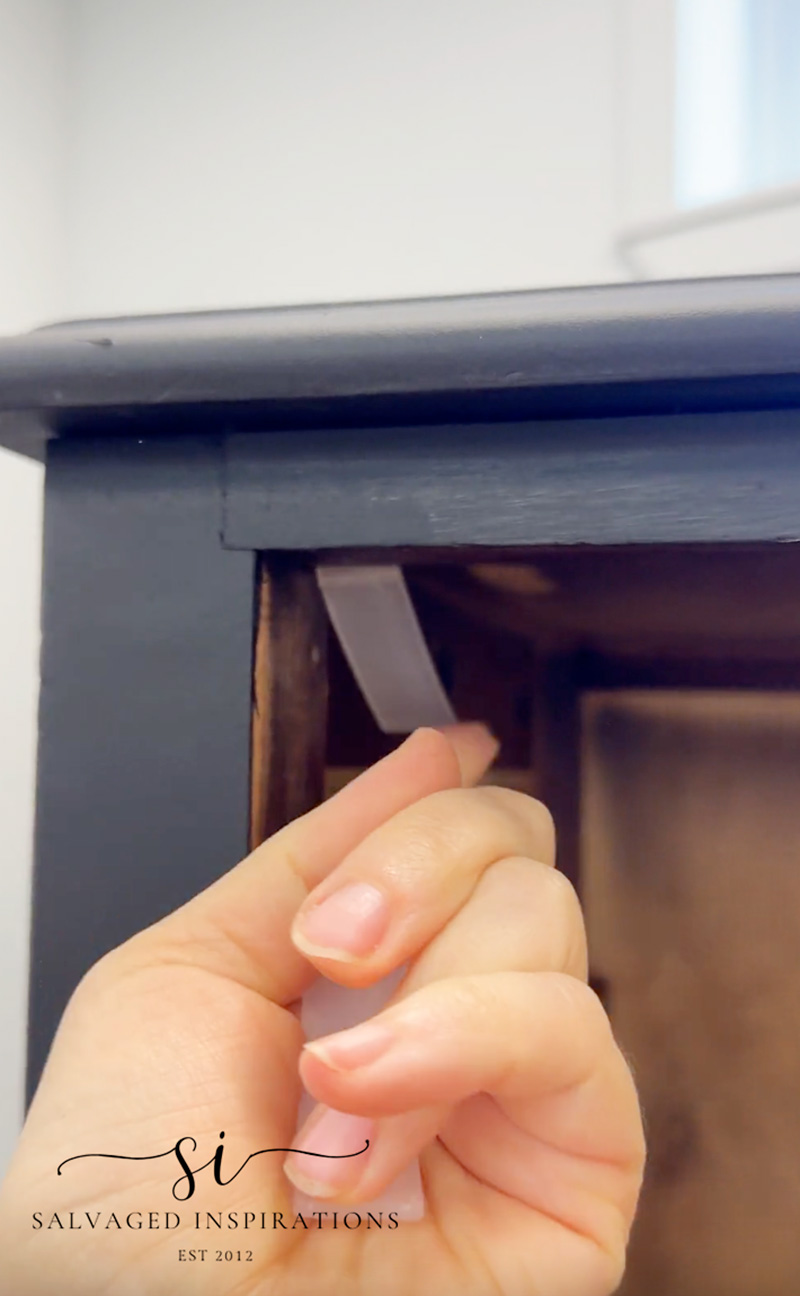
When I brought it home and gave it a good once-over, I also noticed the top drawer was sliding out when opened. I have a super cheap and easy fix that I’ll share later in the post.
 Hello again... I'm so happy you dropped by! Let's keep in touch! Follow me on social media or sign up for a dose of furniture painting inspiration and diy tutorials. :)
Oh Wow! I’ve never used the mud. It’s just sitting on my shelf. Now I HAVE to try it. Beautiful makeover! Kathy
I can’t wait for you to give it a try Kathy… I know you’ll do something fabulous! Enjoy your week! XOXO
Another masterpiece! You rock Denise! Your work is amazing!
Thanks Maryann… I really like the way this one turned out too! Enjoy your week! XOXO
Love this one, D. A great idea using raised stencil for camouflage! Good tip on scraping the mud from tools, what is your tip to clean the stencil?
Thanks Tracy!💙 I learned the scraping putty knife tips from contractors on the job. It also prevents the metal from rusting. To clean the stencil I find it best to wipe clean with damp paper towel while its still wet. If it dries, I soak it and then wipe it clean but just like the the tools – best not to have the product go down your drains.🙂
Thnx for your response. Yes that’s what I do too, really don’t need the clogged drain, lol.
Exactly, been there done that and it’s NO fun.
What a gorgeous way to bring new life to an antique dresser. We love stenciling here! Beautiful work, Denise.
Stencils are awesome, right!?! Thanks so much Natalie! XOXO
This pattern looks very elegant, and I never would have thought to use a raised stencil to hide imperfections on an entire dresser! It’s SO gorgeous, Denise! I love all your makeovers, yet this may be my favorite! ❤️ I’m looking forward to this weekend’s video.
Awww, what a huge compliment Nicki, thank you! I’m so glad you love it and yes, I’ll have that video published for you this Sunday. Have a great weekend my friend. XOXO
I love it!! It reminds me of brocade material when I was a young girl…. like something you’d wear to the prom. Beautiful job!!
I can see it…yessss! Thanks so much Gayle and so glad you love it! It was a joy to work on!🤗
Amazing transformation. I love the stencil look, especially as a same color / textured look Sooo elegant.
Someday… I hope to try it. The black is a great choice – this piece could fit in anywhere !
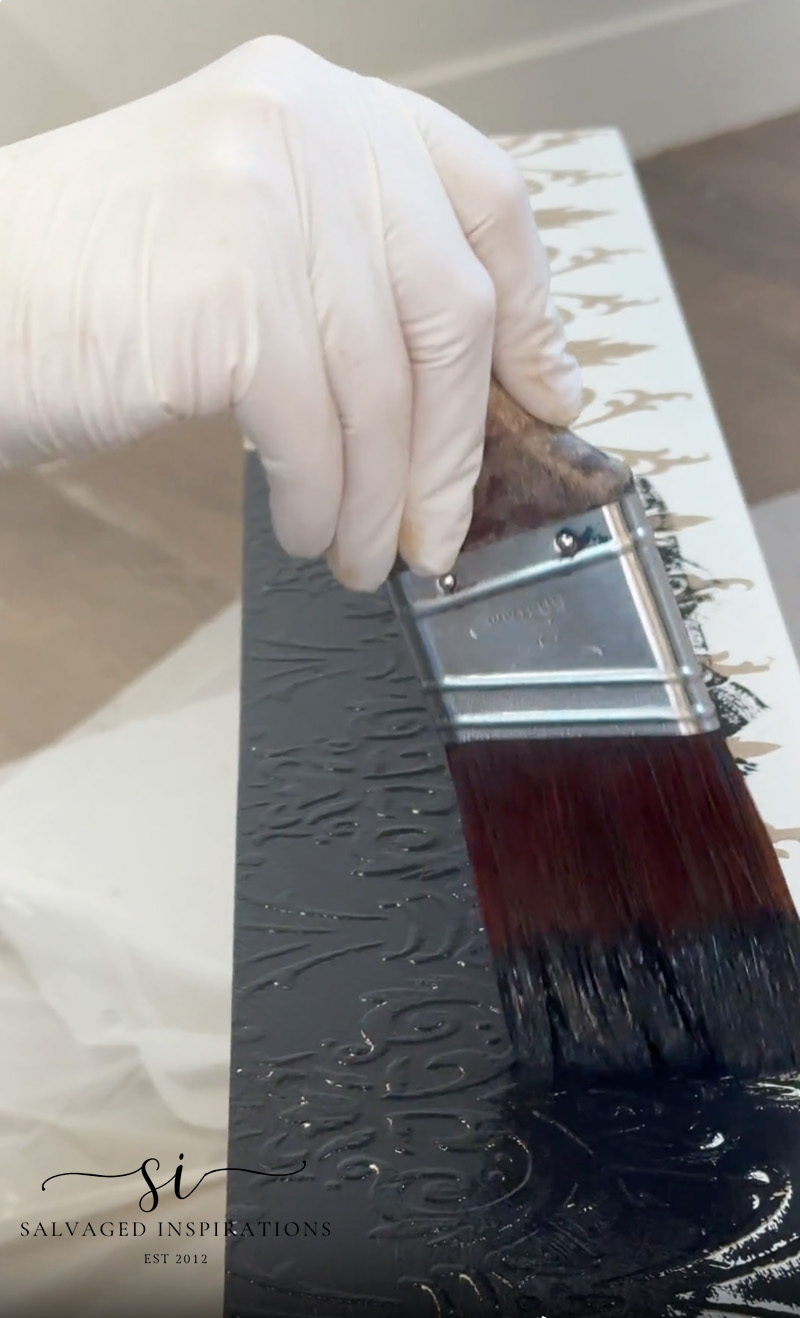
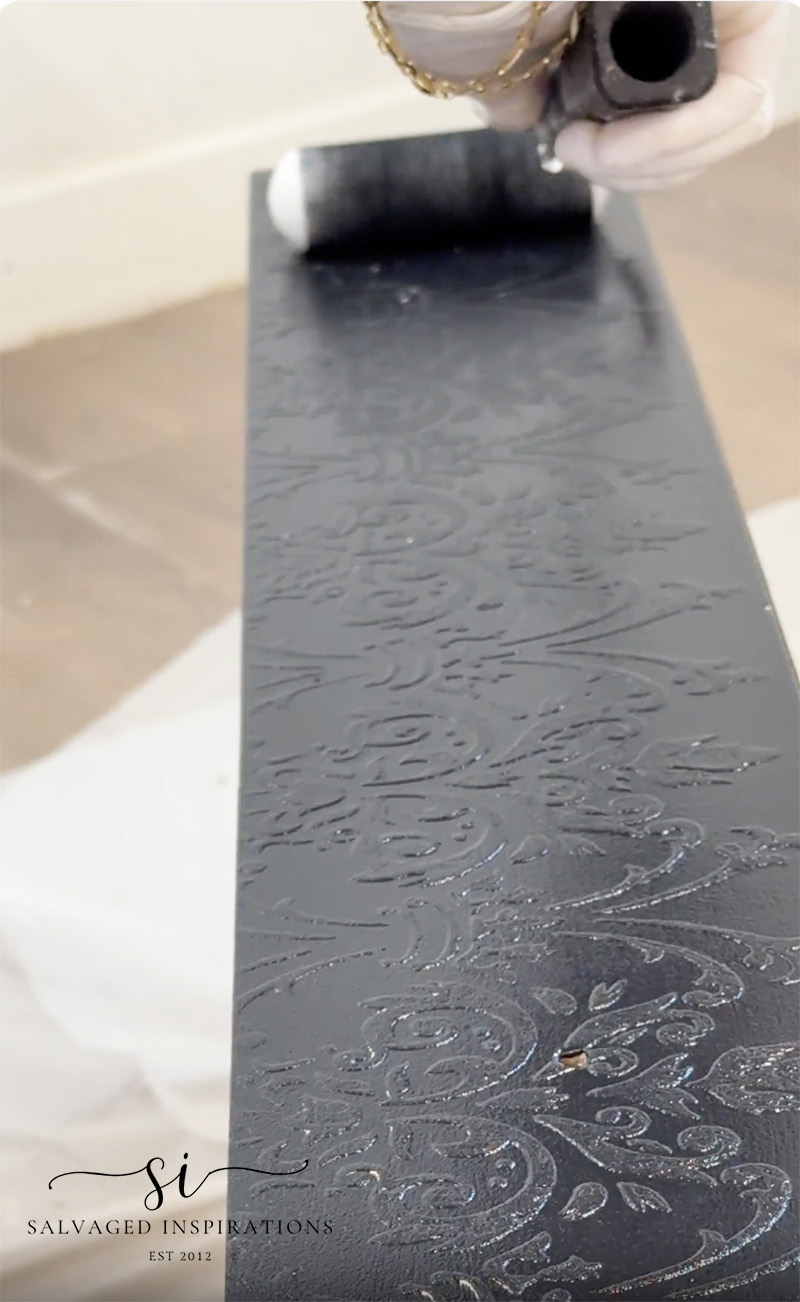
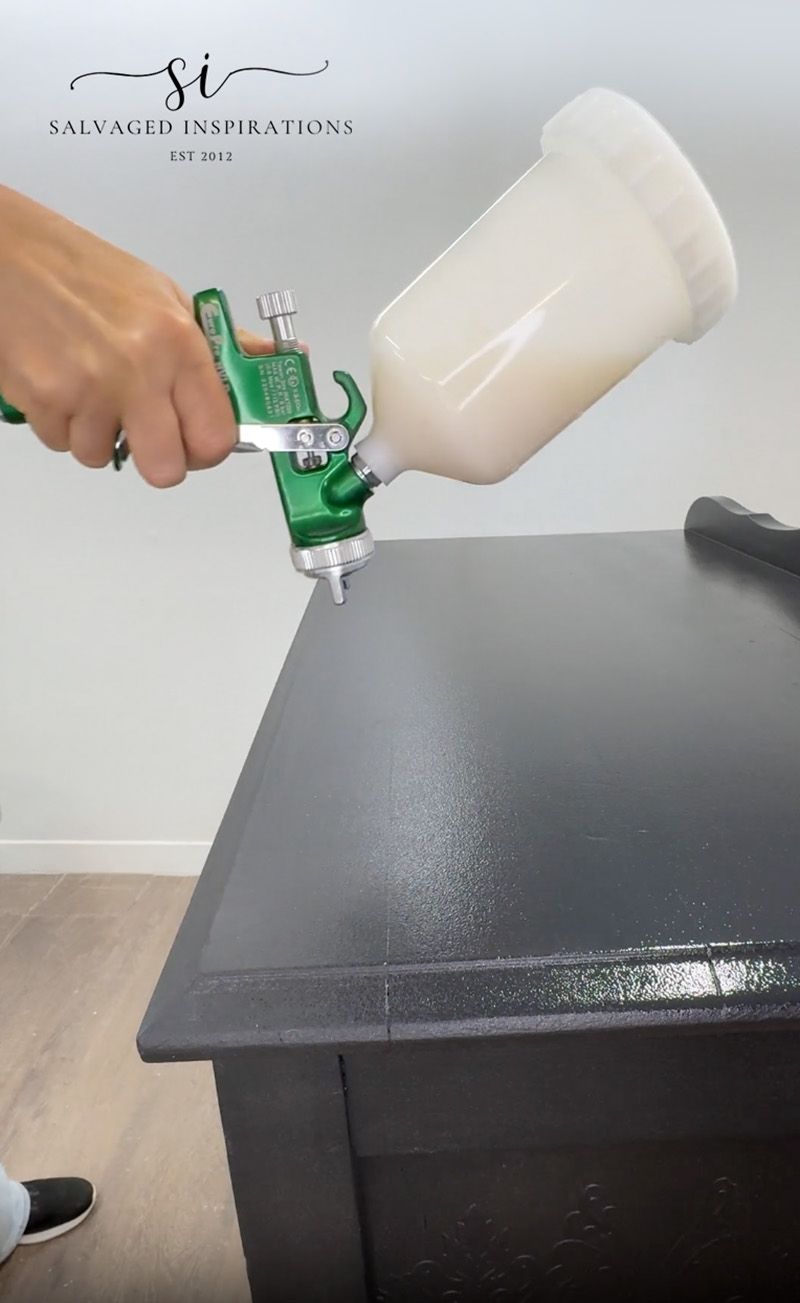
Your tip to use more glossy finish on the stenciled area over a flatter base finish – sounds striking.
I will be looking at your example asap.
Thanks for being being so clear with your process. Soo helpful. Always look forward to seeing what you will do next 🙂
Black is always a classic choice, right?!😃. And I hope (someday) you do give it a try… so much fun and I know you’d create something GORGEOUS P! So glad you like this one and I’m wishing you a lovely weekend! XOXO
A raised stencil on this old piece is just what it needed! Brilliant! I haven’t done a raised stencil in years; I may just do it again soon! Thanks for the inspiration Denise.
Pinned!
gail
Thanks Gail, and thanks for the PIN! I think the stencil took years off this girl…😆
Sooooo good! When I read that you were doing a raised stencil, I admit, I skipped all the way to the end to see the finished project. 👏🏼LOVE LOVE LOVE it! Such a classy look, and done in black is pure perfection. 👌🏼Oh, I did go back and read it, but you had me excited. I do that with books too. 😄Thanks for sharing. Pinned 📌xo
Ohhhhhh. You’re one of those skip-to-the-end people 😂😂😂,,, I hear you. Sometimes it’s just too darn hard to wait. Life’s too short!😉 So glad you like this piece, Do. I think the raised stencil did this girl a world of wonders too. I just wasn’t into sitting there and filling in all those little knicks, holes and scratches. This time around I opted for FUN design. Thanks for the PIN and have a great weekend my friend! XOXO
What a good method of hiding those imperfections, Denise! You always have such good tips and reminders! Your high boy is just gorgeous – of course. I look forward to seeing the makeover on Saturday, too. Have a happy weekend.
Thanks my friend, and yes, it’s even more fun seeing the stencil go on and be revealed ‘in action’! I’m wishing you a happy weekend too! XOXO
Super pretty! You elevated the look so much!
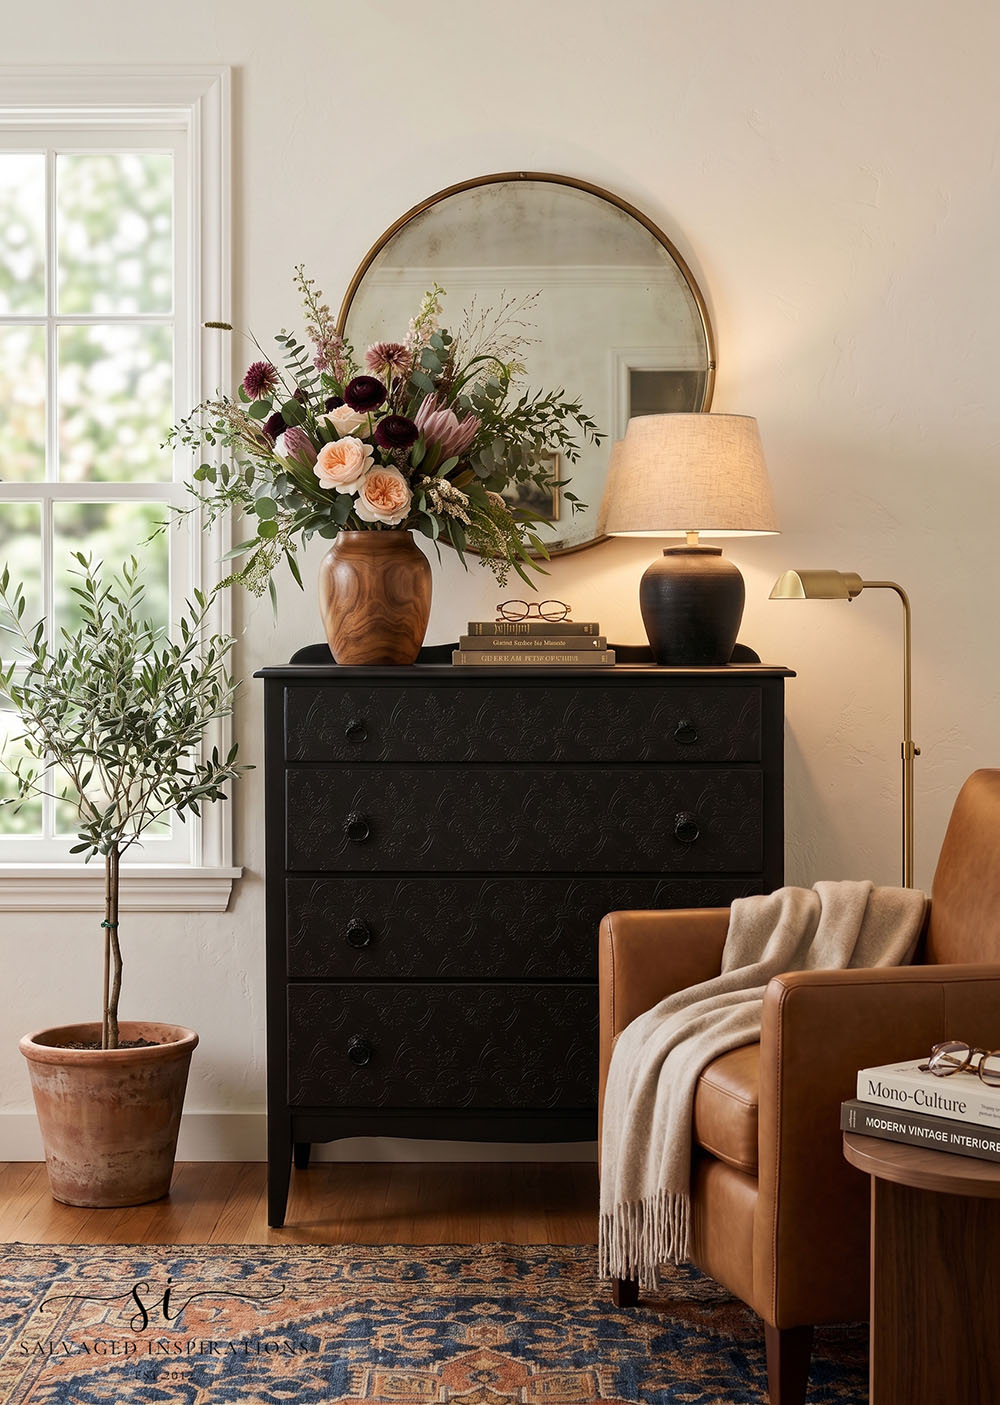
(I love the AI’s imagination for your recent settings.)
Thanks, so happy you like the look! And I’m with you… I love what AI generated for this roomscape too. It’s pretty amazing if you prompt it correctly, and it’s fun playing around with different prompts as well. I love seeing all the decor styles!😃
I love the new look you gave to this piece. It totally transformed it. I agree, I wish AI could do my whole house🤣Who knows what the future holds? Have a great weekend. I’m going to hop over to see what the others are up to today.
Right!? 😃 It would be awesome if my home were decorated (or how about cleaned and tidied!) with the click of a button.😂😂😂 Thanks for smile and for joining in on the tour. Have a great weekend Kathy!
This is stunning now, Denise! I love the raised stencil look on this piece! XOXO
Thanks my friend I really enjoyed adding the stencil on this one. And honestly, it probably took me less time than filling in all those little dings, holes and scratches.😆 Have a great weekend! XOXO
Oh, gosh! SOOO lovely! I love the raised pattern on it.
Thank you Cyndi! I love this classic damask pattern too.😃
Very cool stenciling idea!
Thanks, Leslie! I had fun with this one.🤗
Hi Denise. I’m in love with this tall boy dresser. Tall, dark, and handsome;). Just my type. Beautiful makeover.
haha, that’s just my type as well!😆 Thank you so much, so glad you like it! Have a wonderful weekend my friend. XOXO