Furniture Transfers: Beautiful Makeover Ideas, Expert Tips & Room Style Inspiration
Looking for beautiful ways to use furniture transfers? These inspiring furniture makeover ideas will show you just how versatile furniture transfers can be.
I’ve been using furniture transfers on my furniture makeovers for years, and they’re still one of my favorite ways to transform an ordinary piece into something extra beautiful. They’re very beginner-friendly, easy to apply, and allow you to create a custom look without needing any artistic skills. Whether you use an entire transfer, part of a transfer, or mix and match different designs, the creative possibilities are endless.
In this updated collection, I’m sharing 20+ inspiring room-styled transfer makeovers, along with answers to the most common questions I receive about using furniture transfers. I’ve also included AI room inspiration so you can see how the same piece can be styled in everything from dark and moody spaces to French Country, coastal, cottage, and modern farmhouse homes. Same pieces – but they look totally different!
I hope these ideas inspire you to pick up a transfer, get creative, and transform your next furniture makeover!

Update Aug 4/2026: This post has been refreshed with new FAQ’s, updated photos, and tips to answer your furniture transfer questions and provide roomscape inspiration.
*As an Amazon Associate, I earn from qualifying purchases. There are affiliate links in this post to other companies/products I use and love as well. You will never be charged extra when you purchase through these affiliate links. If you purchase from my links – A BIG thank you for supporting me and the #siblog! To see my full disclaimer, click here.
⭐ FAQ SECTION
What Are Furniture Transfers?
Furniture transfers are decorative designs that easily rub onto painted or stained furniture to create the look of custom artwork without requiring any artistic skills. Think of them as high-quality rub-on decals made specifically for furniture and home décor. They come in a wide variety of styles—from beautiful florals and vintage botanicals to French typography, whimsical butterflies, holiday designs, and more. I’ve applied them to glass inserts, mirrors, stained wood, and painted wood furniture.
Why Use Furniture Transfers?
They add BIG personality and design! One of the things I love most about furniture transfers is how easily they can transform an ordinary piece into something that looks completely custom. I’ve used them on everything from thrift store dressers and side tables to china cabinets, mirrors, trays, and even home décor accessories and holiday decor. They’re one of my favorite ways to add personality and character without spending hours hand-painting intricate details.
Are Furniture Transfers Beginner-Friendly?
VERY beginner-friendly! Most furniture transfers are designed to be applied over a painted surface, although they can also be used on stained wood, glass, metal, and other smooth surfaces. It’s as easy as rubbing the transfer on with the provided burnishing tool. Once they’re burnished onto the piece and sealed with a protective topcoat, they become part of the finish, giving your project a beautiful, professional-looking result that’s surprisingly easy to achieve.
Can You Apply Transfers Over ANY Kind of Paint?
One of the questions I get asked most often is whether furniture transfers will stick to any type of paint. The short answer is yes… in most cases! I’ve successfully applied furniture transfers over chalk-style paint, mineral paint, acrylic paint, latex paint, and even milk paint. The key isn’t so much the type of paint—it’s making sure the paint has fully cured and the surface is clean, smooth, and dry before applying the transfer.
Paint Types That Work Well with Furniture Transfers
✔ Chalk-style paint
✔ Mineral paint
✔ Acrylic paint
✔ Latex paint
✔ Milk paint (once fully cured)
✔ Furniture paint with a smooth finish
Can You Seal Them?
Yes—I always recommend sealing furniture transfers to protect your hard work. A water-based poly or wax works really well. The transfer itself adheres beautifully, but if it’s on a high-traffic item, it can still be scratched or damaged with everyday use if left unprotected. A clear topcoat helps lock everything in place and gives your furniture a durable finish that will stand up to normal wear and tear.
Once the transfer has been fully burnished onto the surface, you can safely apply a clear protective finish over it.
My Tips for Sealing Furniture Transfers
- Allow the transfer to fully adhere before applying a topcoat.
- Apply thin, even coats rather than one heavy coat.
- Use a high-quality brush or applicator to avoid streaks.
- Let each coat dry completely before adding another.
- Follow the manufacturer’s recommended curing time before putting the furniture back into regular use.
Can You Layer Them?
YES! It’s one of my favorite things to do. Layering furniture transfers is one of my favorite ways to create a truly custom, one-of-a-kind look. While a single transfer can make a beautiful statement on its own, layering different designs, or even using just portions of a transfer, adds a more artistic feel to your furniture makeover. It’s also a great way to make your project look less like it came straight out of the package and more like a custom design.
Over the years, I’ve found that some of my favorite furniture makeovers weren’t created by using an entire transfer exactly as shown. Instead, I often cut transfers apart, rearrange the elements, overlap florals, or combine pieces from different transfer sheets to better suit the furniture. That’s where the creativity really begins!
Tips for Layering Furniture Transfers
- Start with your largest design first, then build around it with smaller elements.
- Cut transfer sheets into smaller sections for easier placement and a more natural look.
- Don’t be afraid to mix florals, greenery, script, or butterflies for added interest.
- Step back often to make sure the overall design feels balanced before burnishing everything into place.
- If you’re combining multiple transfers, apply one completely before positioning the next.
My Favorite Layering Trick
One trick I use all the time is leaving a little breathing room between layered elements instead of crowding everything together. This helps each design stand out while still creating a cohesive look. Sometimes less really is more, and a few thoughtfully placed transfer pieces can have a much bigger impact than covering every inch of the furniture.
The best part? There are no hard-and-fast rules. Experiment with different layouts, trust your eye, and don’t be afraid to make the design your own. That’s what turns a beautiful furniture makeover into a piece that’s uniquely yours.
Can You Use Furniture Transfers on Laminate Furniture?
Yes—but there’s one important step you shouldn’t skip. Furniture transfers don’t adhere well to bare laminate because the surface is too smooth and non-porous. The good news is that once you’ve properly prepared and painted your laminate furniture, you can apply furniture transfers just as you would on a solid wood piece.
I’ve used transfers on painted laminate furniture many times, and they hold up beautifully when the surface has been prepped correctly. The secret is making sure your paint has bonded well to the laminate and has had enough time to fully cure before applying the transfer.
My Recommended Process
For the best results, I always follow these steps:
- Clean the laminate thoroughly to remove grease, wax, and dirt.
- Use a quality bonding primer if needed.
- Paint the furniture with a durable furniture paint.
- Allow the paint to cure according to the manufacturer’s recommendations.
- Apply your furniture transfer.
- Finish with a protective topcoat.
Skipping the prep work can lead to paint failure, and if the paint doesn’t stay put, neither will your beautiful transfer.
My Experience with Laminate Furniture
Over the years, I’ve painted and transformed my fair share of laminate furniture, and I never let the fact that it’s laminate stop me from giving it a makeover. Once it’s properly prepared, laminate can be an excellent surface for painted finishes, decorative transfers, and other creative embellishments.
If you’re new to painting laminate, here’s a complete step-by-step guide where I walk you through the entire process, from cleaning and priming to painting and sealing your finished piece.
AI INSPIRATIONS GALLERY
I had a TON of fun creating this for you! Here are some of my favorite furniture transfer makeovers staged and styled in different room settings AND different decor styles! I’ve included French Country, Coastal, Dark Moody Vintage, and Modern Farmhouse. Here you can see the SAME furniture pieces styled in very different decor settings. This showcases that the furniture transfers can be used in multiple decor styles. I can’t wait to hear which one is your favorite!
FRENCH COUNTRY TRANSFER STYLE
No.20
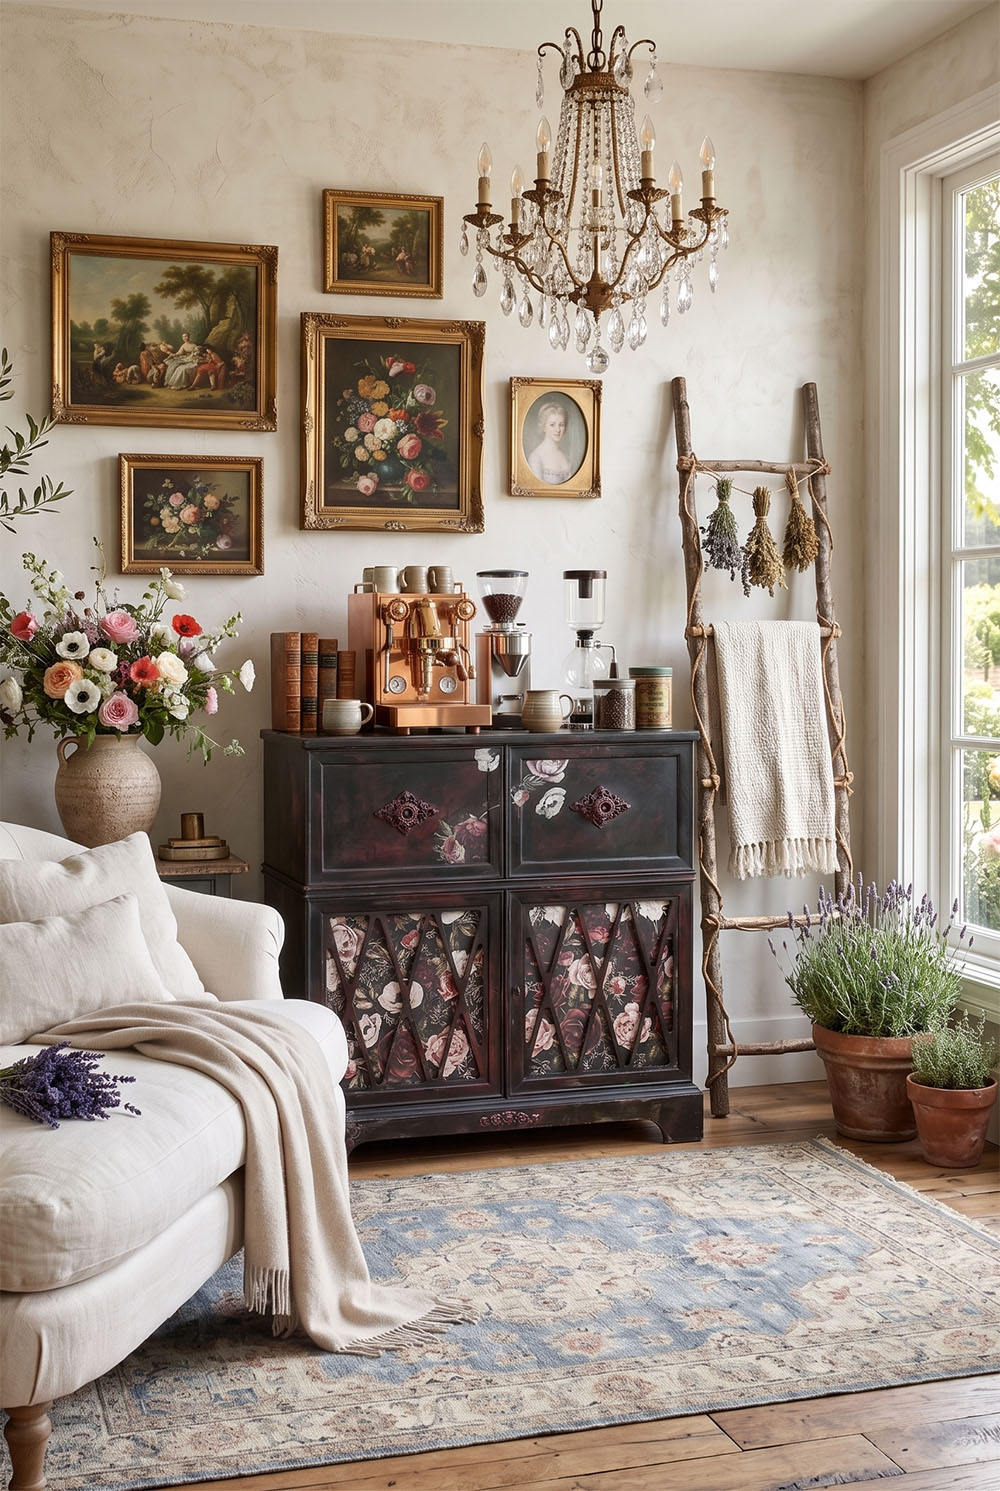
No.19
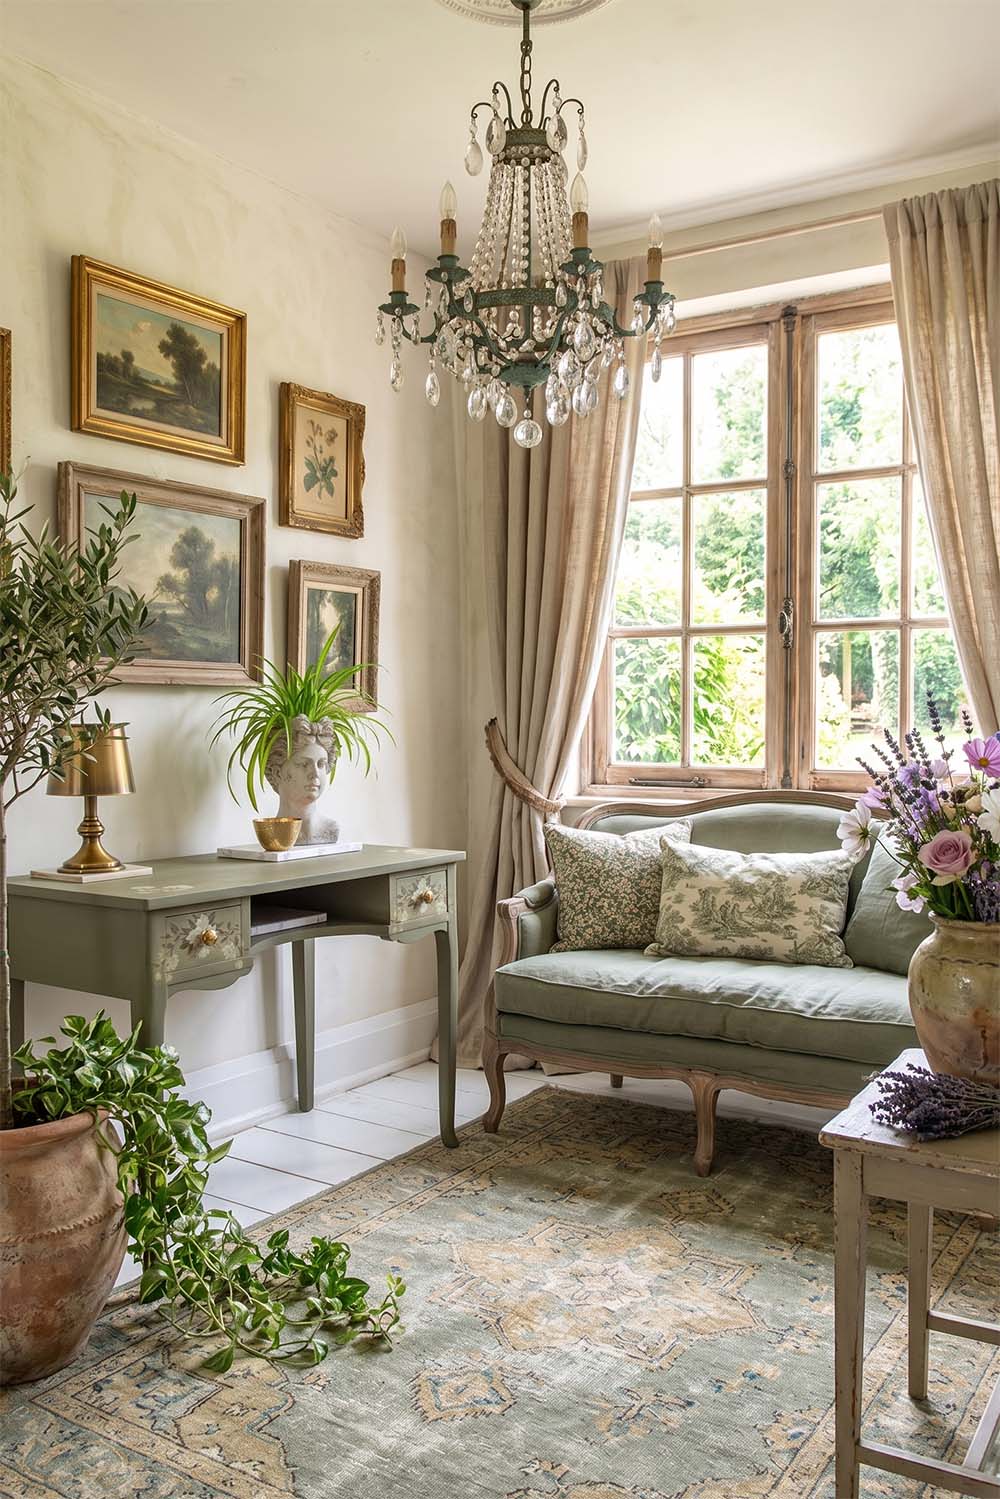
No.18
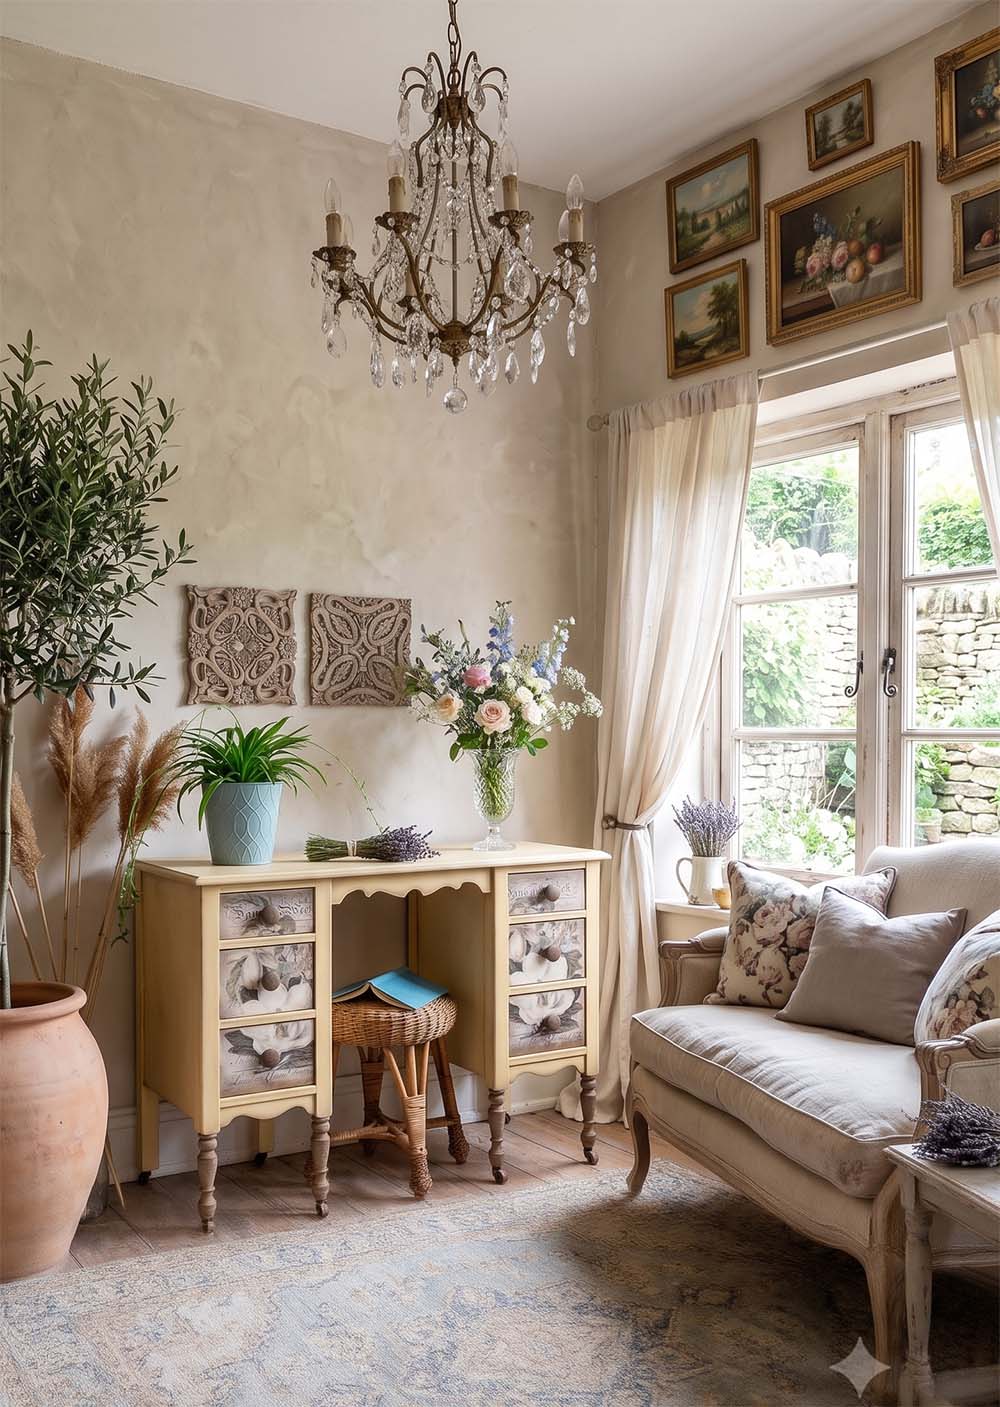
No.17
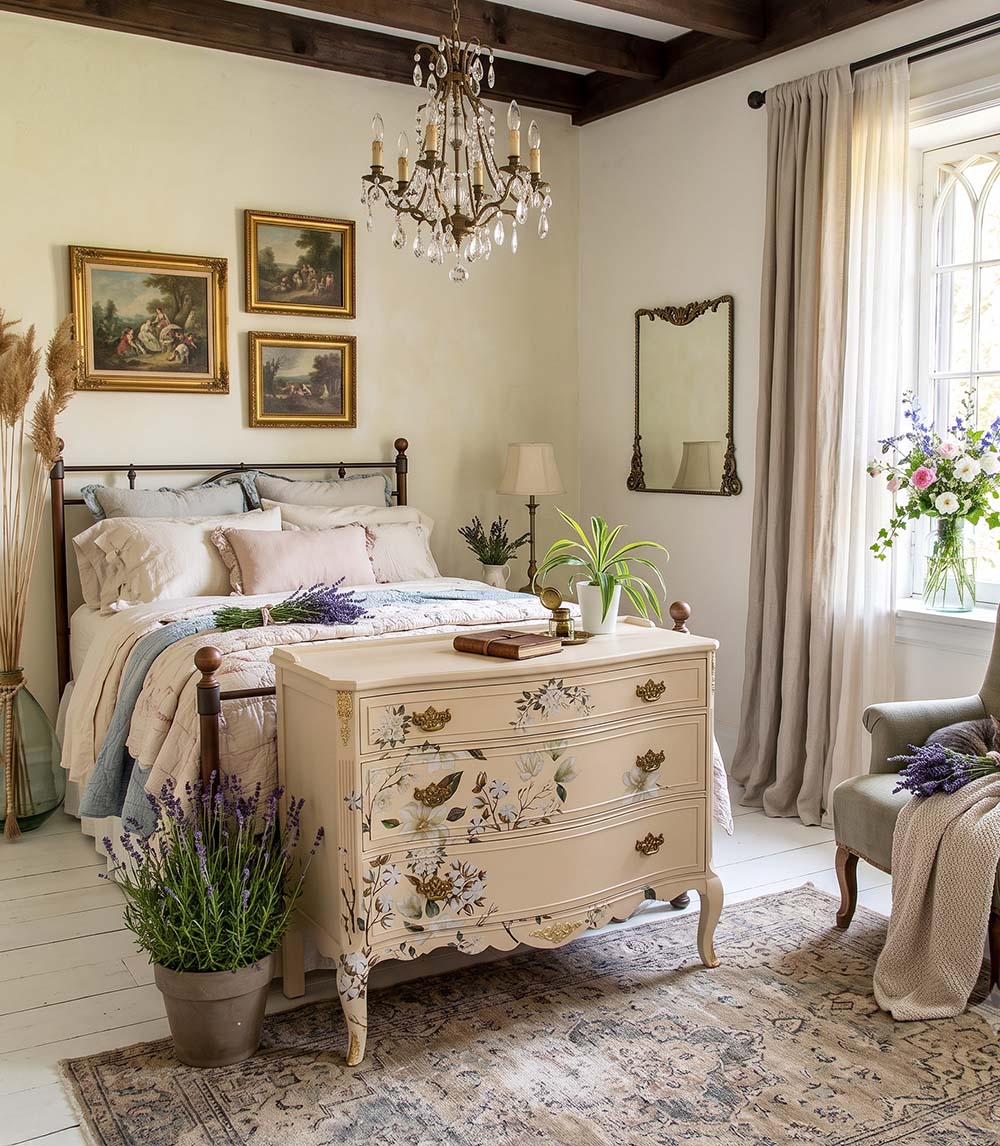
No.16
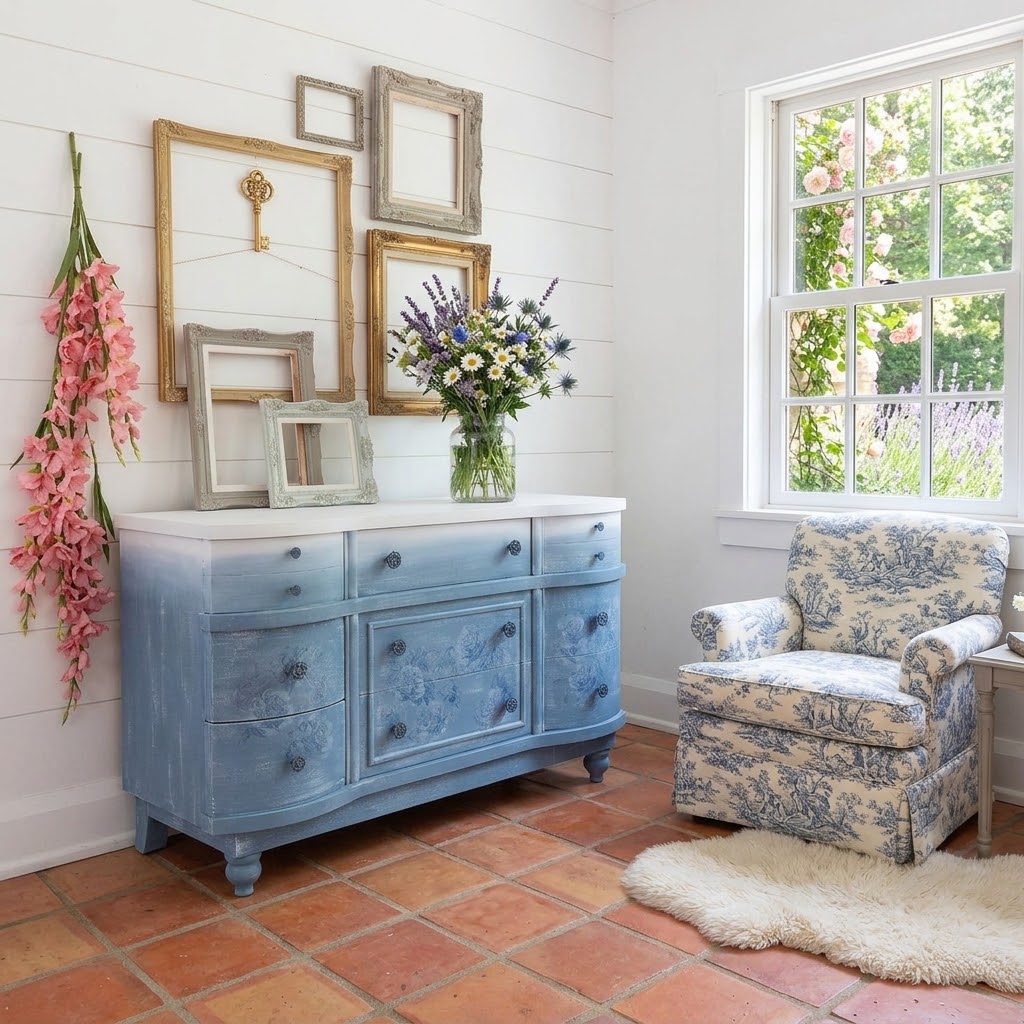
No.15
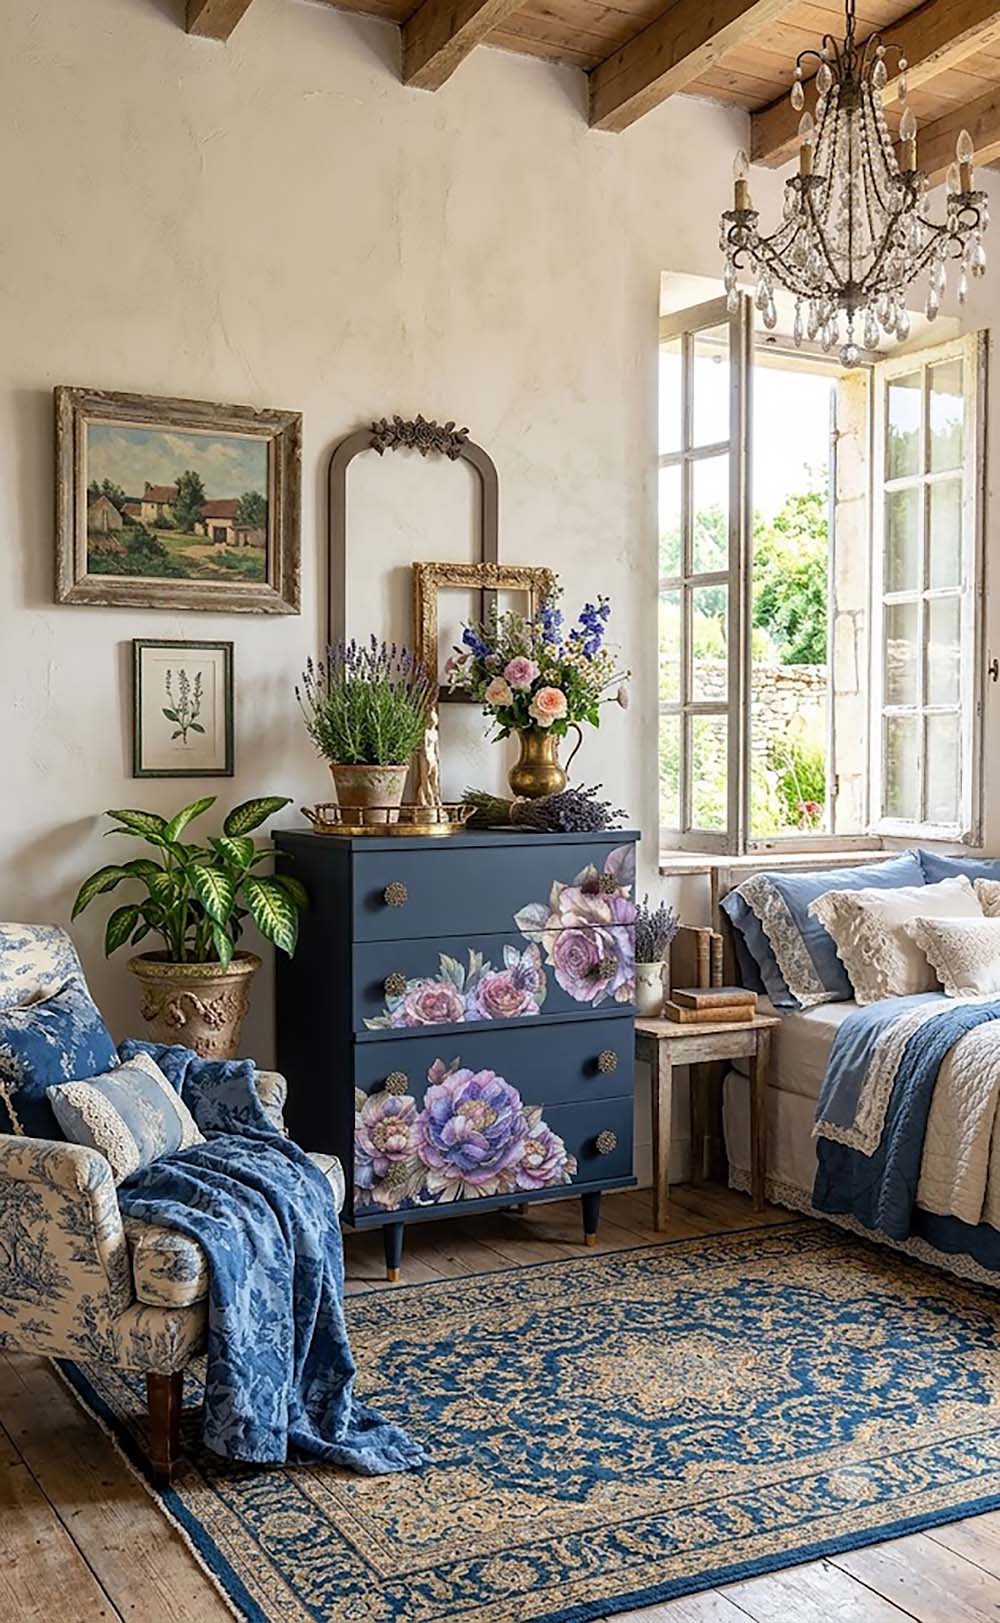
COASTAL TRANSFER STYLE
The same furniture makeovers with the same transfers and paint finish can look COMPLETELY different in an airy and light coastal decor setting!
No.14
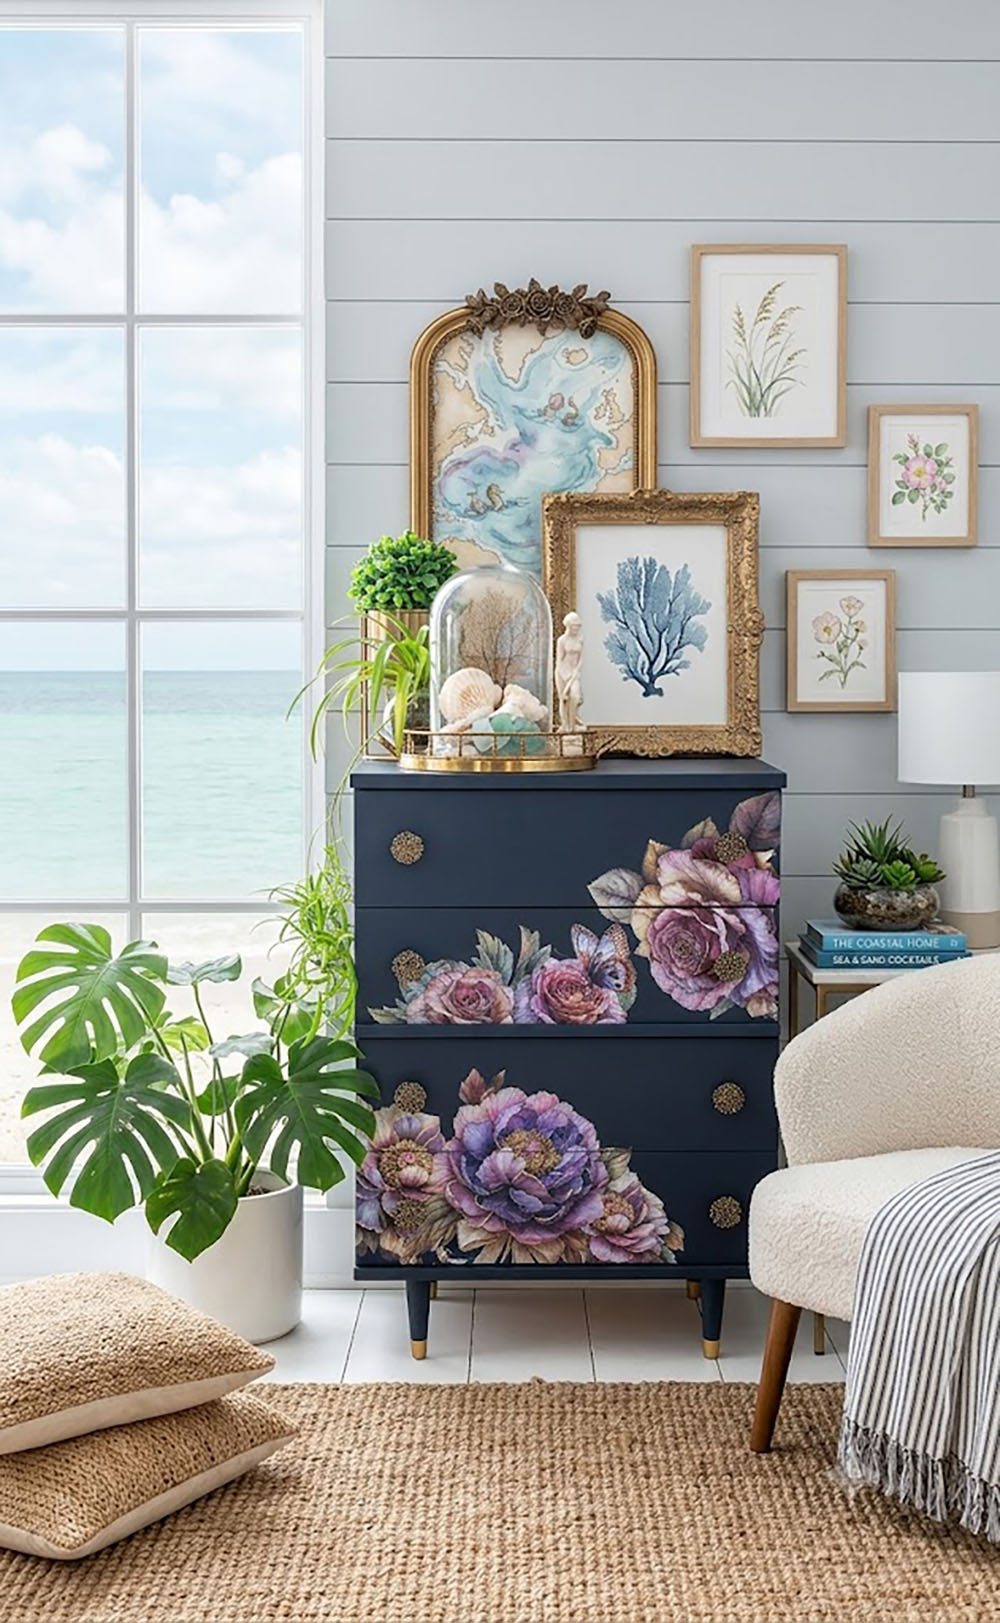
No.13
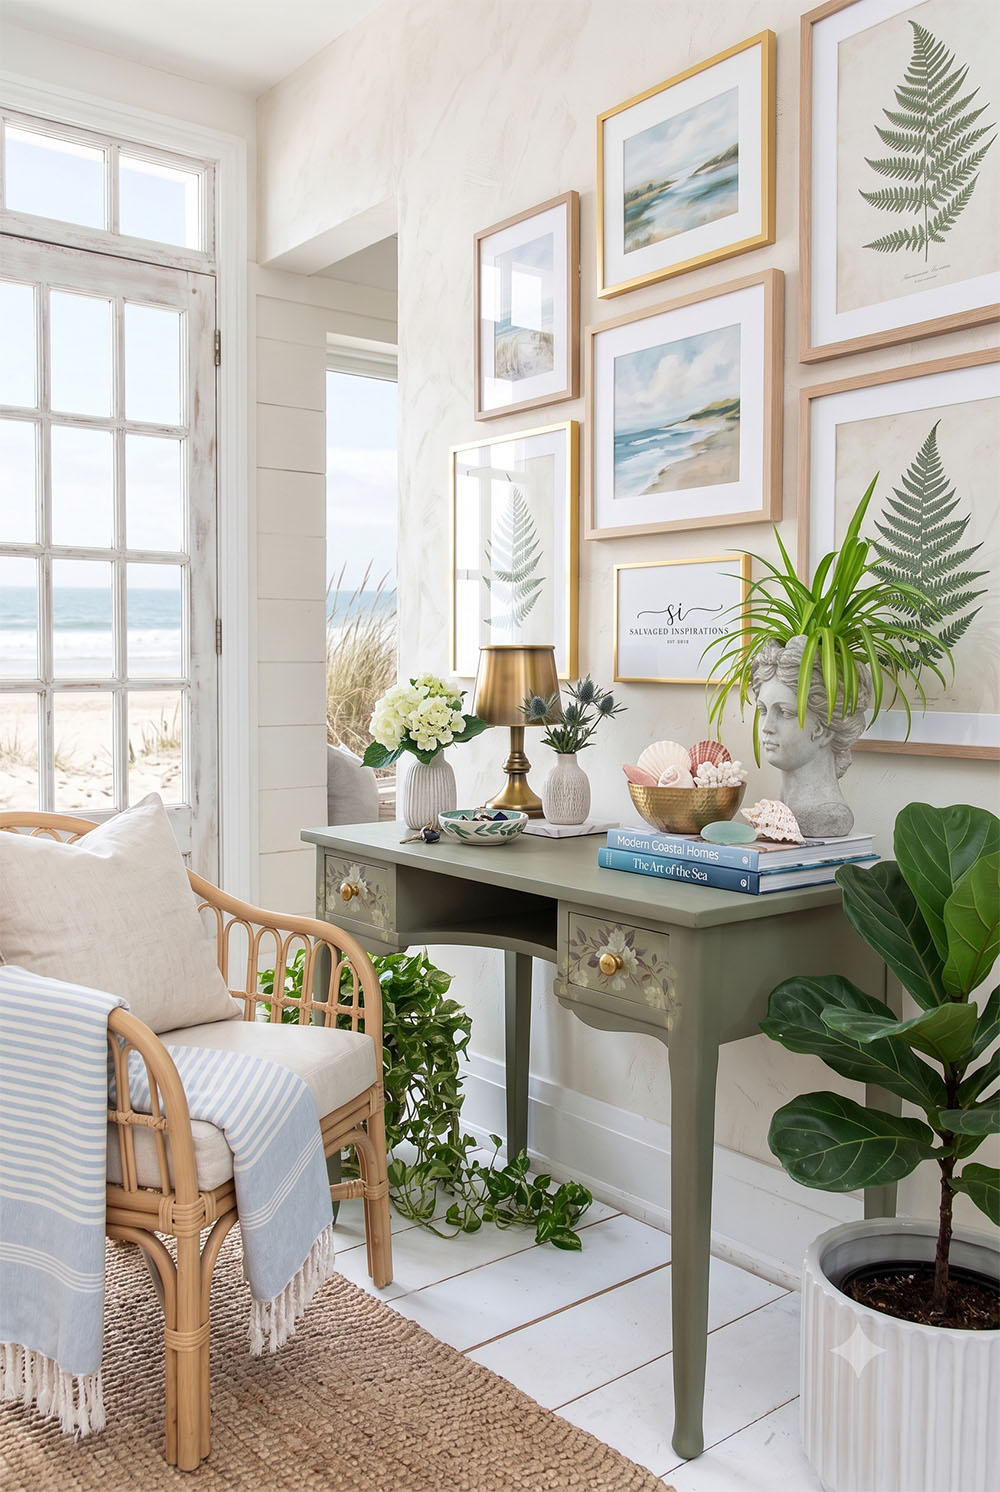
No.12
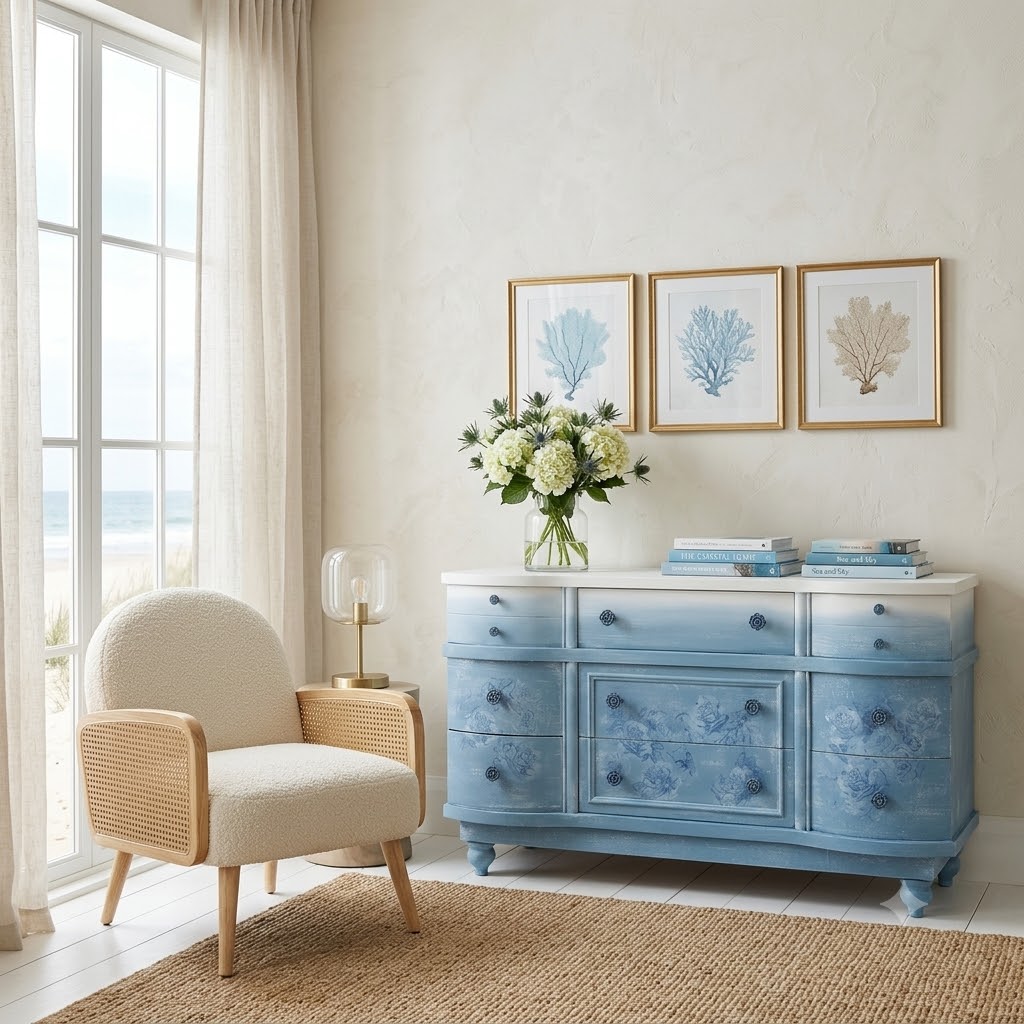
No.11
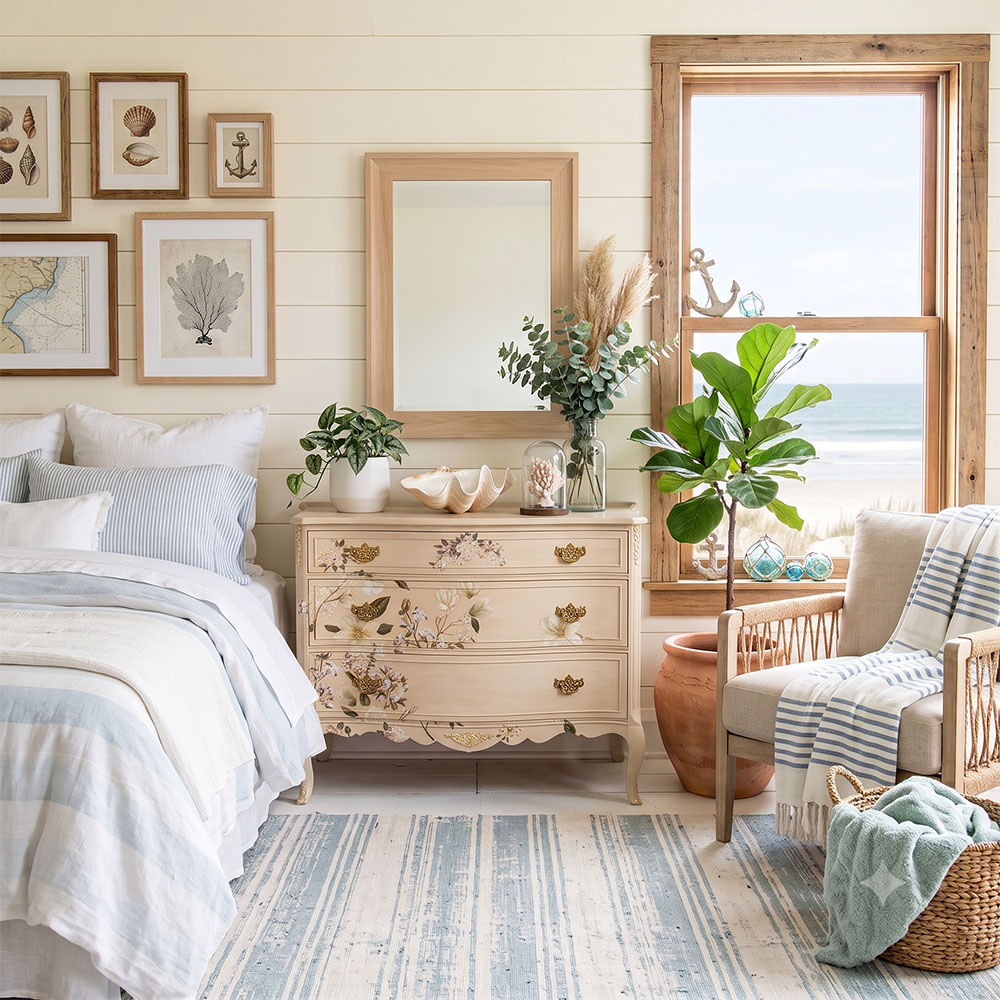
DARK MOODY VINTAGE TRANSFER STYLE
And again have a totally different vibe in a dark moody vintage styled home decor.
No.10
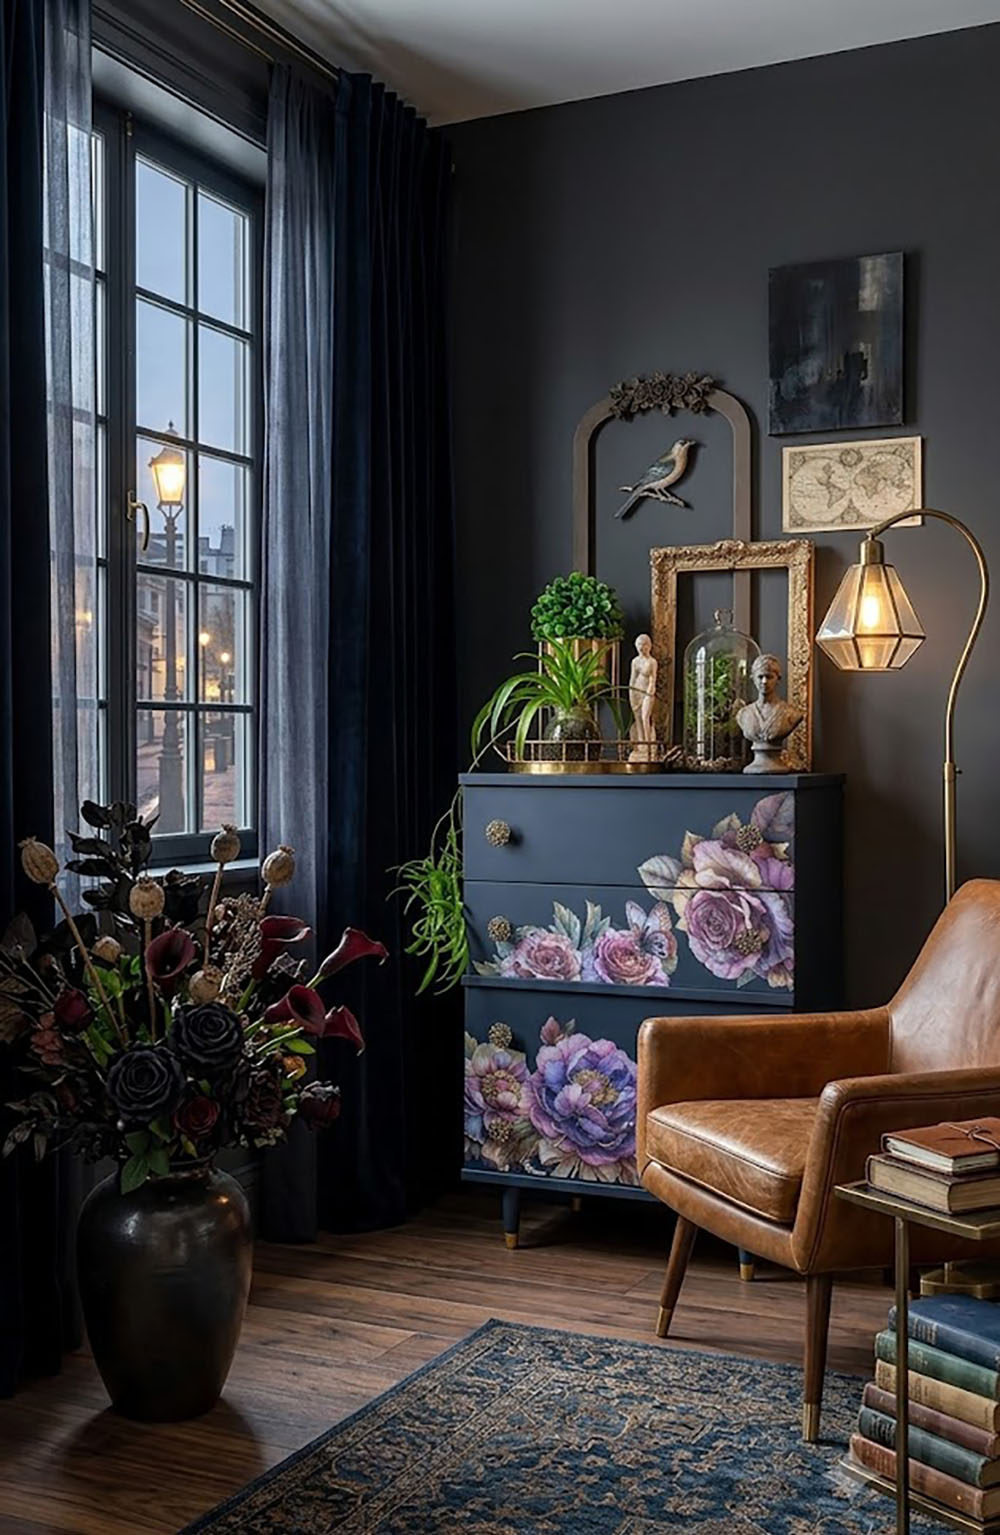
No.9
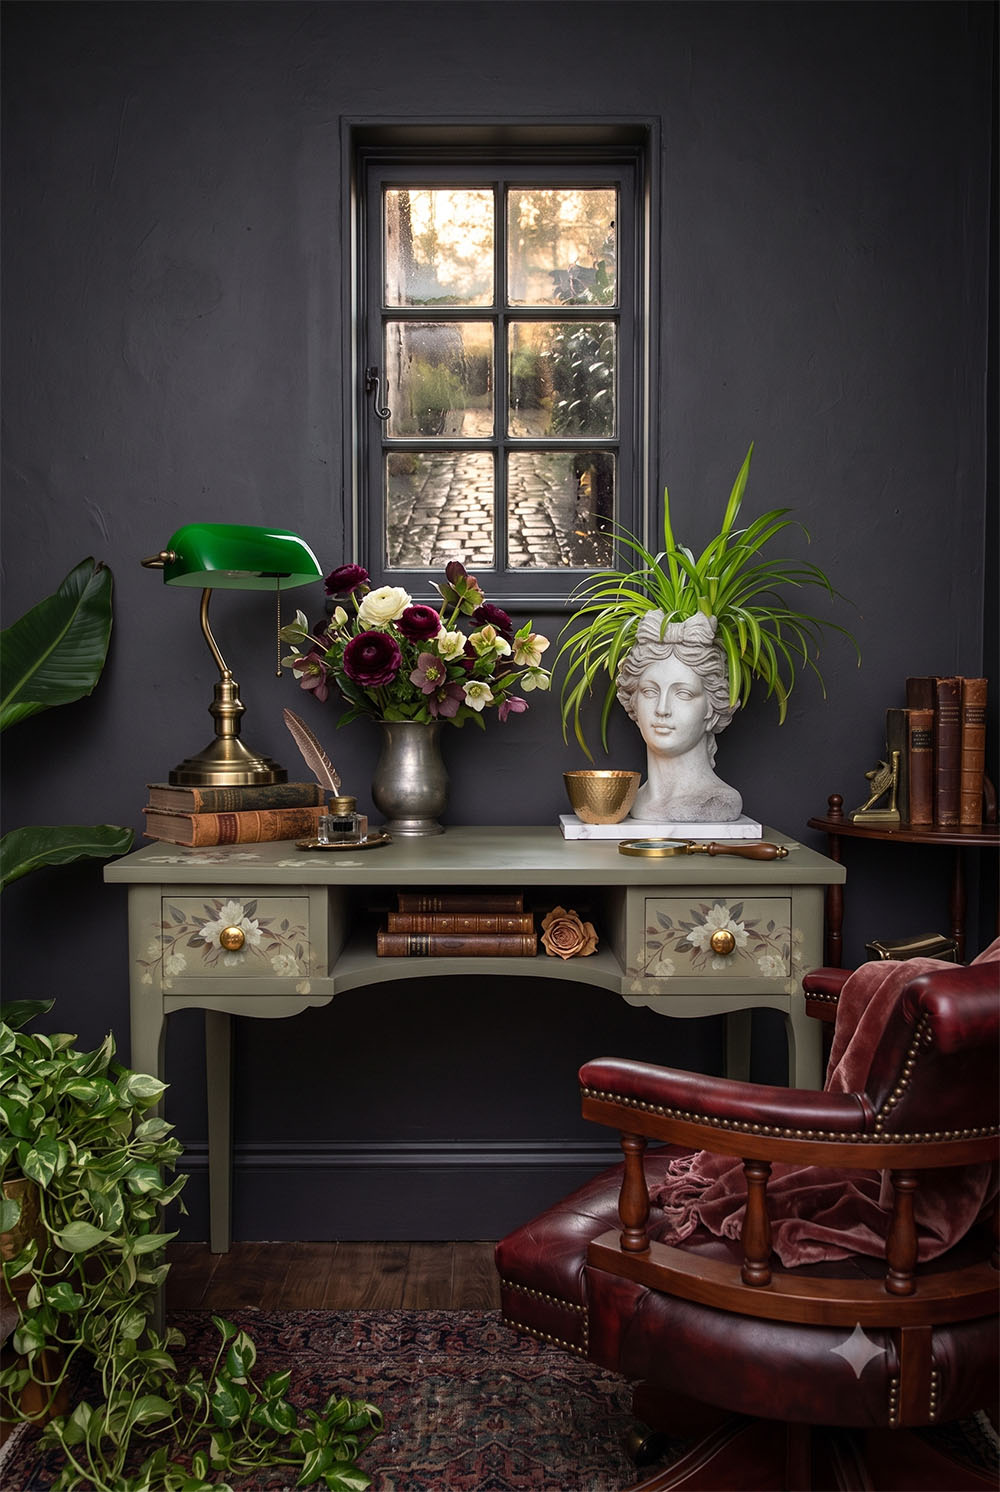
No.8
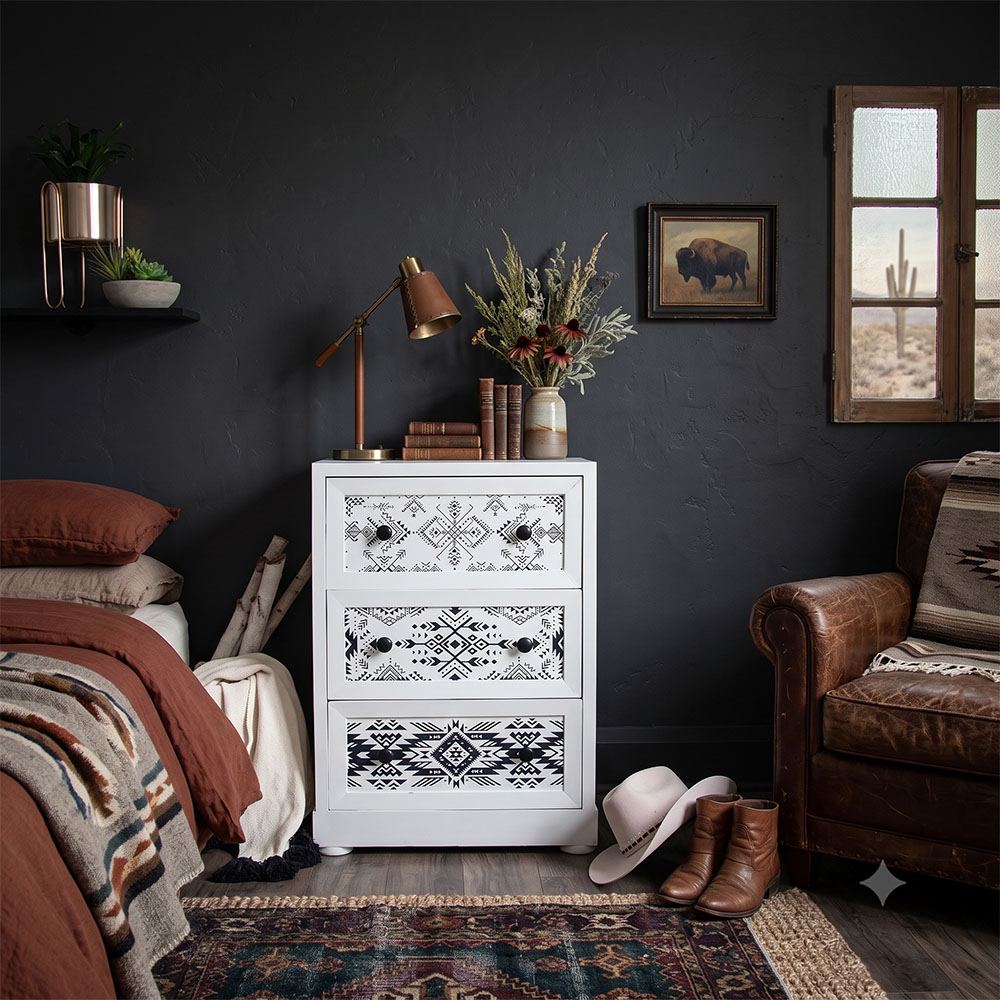
No.7
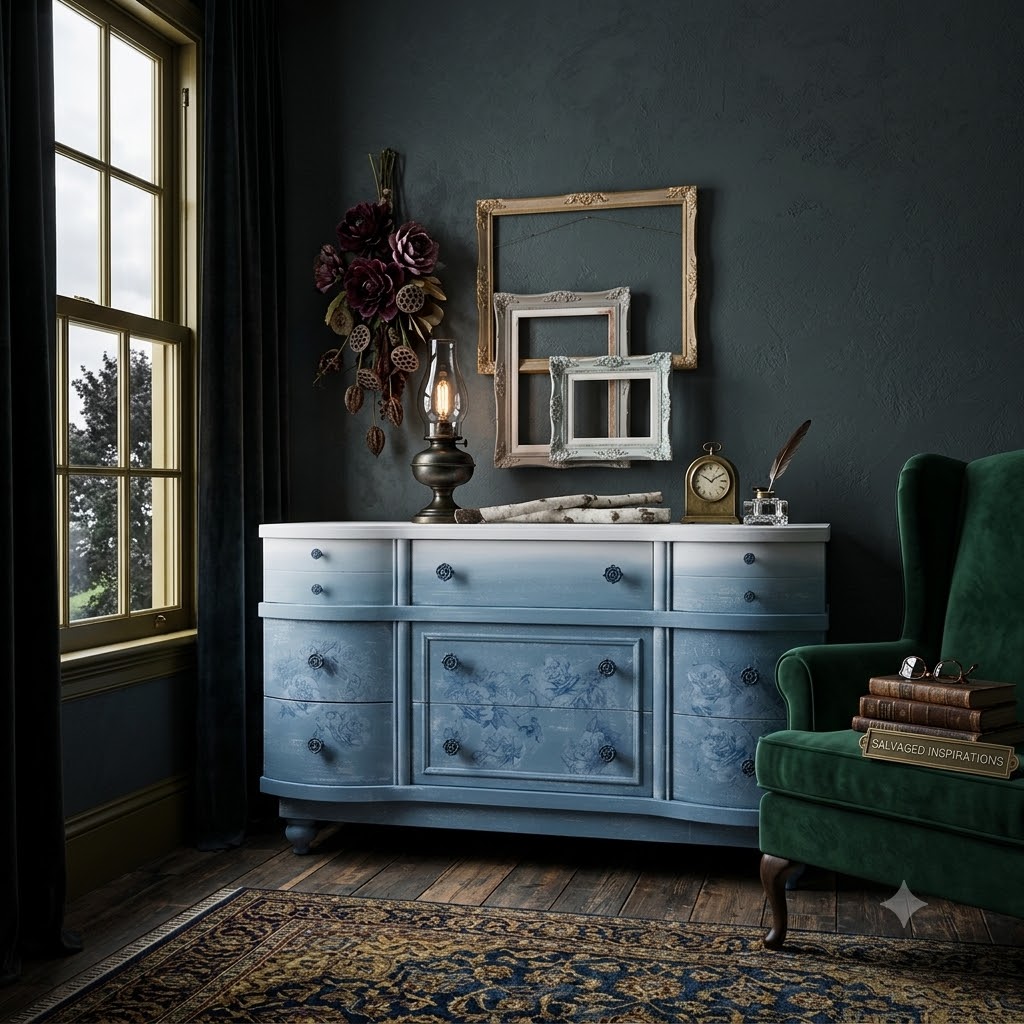
No.6
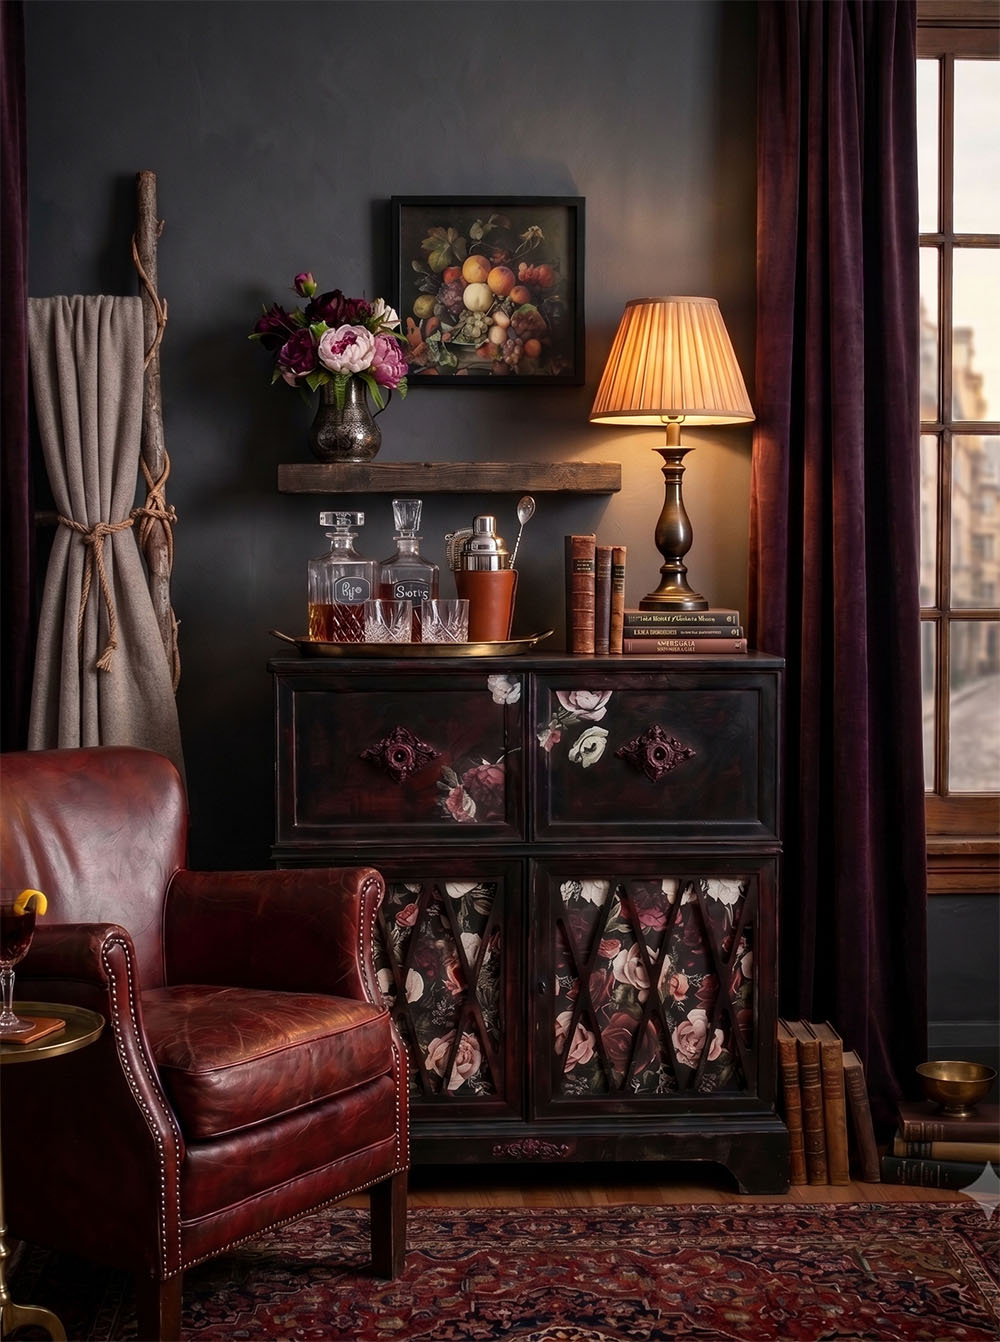
MODERN FARMHOUSE TRANSFER STYLE
And for those of you who love modern farmhouse, floral transfer furniture fits in beautifully!
No.5
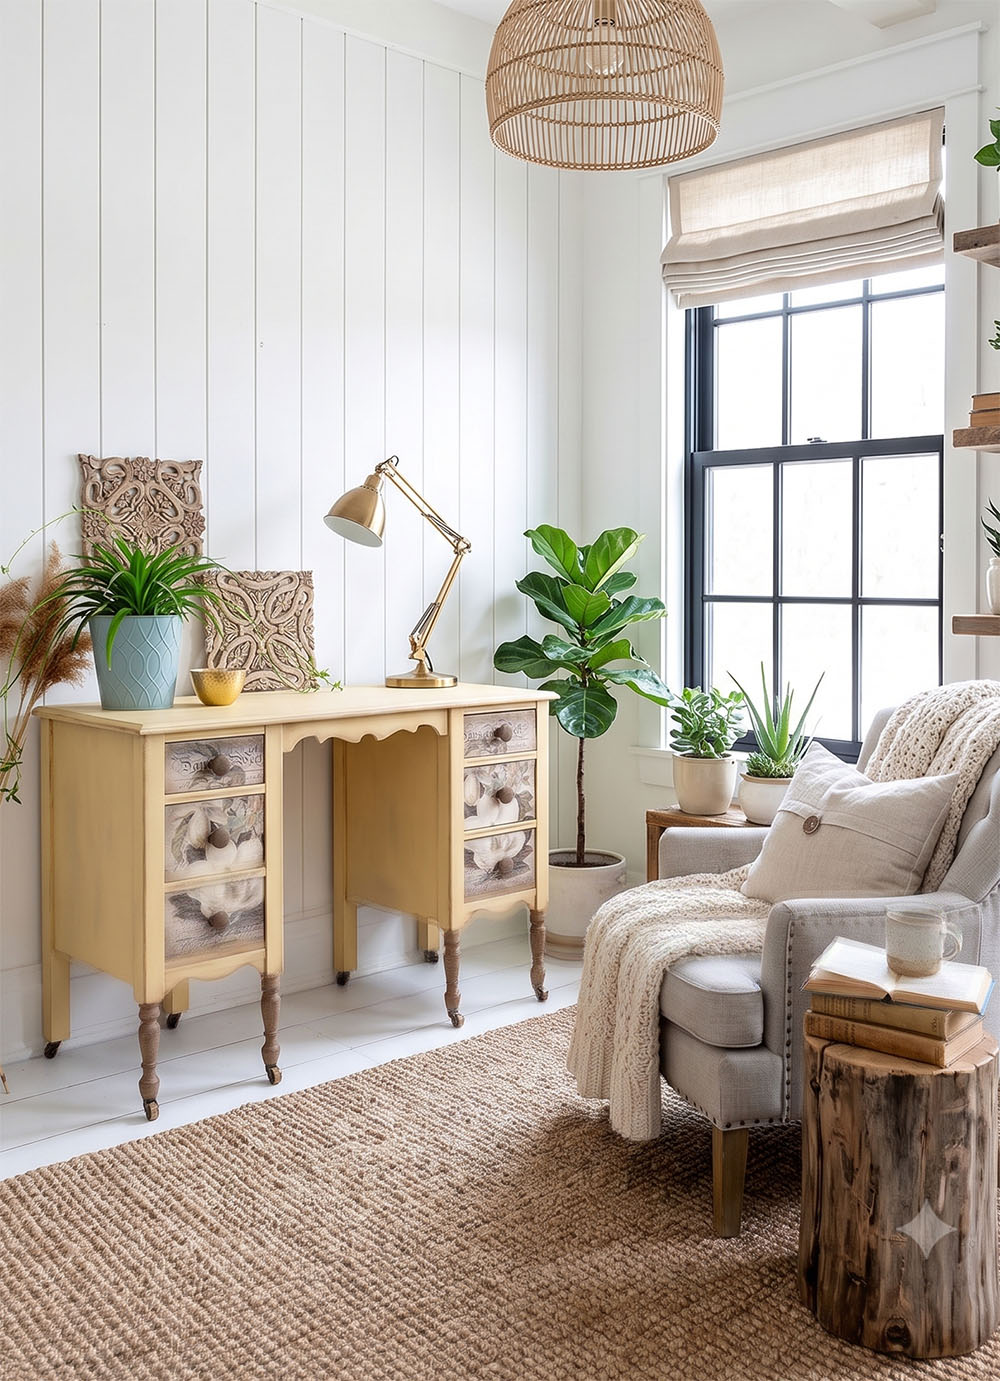
No.4
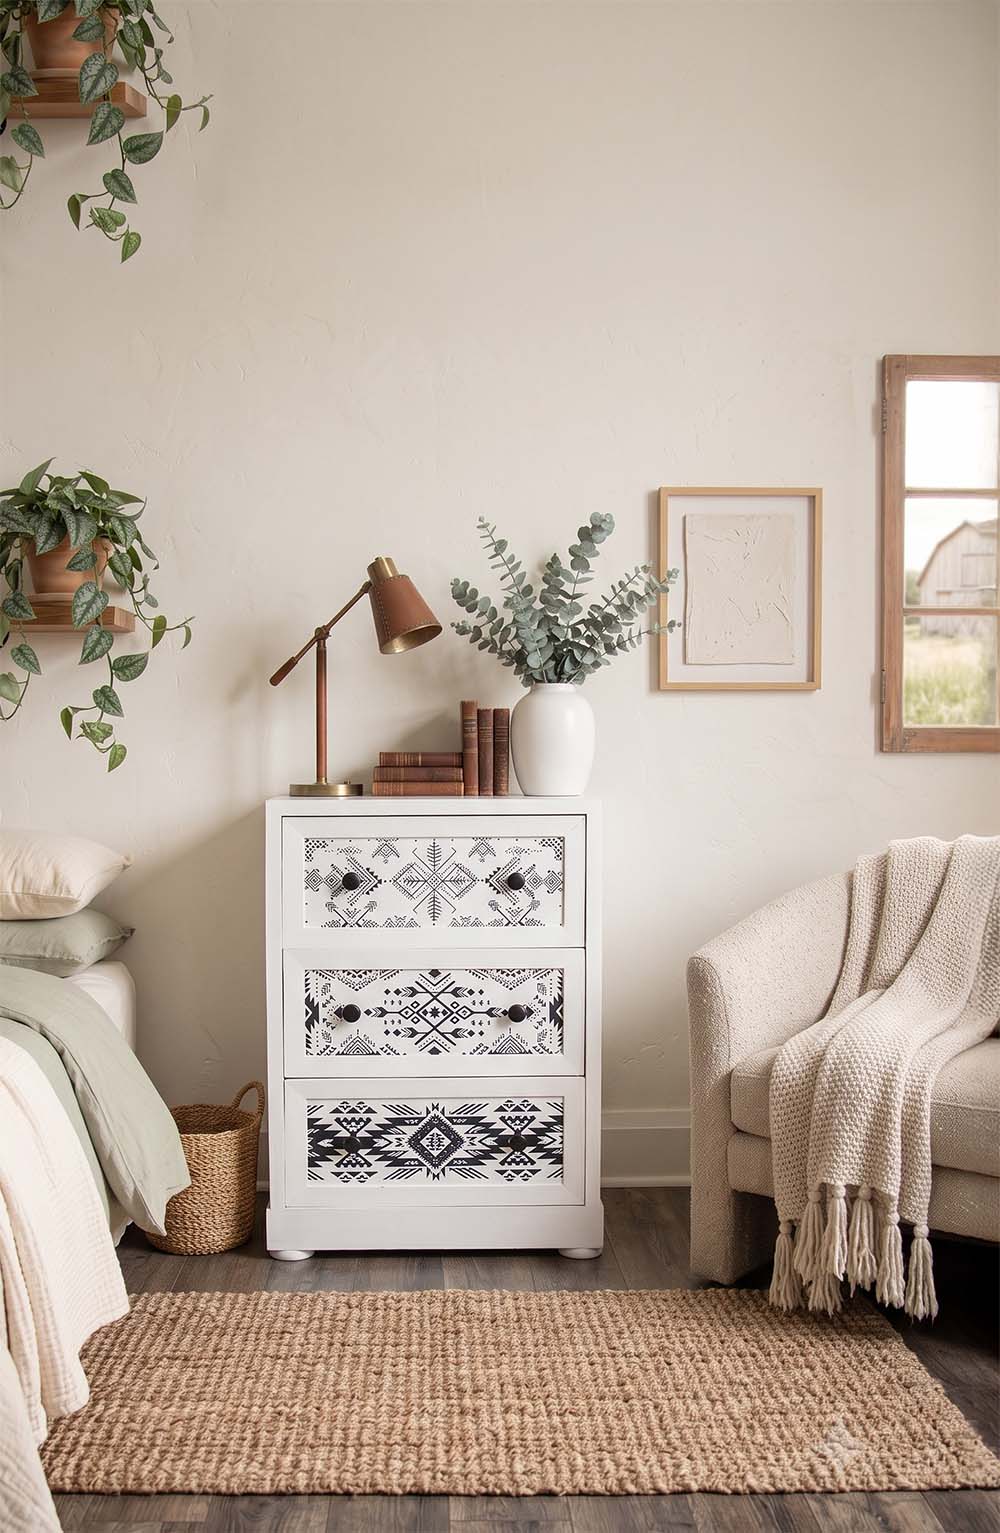
No.3
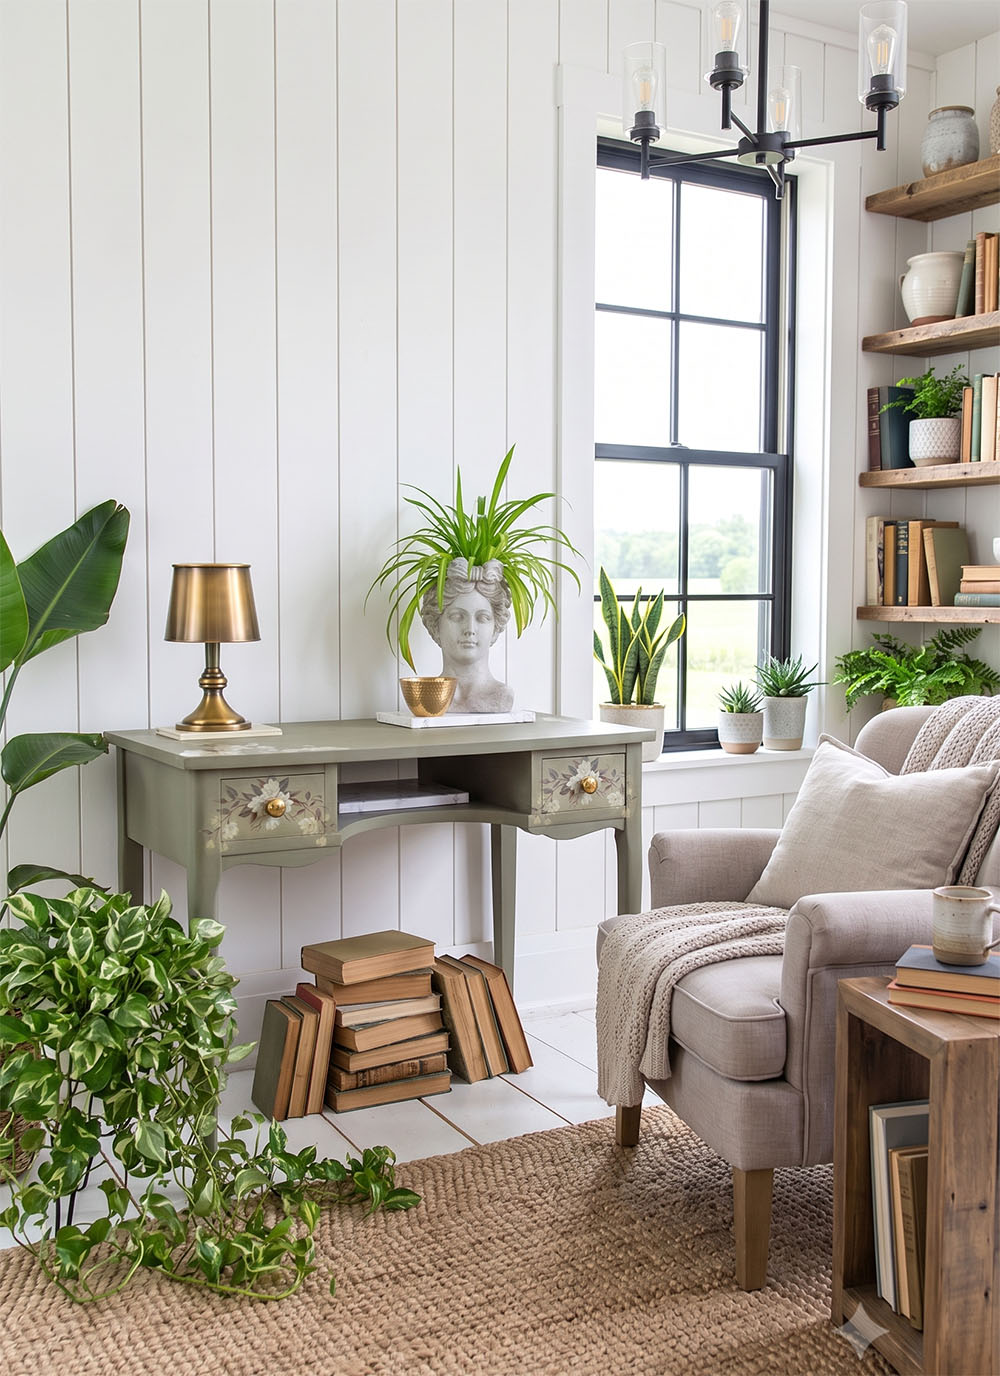
No.2
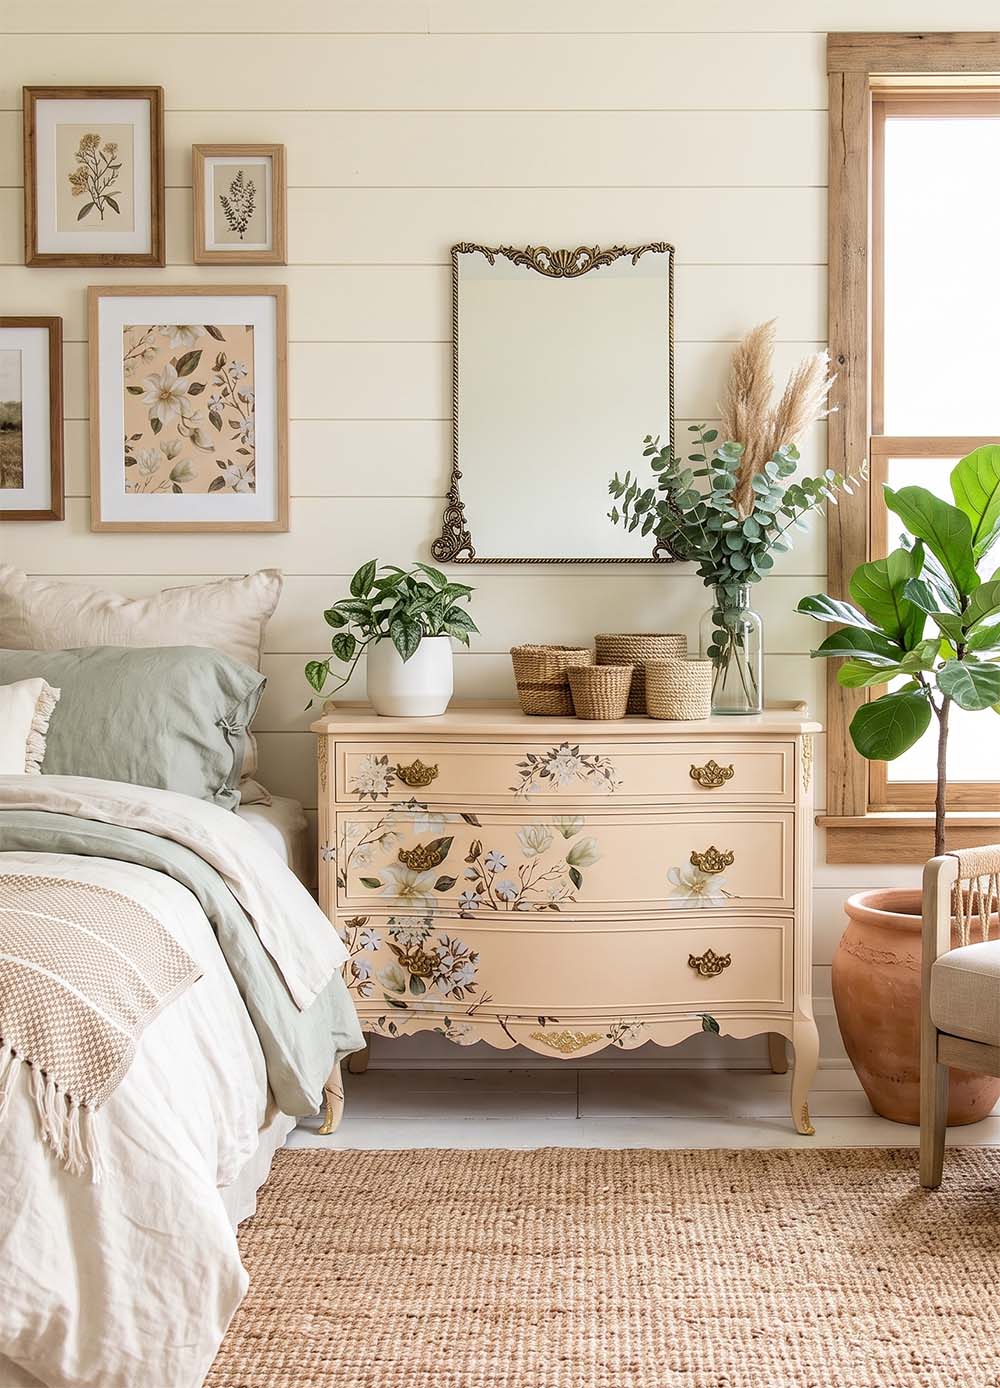
No.1
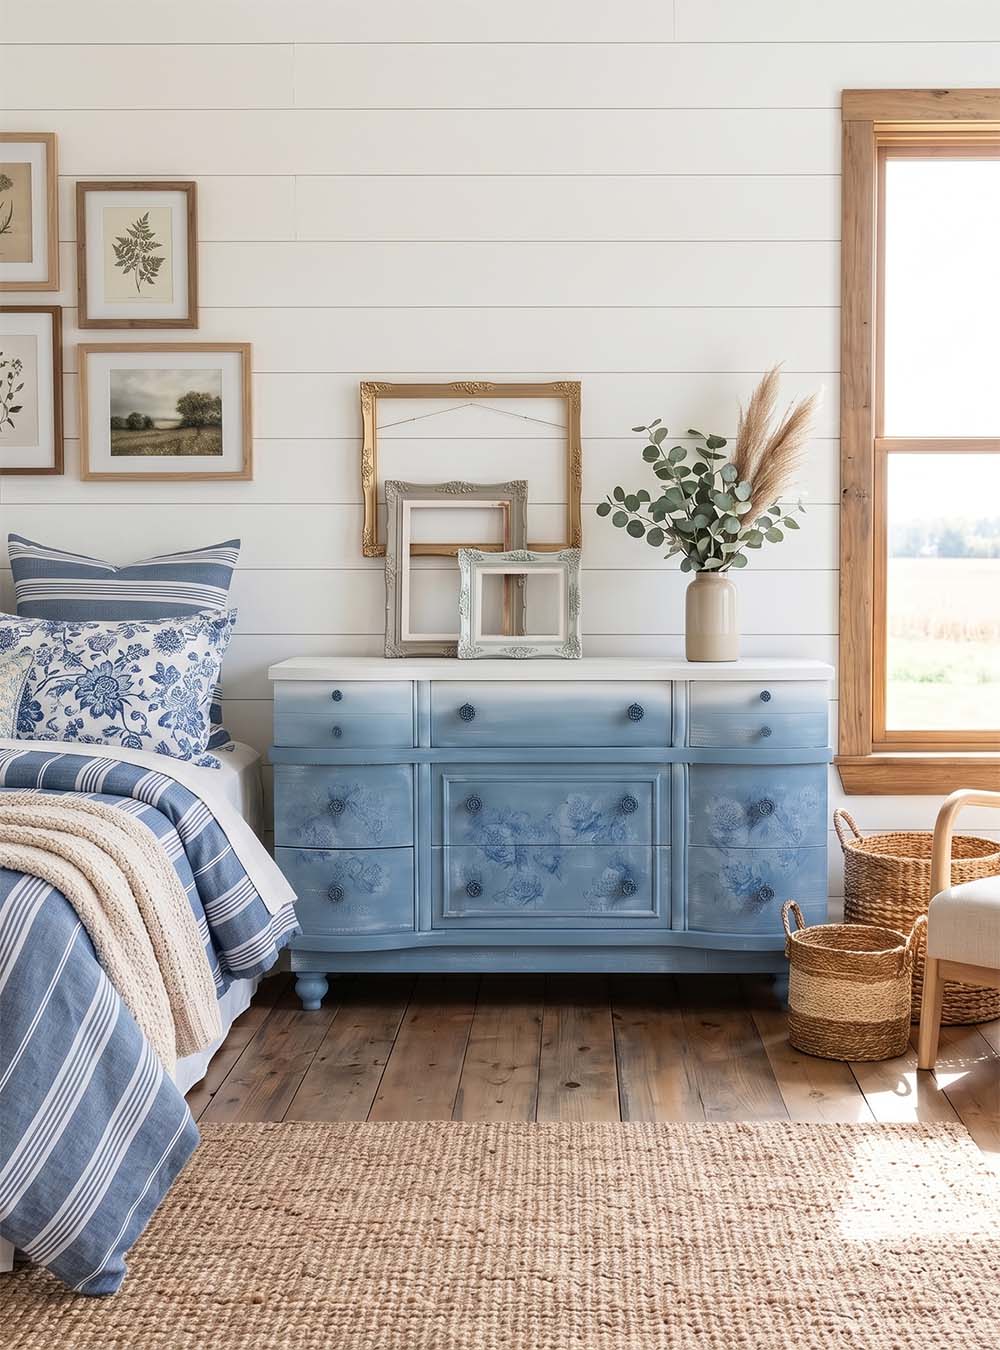
MY FINAL THOUGHTS
After using furniture transfers on numerous furniture makeovers over the years, I’ve learned they are one of the easiest ways to give ordinary furniture a custom, artistic finish no matter what your decor style. They’re perfect for beginners because they create the look of hand-painted artwork without requiring any artistic experience. I hope this roundup of roomscapes with my transferred pieces has given you plenty of inspiration.
I had SO MUCH fun putting it all together for you!
Which is your favorite furniture decor style? I’d love to hear in the comments down below. Thanks for being here and sharing with me!
Happy creating, friends! 🙂
Denise x
RELATED POSTS:
Furniture Transfers FAQ
Dusty Blue Floral Dresser
How to Remove Furniture Transfers
Transfers on Fabric
Floral Transfer Spring Dresser
Magnolia Garden Dresser
PIN AND SHARE!

 Hello again... I'm so happy you dropped by! Let's keep in touch! Follow me on social media or sign up for a dose of furniture painting inspiration and diy tutorials. :)
Beeeeautiful collection ! You have a great eye 🙂
I look forward to your every post. Fav’s… ? so hard, but 18, 16. I esp liked 8 sinple white with black geometric patterns on the drawers. Haven’t seen others using much non-floral transfers. Timeless and easy to see in so many places / uses.
My Fav is 5. Love the soft neutral tan desk. The magnolia transfers make it so special. Love the stained legs for contrast. Sooo glad I found you.
Hi P! That’s a really good point you bring up. I don’t see many non-floral transfers being used either! Even when the transfers have birds, butterflies etc, they usually have florals along with it. Now I’m going to keep my eyes peeled, lol. So happy you enjoyed this and spotted a few faves. This was a fun seeing the pieces in different decor settings.
Oh my gosh, Denise! I LOVE the updates and styling ideas that you’ve shared. Each and every piece is perfectly displayed. You’ve helped so many with the “how tos” of transfers on furniture. Thank you for sharing these lovely transformations. Have a great rest of your week. xo 🙂
Thanks, my friend! I had fun seeing these pieces in different decor settings. Enjoy your week/weekend as well! XOXO
Thought I’d try my hand at using transfers so bought the Cancer Awareness wild flower transfers. I am at a stand still as I really don’t know what to paint my furniture base so that the transfer stands out. Any suggestions?.
Ty for such a fabulous post! Such beautiful inspiration!
I’m so glad you enjoyed it, Lily! 🙂
Hi I’m looking for coastal transfers seashells large seahorse something with lots of color all I’m seeing is flowers and farm animals
Hi Angela! I get my transfers from here and they deliver right to your door. Hopefully, they have a design you like.:)
They are all beautiful pieces. I don’t know if I have the talent to do something like that ,but, would love to try.
Thanks for collecting all these beautiful images in one place! I can’t wait to link to each of the artists’ blogs to see how they accomplished these looks.
I’ve been drooling over everyone’s beauriful painted furniture with transfers. I would 💕 to win.
Your work is amazing, I hope to win your give away <3
Absolutely amazing design work. Inspiring.
These look so neat!! I would love to try these out on an old dresser I’ve been wanting to repurpose!
Gorgeous, gorgeous, pieces. Love them all plus anything floral is my favorite.
All of these are absolutely stunning! I have been wanting to try rub on transfers for a long time and I finally have the perfect project for it! My mother-in-law gave me a cedar chest that she wants me to refinish for her and I think the transfers would look absolutely gorgeous on it.
Thank you for being such an inspiration! Your work is truly amazing, both in beauty and quality.
I think transfers would look amazing on a cedar chest too! Good luck to you Michelle! 🙂
I have never used a transfer. These are beautiful and love the designs. I will have to try them!
Good luck to you Yvonne! I know you would do something fabulous with transfers. 🙂
They are all so gorgeous. ❤️
Oh My Gosh Denise, these furniture transfer makeovers are absolutely gorgeous. Thanks for sharing them. I love your makeovers.
I love your work!
The furniture you highlighted in your blog are absolutely amazing! So much talent. Have just started adding transfers to my painted furniture and have become even more inspired! Thank you!
I’m happy I found your blog! So much talent, tips and inspiration! 🍀
Happy you found the #siblog too Diane! WELCOME and good luck to you. 🙂
Your work is just fabulous! I can never get enough of looking thru the blog!
Hi Denise I’ve got a question for you on a post you did several years ago (March 28’ 2013) on tinting paste wax and thank you for that information it was what I was looking for ! My question is can you apply the tinted wax over water based polyurethane? I painted a wood filing cabinet with chalk paint than applied a glaze to add depth and sealed it with polyurethan (water based) but when I brought it in and placed it where I wanted it the glazed areas do not pop I don’t want to redo so that leads to my question? Can I just apply tinted wax on top of finished cabinet? Thank you .Jaynell
Hi Jaynell! You sure can. 🙂 That said, depending on the color of paint you tint the wax with – it may or may not make a big impact. I’ve found that if I use a lighter color and then apply the tinted wax over a poly it doesn’t show up well. Here’s an example where it worked nicely tho 🙂
Thank you so much for your help
Such beauty and talent in one collection… thanks for sharing!