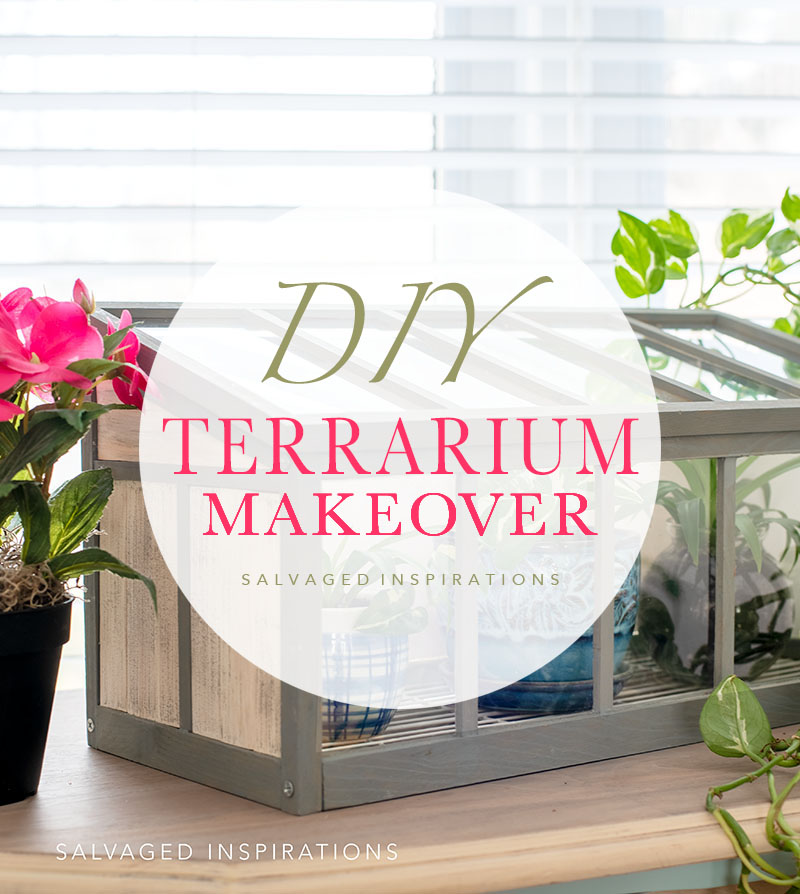
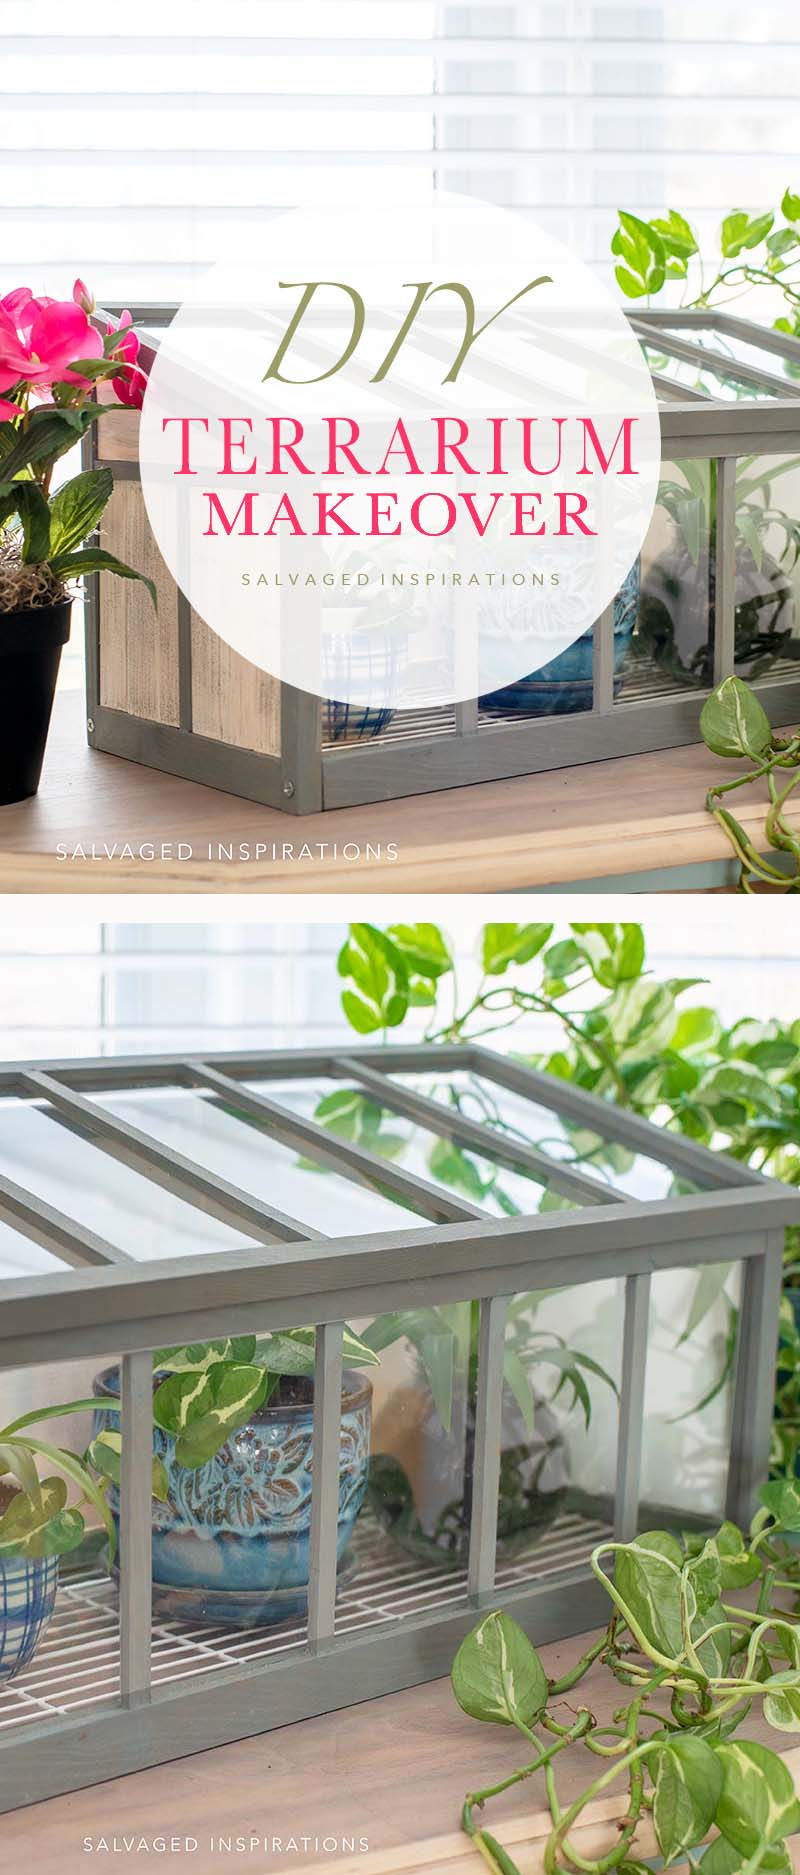
A $7.99 THRIFT STORE WOOD TERRARIUM GETS A DIY MAKEOVER WITH PAINT AND PAINT STICKS!
 Hi SIfamily, thanks for joining me today. I have the sweetest little wood terrarium project. My sister found it at the thrift store selling for $7.99 and thought it would be a cute addition to her kitchen for housing herbs or propagating her spider plants. A safe place to keep some greenery where her Tommy and Bunny cat can’t get at them. hehe
I’m also sharing ~
- Tips when painting over wallpaper
- And how to create ‘faux siding’ using FREE paint sticks from Home Depot
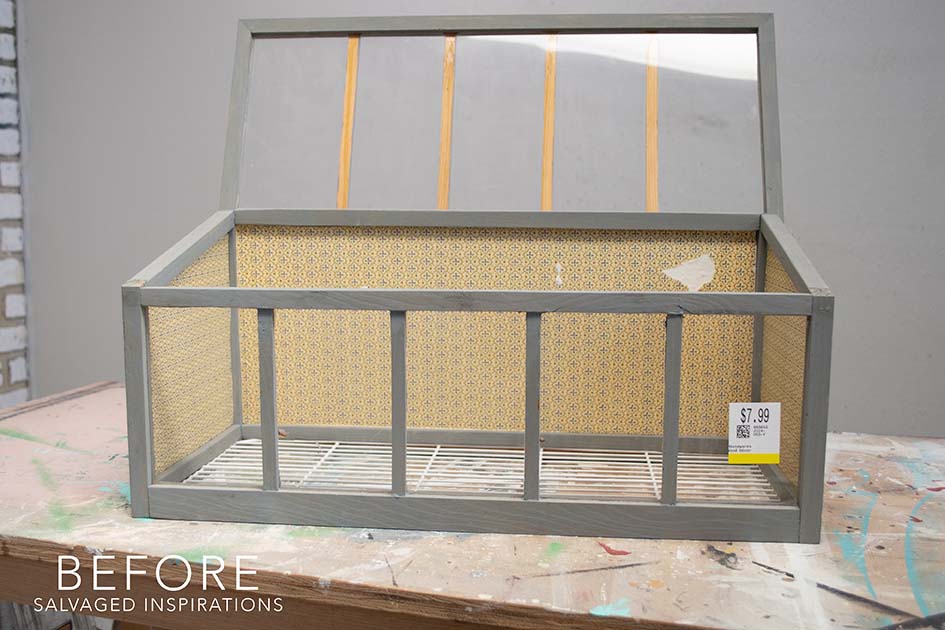
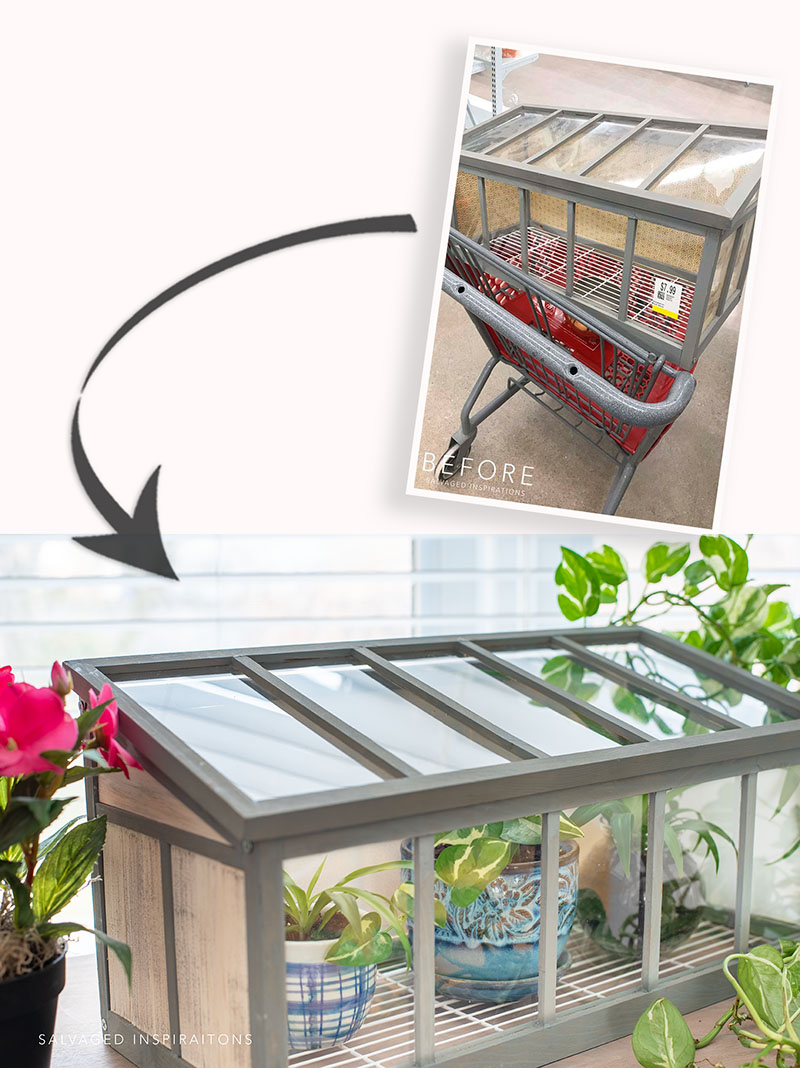
Here’s the mini terrarium my sister found at the thrift store. It’s made of plexiglass (not real glass) but a great find for the price nonetheless. 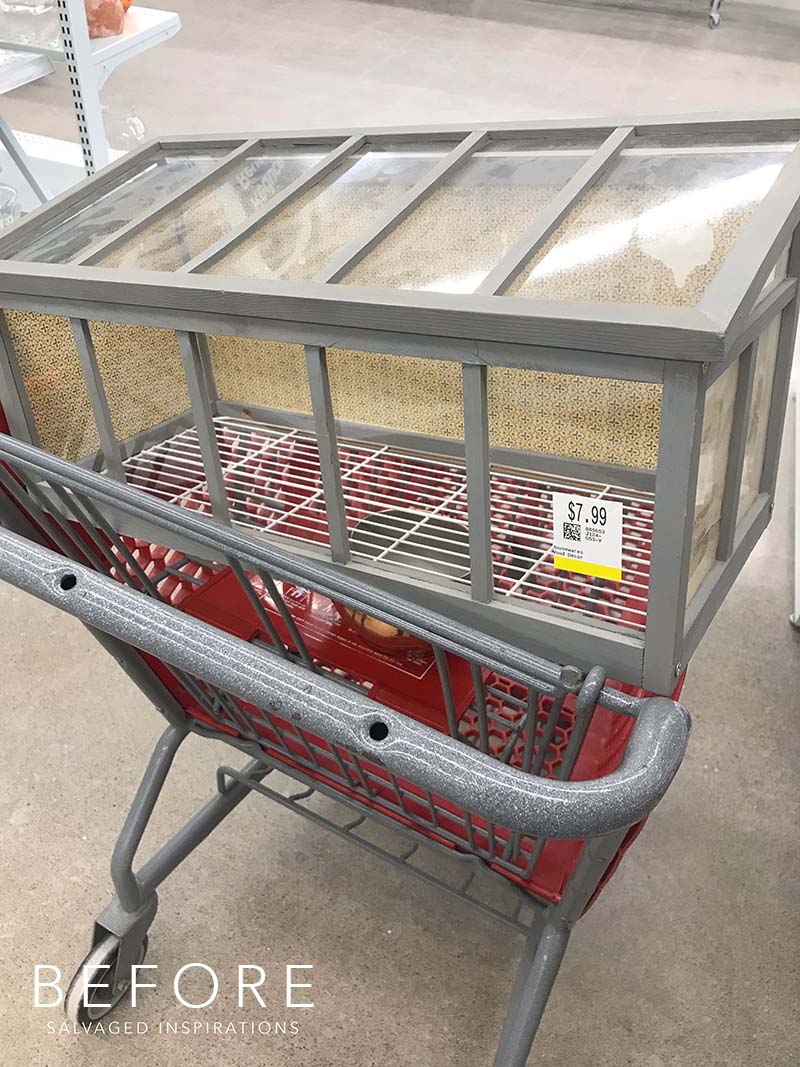
Once it was down in my studio, we saw a few issues that needed covering up. Our original plan was to remove the old wallpaper since it wasn’t in the best shape. But as you’ll see below, we had to cover it up another way.
THIS POST IS SPONSORED/CONTAINS AFFILIATE LINKS TO PRODUCTS I USE. YOU CAN SEE MY FULL DISCLOSURE HERE.
SOURCE LIST
$7.99 Mini Terrarium – SALVAGED
Cotton White Paint
French Linen Grey Paint
Paint Brush
Paint Sticks (Free)
Utility/Craft Knife
$7.99 MINI TERRARIUM MAKEOVER
This project was meant for last Tuesday but as you may have noticed I didn’t join my Trash to Treasure ladies last week. I hate having any blog downtime, but to give you the best experience, it’s sometimes necessary to change things up on the backend. To keep things running smoothing, the #siblog is on a new server and it’s lightning FAST. I hope this helps your searching and viewing experience quick and easy for you! 🙂
CLEAN | ASSESS
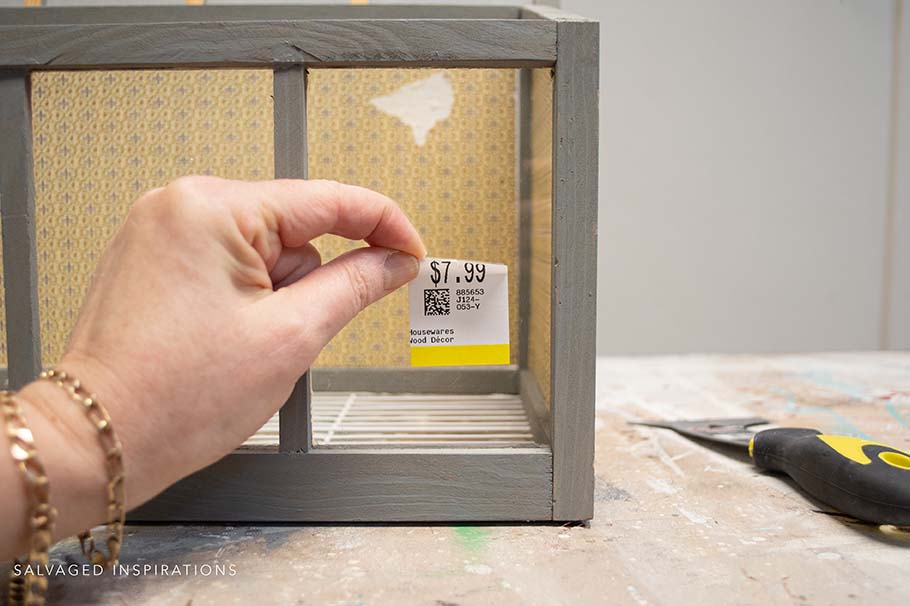
Andrea and I started by removing the $7.99 price tag and then wiped the terrarium down with a damp sponge.
Then using a heat gun, we tried removing the old wallpaper. No luck. This paper was not budging!

MASK AND PAINT
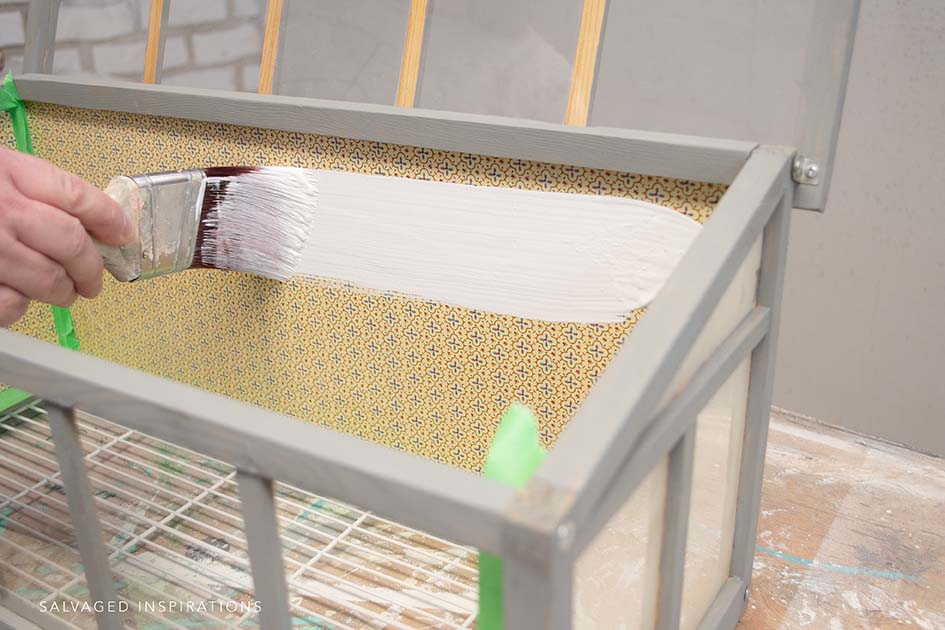
Part of DIY’ing is being flexible and going with the flow so we decided to paint over it. I masked off the frame using painter’s tape. Then Andrea painted three coats of this Cotton White Paint. A few tips when painting over wallpaper is to keep your paint thick – don’t dilute with water. If too much water is used, it will cause the wallpaper to bubble up. To speed up the dry time process, we used a heat gun to dry the paint in between coats.
You may notice where the wallpaper was torn doesn’t look quite as smooth as the rest of the wallpaper. If you have any areas that are torn, they can be easily filled with wood filler, primed, and then painted. But I asked Andrea if she wanted to fill it in and smooth it out but she wasn’t worried. She said with the plants in it, no one can see it anyway.
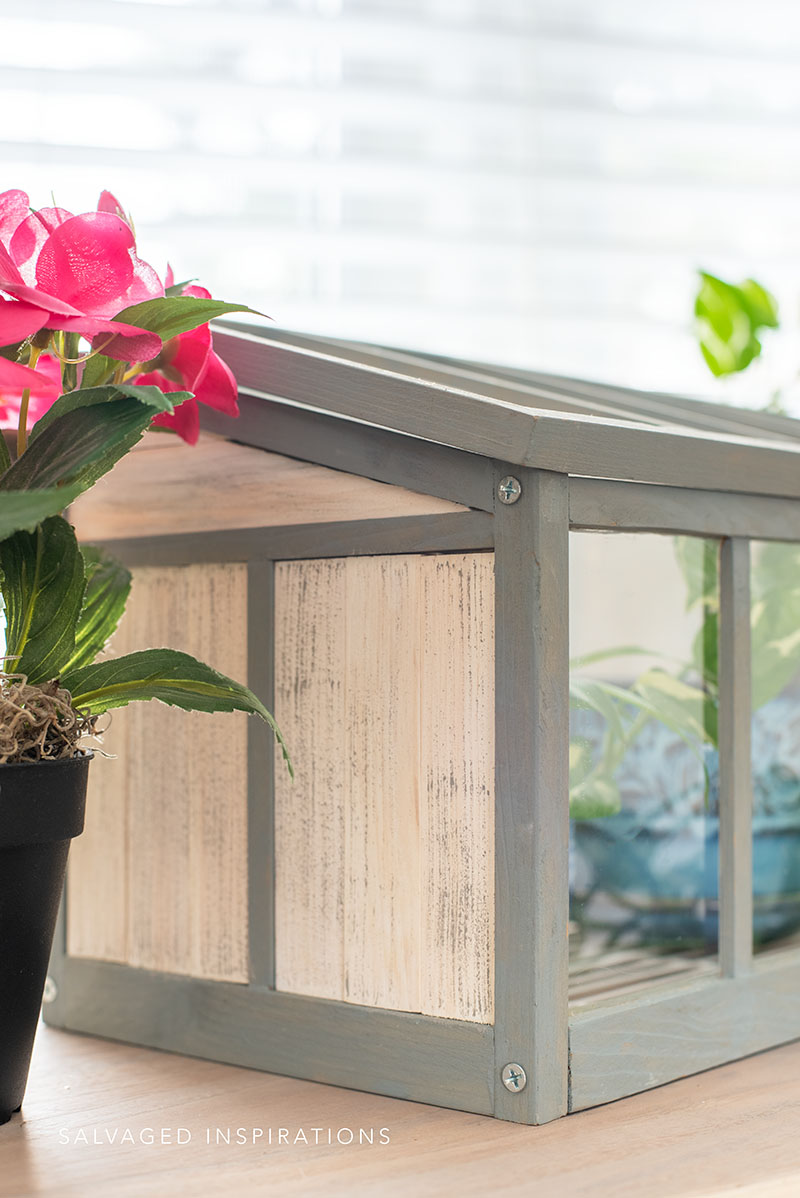
PAINT STICK SIDING
She did however want to cover the ugly backing of the paper showing through the glass panes. She came up with the brilliant idea to use paint sticks. You may remember the paint stick clock makeover I did here. We used the same idea to cover the sides of this terrarium which really helped cover up the back of the paper we couldn’t get off.
Here’s how ~
- We gathered some paint sticks
- Measure and cut to the size required using a craft knife
- I gave them a whitewash with the leftover Cotton White paint
- We installed them onto the sides of the terrarium (no glue required – they fit beautifully!)
- We filled in the top triangle portion of the pane
- Then we dry brushed with this French Linen Grey to tie it all together

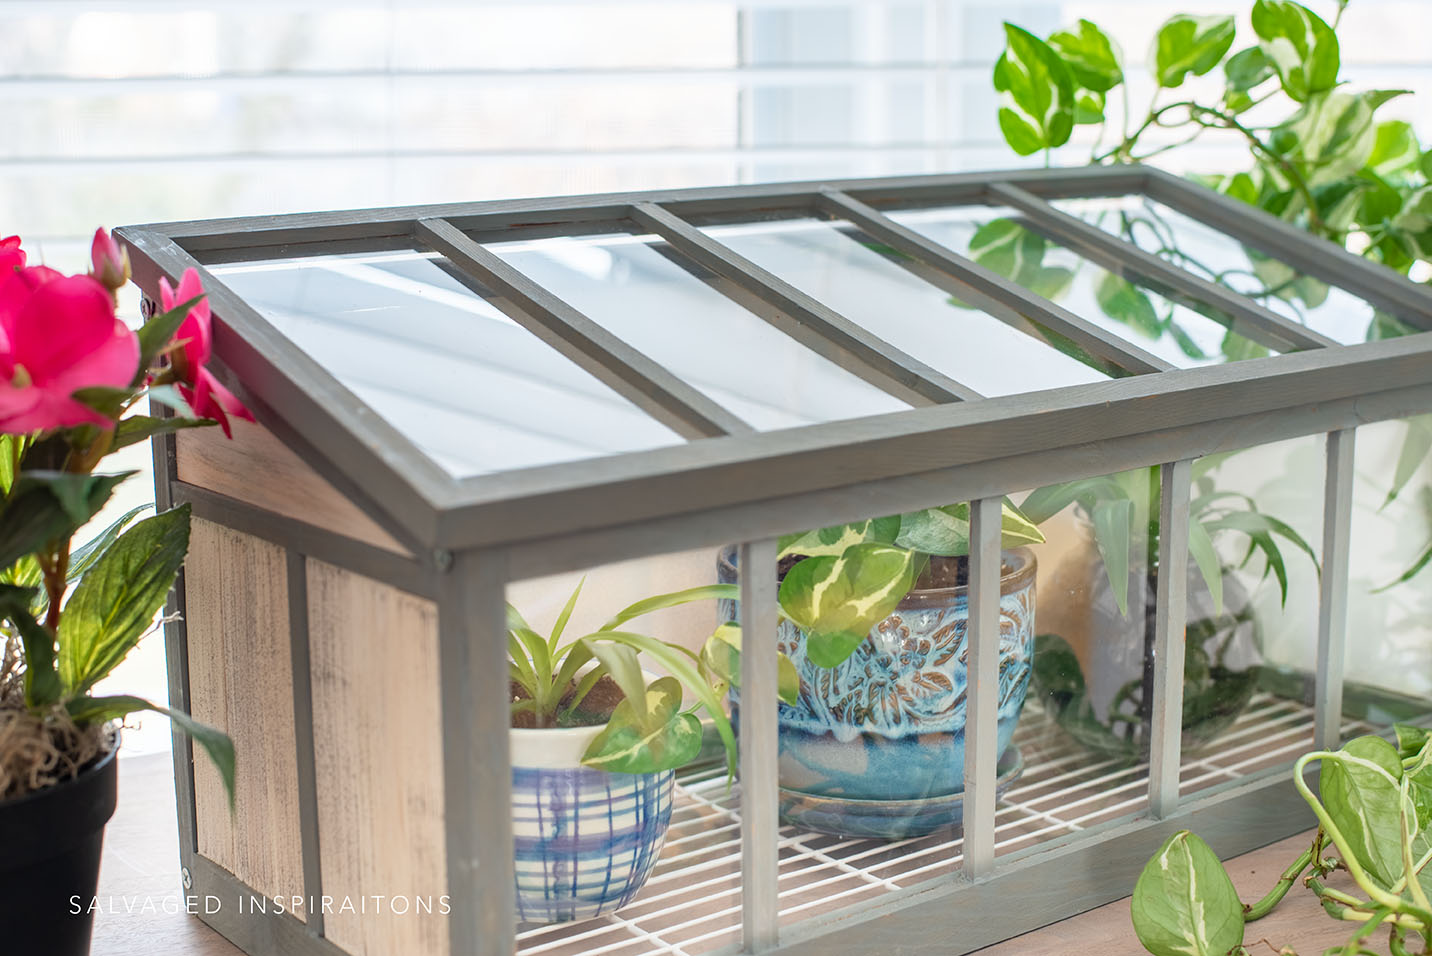
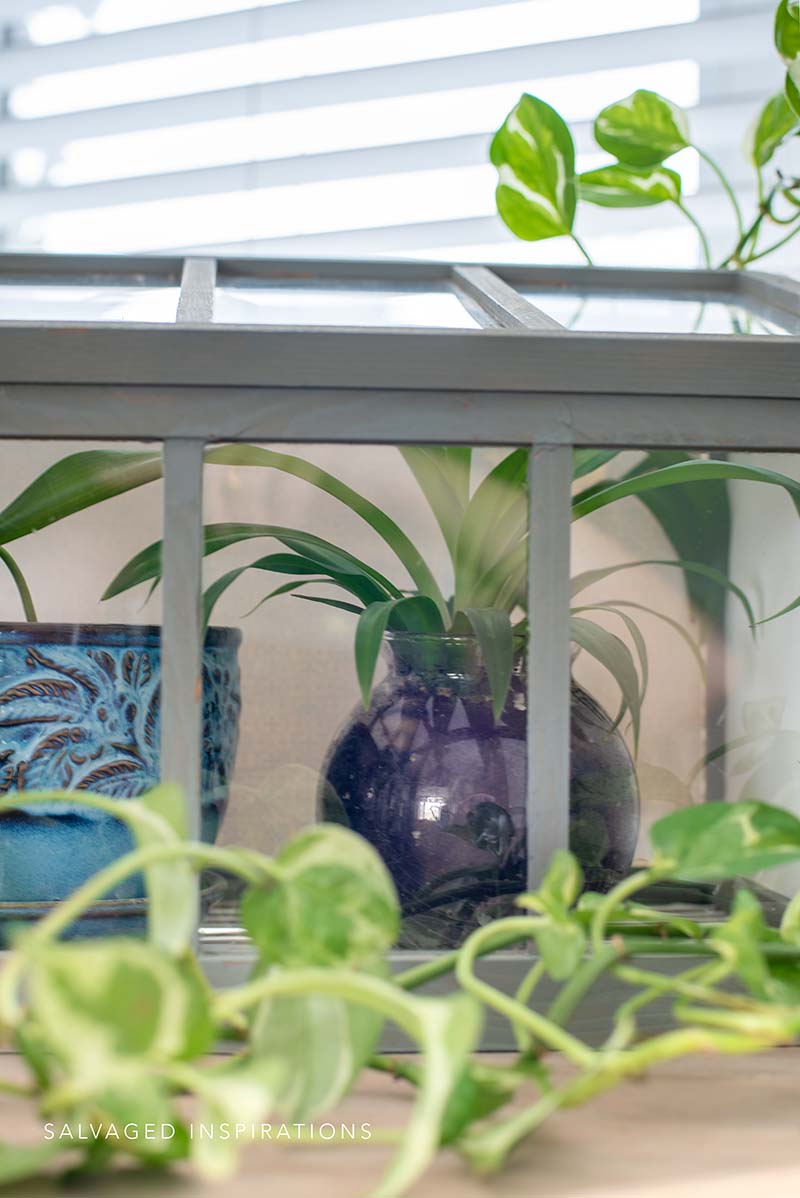
And here’s the finished look! What do you think?
Here’s a closer look at the paint stick ‘siding’ we created. It’s not perfect but it fits into the sides nice and snug – no gluing required.
This $7.99 terrarium is going to be perfect for Andrea’s herbs or to propagate her spider plants in!
We are so into these spider plants. I have a full tutorial on How To Propagate Spider Plants here. They are good for the air, easy to care for, and make the cutest little gift!


I know I’m a week late but we all LOVE seeing what our Trash To Treasure Crew creates… and I didn’t want you to miss out so I’ve listed them below. Better late than never, right? 😉
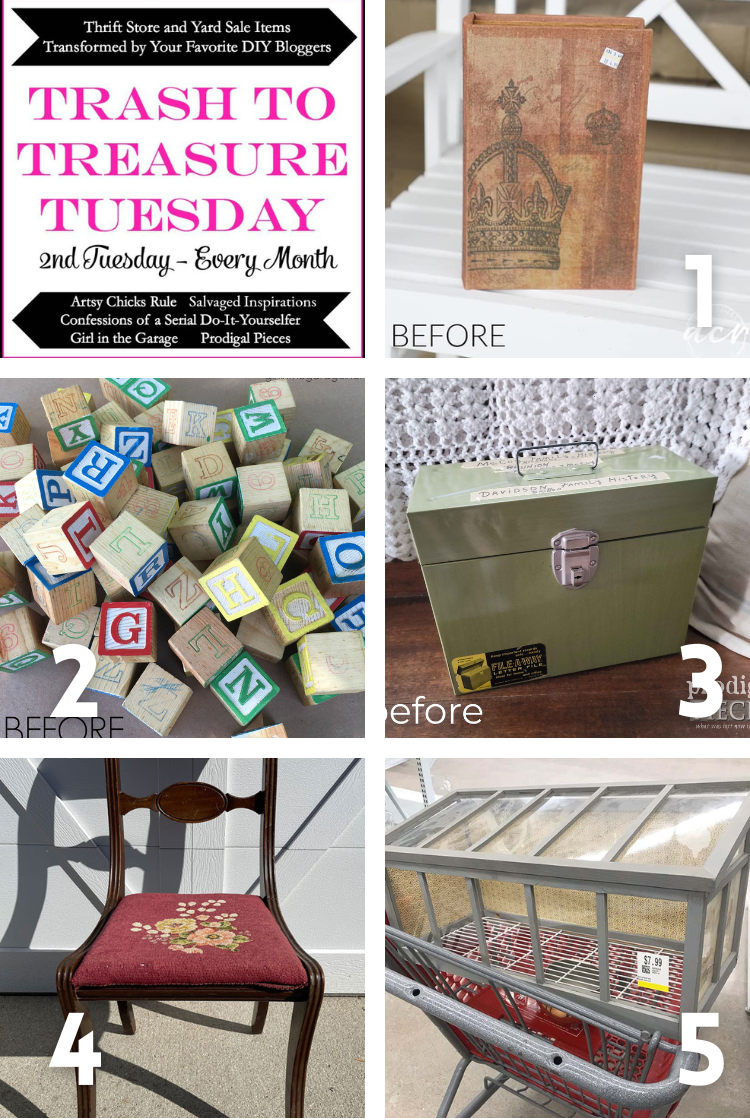
1. ARTSY CHICKS RULE
2. GIRL IN THE GARAGE
3. PRODIGAL PIECES
4. CONFESSIONS OF A SERIAL DIYER
5. SALVAGED INSPIRATIONS (HAPPY YOU’RE HERE!)
Here’s another look at the before and after. I hope it’s inspired you and given you some ideas for your projects!
I’ll be back this Thursday with my Furniture Fixer Upper crew with this desk makeover. I can’t wait to share. See you then!
LET ME KNOW WHAT YOU THINK OF THE TERRARIUM MAKEOVER! FEEL FREE TO ASK ANY QUESTIONS YOU MAY HAVE… I ALWAYS LOVE HEARING FROM YOU. IT MAKES MY DAY! 🙂
Happy furniture painting friends!
Denise x
RELATED POSTS::
DIY CLOCK WITH PAINT STICKS
HOW TO PROPAGATE SPIDER PLANTS
PAINTING OVER WALLPAPER
12 DIY PLANTER MAKEOVERS
SALVAGED BOHO HEADBOARD
PIN AND SHARE!


Can’t get over your creative imagination on what to do with items. That’s where I get blocked. Great useful terrarium.
Thanks my friend! 💕 I give all the credit to Andrea on this one… she was running the show!😆😉
I LOVE THIS! What a great find and yes, adding the sides gives it protection from those dirt loving kitties.
I’ve been planting seeds all day. 🌱Thanks for sharing. My kinda project. Pinned!
xo 😘
Thanks my friend and lucky youuuu! 💚 I can’t wait until it’s planting season here but it looks like it going to be another couple of months. We’re expecting a snowstorm tomorrow.❄️😕
Great job, ladies! I’m always amazed with the creative ways you reimagine pieces.
Aw, thanks so much Char!!!🤗
This is adorable!!
Denise, I’m constantly amazed with what you create from humble pieces. I really should start frequenting Value Village and other second hand stores. Of course, I’d have to propagate some of your talent but it’s worth a try 😊
Thanks Val! And I’d bet if you went into a VV or thrift shop you’d come up with a ton of ideas!😊
Hi Denise. Ohhhh, your sister’s cat is named Bunny! How cute. Sorry, I misunderstood. Teehee;)
It put a smile on my face so thank YOU! 🙂
Hi Denise. What a cute little terrarium. A great way to keep your sister’s cat and rabbit out of her plants.
Thanks my friend! And Bunny is Andrea’s cats’ name, hehe. But I would LOVE it if she had a rabbit as well!🐰😆
Very cute terrarium Denise! I’m sure your sister will get great use out of it. 😃🌱
Thanks Nicki, I’m sure she will! XOXO
Cute! What a great idea to use paint sticks! And thanks for stating ours too…we missed you last week! XO
Thanks my friend. I missed you all last week as well! XOXO