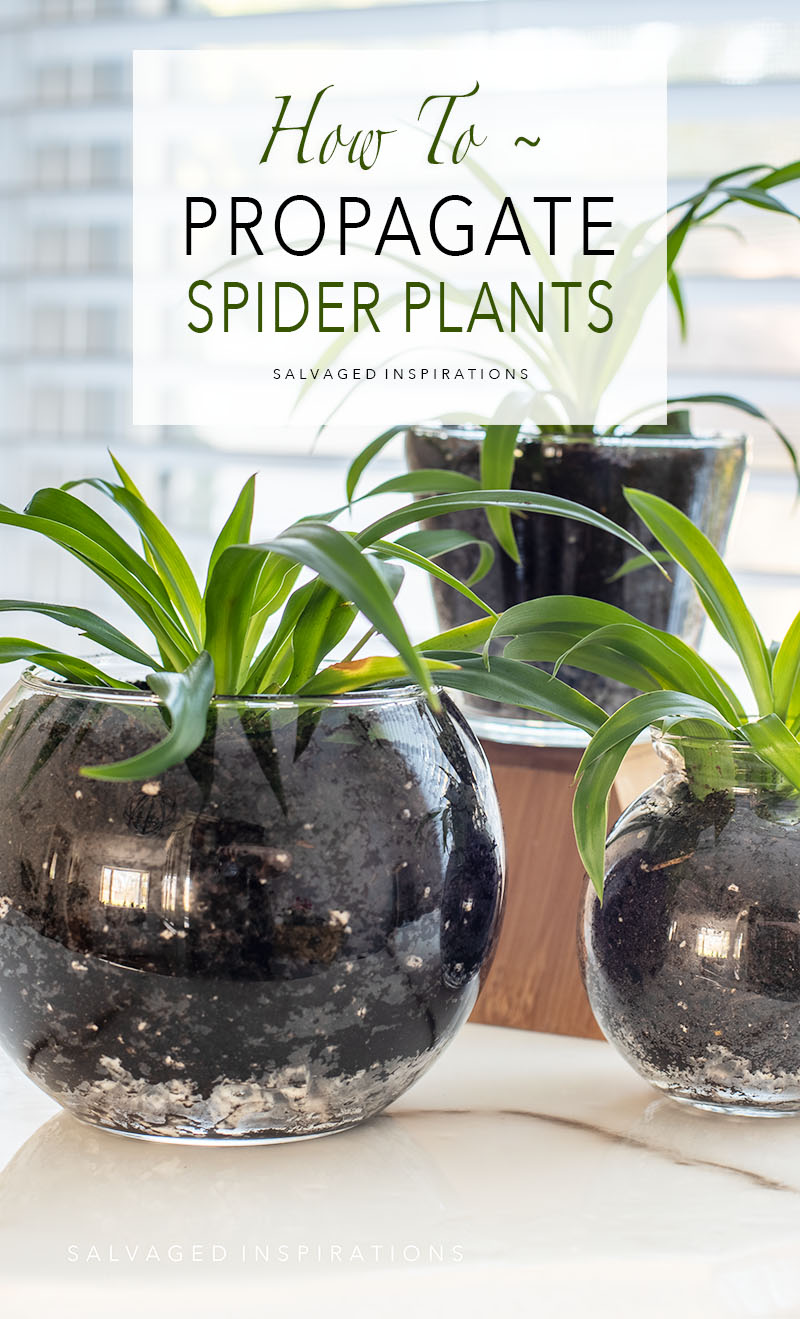
HOW TO TURN ONE SPIDER PLANT INTO NINE SPIDER PLANTS | GREAT FOR STAGING AND STYLING YOUR FURNITURE OR HOME!
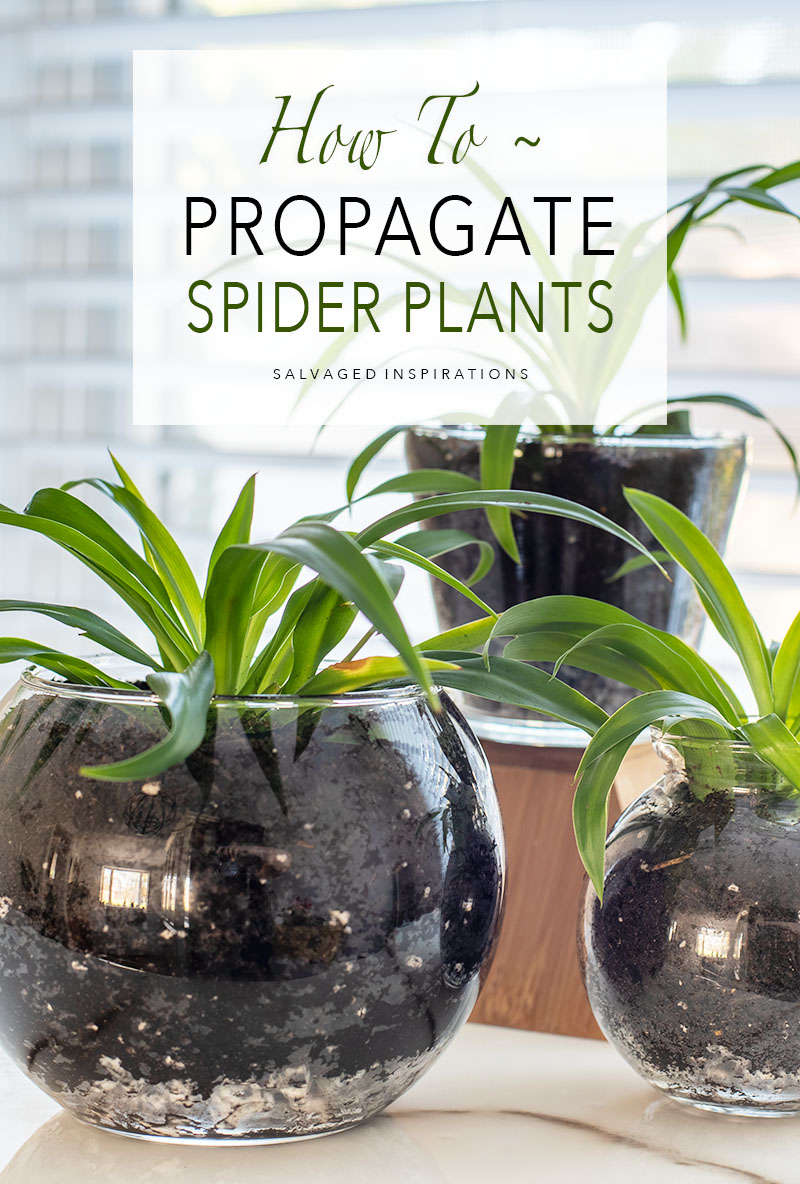
Hi sweet friends. I hope you’re doing well and thanks for joining me. Do you love houseplants? Today I’m sharing how Andrea and I propagated 9 plants from one spider plant in three easy steps! These plants are fabulous for styling your painted furniture OR your home. As an added bonus, they clean toxins from the air and also make thoughtful gifts for neighbors and friends!
Below is the spider plant I started with. It’s super happy in my front window as it keeps on sprouting babies and blooms.
THIS POST IS SPONSORED/CONTAINS AFFILIATE LINKS TO PRODUCTS I USE. YOU CAN SEE MY FULL DISCLOSURE HERE.
SOURCE LIST
Spider Plant– SALVAGED
Scissors
Glass Bowls
Potting Soil
Planting Pebbles
Boxes For Gifting
HOW TO PROPAGATE SPIDER PLANTS
My outdoor gardens are winding down, so it was fun to spend an hour or so tending a few plants in my home. Spider plants help clean indoor air by absorbing harmful chemicals. Another reason I love them is they have a hardy root system which makes them a hardy plant – no need to worry if you miss a watering. When my Dad was ill I was terrible at looking after my house plants. I forgot to water many times and unfortunately lost quite a few but these spider plants always looked good! Another reason I love them, they are non-toxic to humans and pets!
Here’s how easy it is to propagate these cuties…
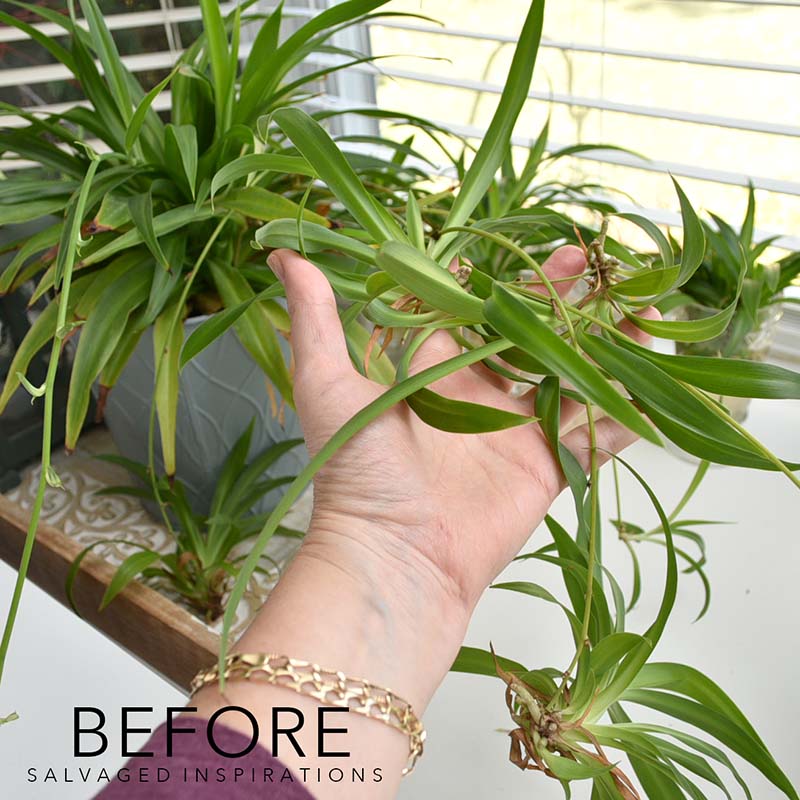
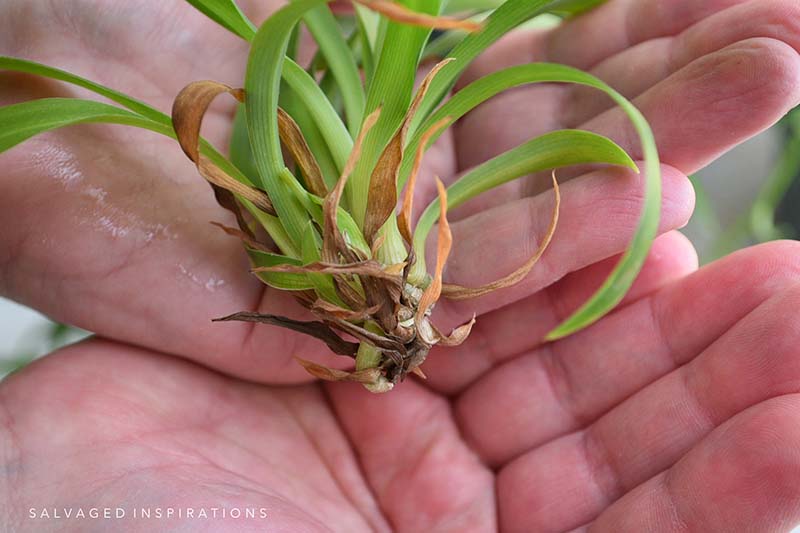
1. CUT & PLACE IN WATER
When a spider plant is thriving it will offshoot little baby plants which are also called plantlets. Before cutting, look for a little node or a bump on the end. We use regular kitchen scissors so no special clippers are required. Once we cut off the babies, we placed them in a glass with room-temperature water.

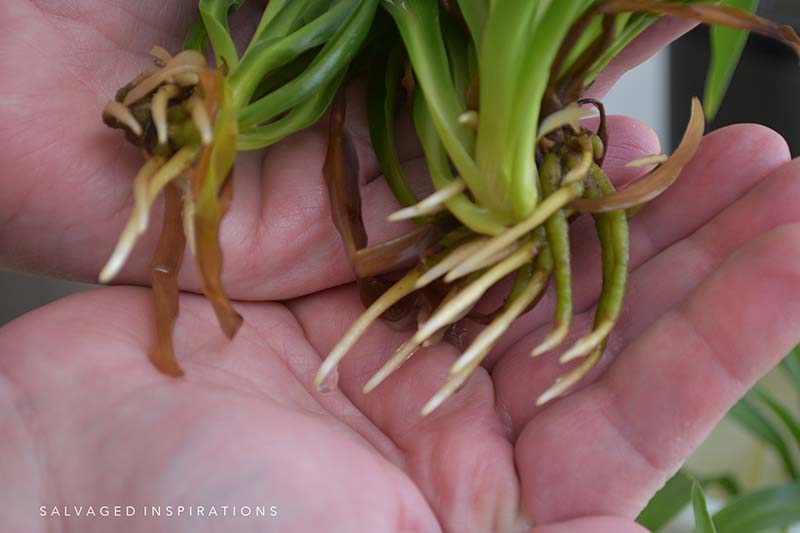
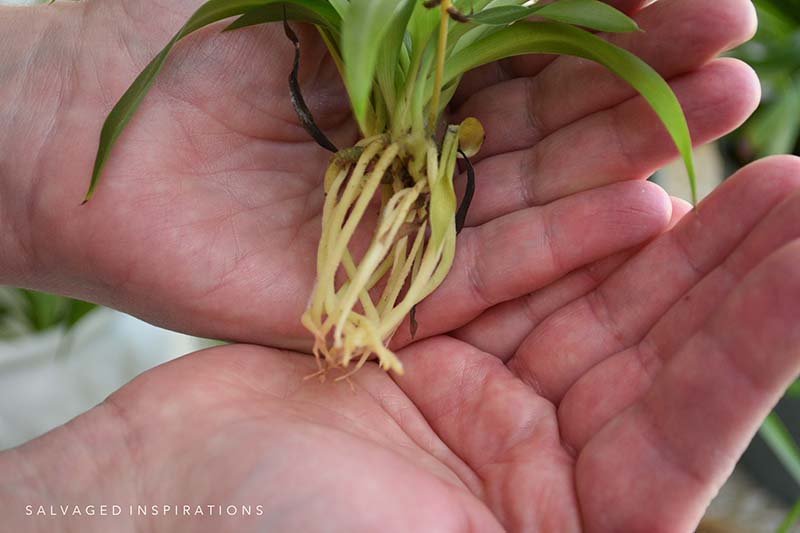
2. WAIT 2-3 WEEKS
It’s fun to watch the roots form in the water. Within 2-3 weeks you will see a healthy root system.
Week #1
Week #2
Week #3
3. REPLANT IN SOIL
After your spider babies have developed roots, it’s time to plant them. Andrea and I like using glass bowls that we find at the thrift store. You can also find them at your local Dollar Store or online here.
- Place pebble rocks in the bottom for drainage
- Add potting soil
- Create a divot in the soil to place the plant
- Place the spider plant in the center of the bowl
- Add more potting soil and press firmly down around the plant
- Water in generously

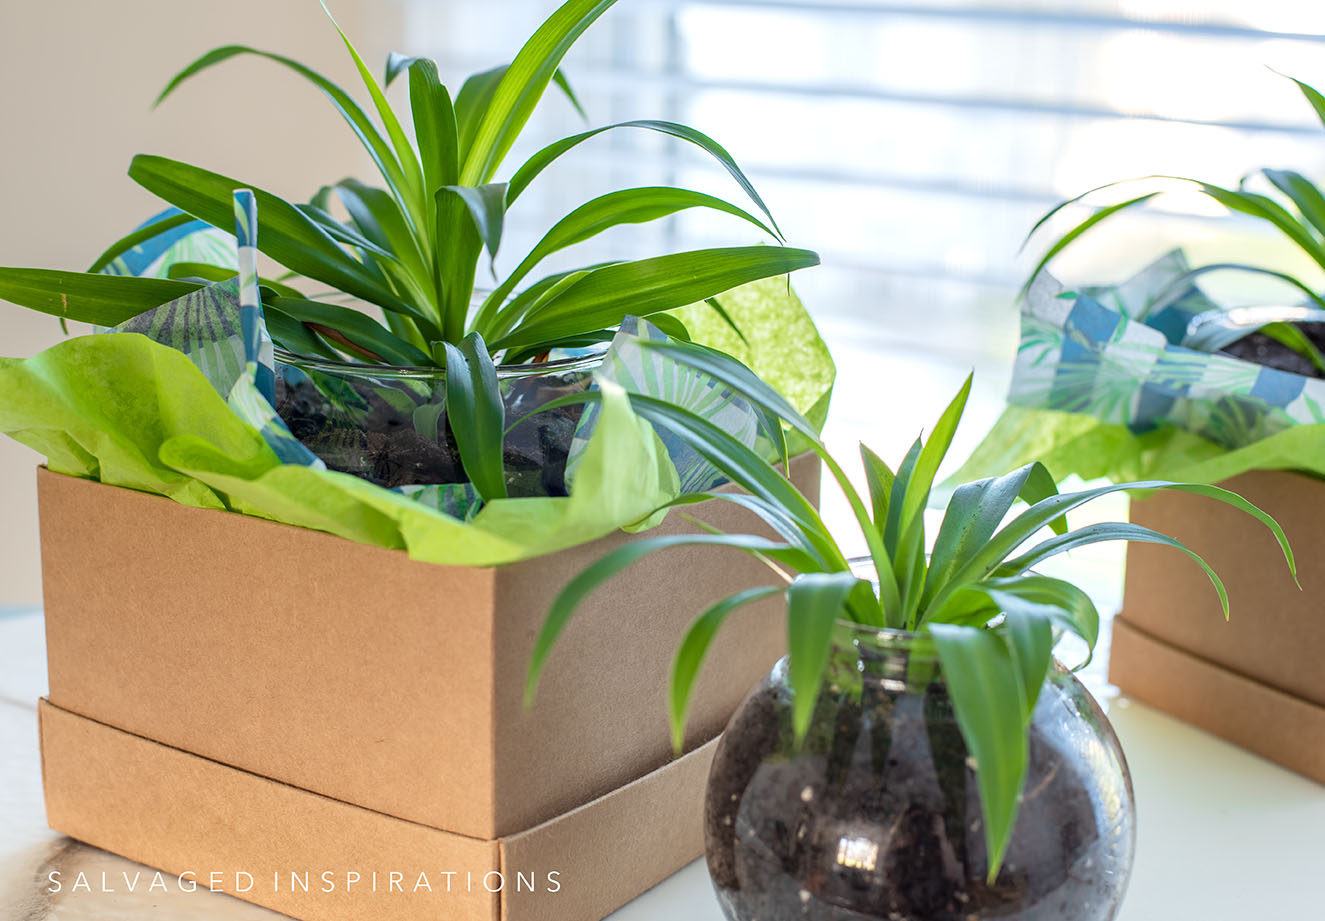
Here’s the finished look!

GIFT BOX FOR FRIENDS
These also make really cute gifts! I purchased a few boxes and some tissue paper.
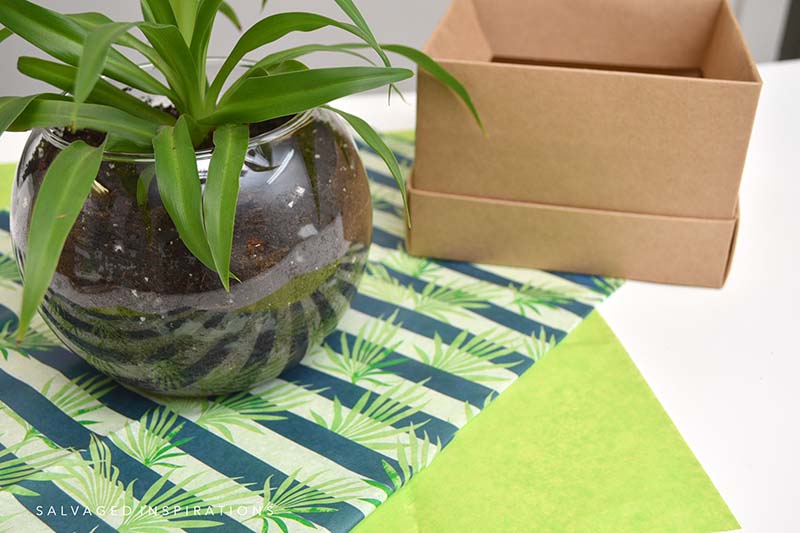
We wrapped the tissue paper around the planter and place it into the box.

Here’s the finished look. Super cute right?! I’ll be sharing a few of these with my neighbors and friends.
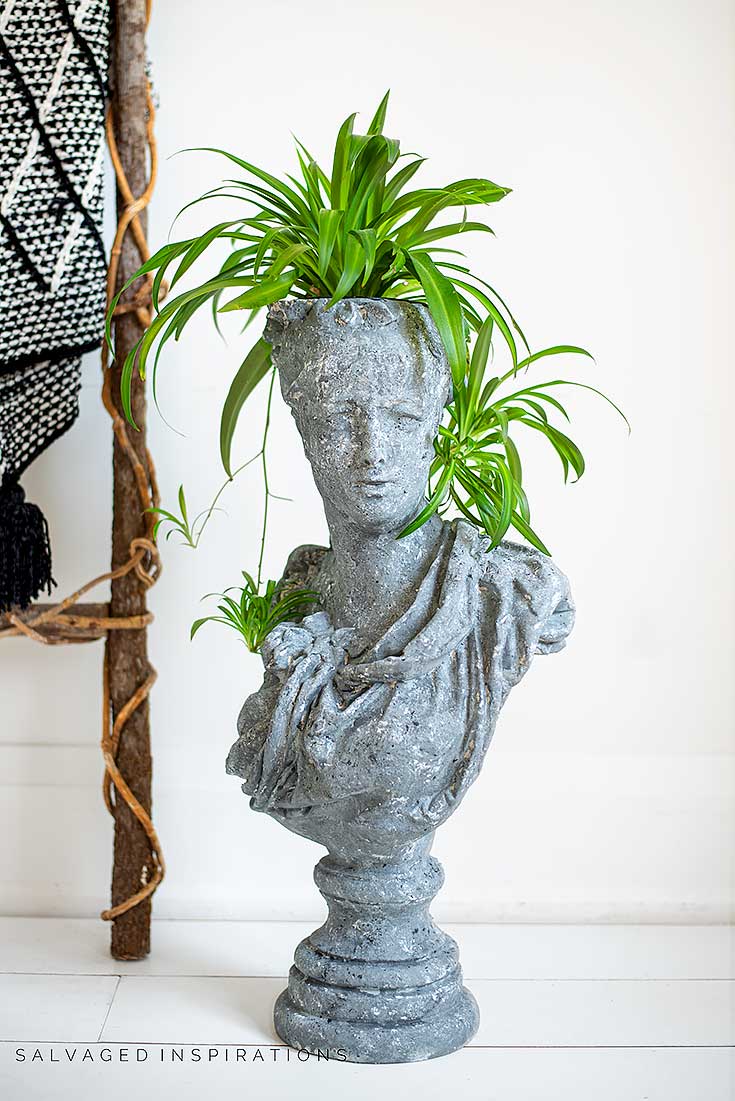
Here are a few makeovers I’ve used spider plants in. Remember this fun Concrete Head Makeover. Her name is Alexandra!
You can also propagate them in different types of containers. I used this one here while styling this Salvaged Settee Bench Makeover.

And here’s one of the bowls I used on the Wood Burned Stool Makeover!

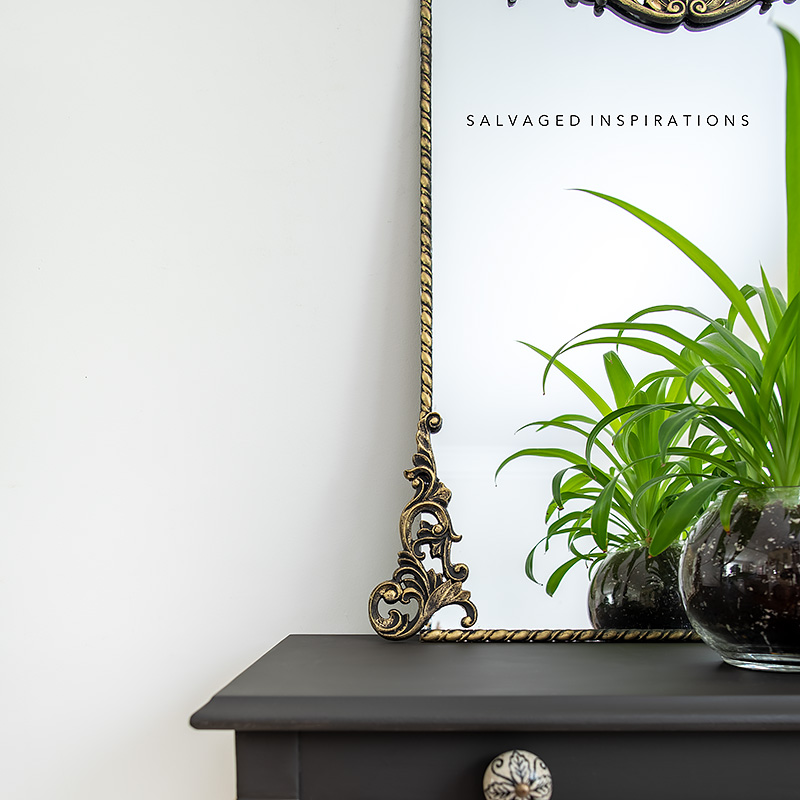
And another one for this DIY Antique Gold Mirror. As you can see they grow REALLY well in these bowls!
I’ll be back this Thursday with my Furniture Fixer Upper Crew sharing this before and after dresser makeover. Hope to see you then!

DO YOU HAVE ANY TIPS WHEN PROPAGATING SPIDER PLANTS? I WOULD LOVE TO HEAR ANY THOUGHTS AND IDEAS IF YOU’RE A PLANT ENTHUSIAST! FEEL FREE TO ASK ANY QUESTIONS YOU MAY HAVE… I ALWAYS LOVE HEARING FROM YOU. IT MAKES MY DAY! 🙂
Happy creating friends!
Denise x
RELATED POSTS::
DIY ANTHROPOLOGIE DRESSER
CACTUS PAINTED SIDE TABLES
HOW TO PAINT MCM FURNITURE
DIY BOHO NIGHTSTANDS
HOW TO REVAMP YOUR OLD DESK
PIN AND SHARE!

Thank you, Denise. I have many of these plants outdoors. I will try bring some indoors. I love everything you do!
Thanks Marian and have fun with your spider babies! XOXO
Will you explain more about the node you mentioned? Is it only on the plantlet? Also, how often do we need to water? What light does your front window give the plant? Northern, southern….
I’ve got some spider plants but only outside. I’d live to repot and bring some indoors.
Oh ya, repot and bring a few in! They are so easy. My window faces North-West but I have another one in my bedroom facing the opposite direction. I try to water 1x per week but every other week works well too. The little “nodes” develop on the babies quite quickly. So long as you see a little bump or piece sticking out, they are ready to grow roots.
Beat still my heart. You hit my week spot with this post. I just separated our spider plant too. We call them airplane plants. Also, I have pretty good results just separating and sticking the new growth directly into new potting soil. I think the trick is keeping the soil moist while rooting. Either way works great. Thanks for sharing.
I call them spy-dee plants…lol. I haven’t tried putting them right into the soil but good to know it works just as well! XOXO
Hi Denise. Your spider plant bowls are adorable. I especially like the idea of giving them as gifts. How thoughtful. I think they’d look lovely as hanging plants in the macramé plant holders that are so popular now. Excellent project.
Aw, thanks, Monique! I think they make really cute gifts as well. XOXO
I love plants and tend about 40 houseplants. One thing you might mention to your readers is to be careful not to overwater when using a container with no drainage hole. Even with gravel in the bottom, it is easy to overwater and they will rot if left sitting in soaked soil for too long.
Love your blog and your creativity. Thanks for sharing your talents!
Excellent tip Gayle, thank YOU! My sister did have one that went green/moldy from overwatering so thanks for sharing this!