HOW I PAINTED THIS DIY SIDE TABLE INTO A GORGEOUS FAUX MARBLE LOOK-A-LIKE | YOUTUBE VIDEO
 Hi creative friends! It’s frigid cold here in the GTA. Today we had temps at -9°C and feeling like -16°C with the wind chill. Brrrrr! This weather makes me want to hunker down and stay warm and toasty at home. This gave me the time and inspiration to update and restyle this side table in my living room. You may remember about 7 years ago I turned a salvaged cable spool and a leftover table base into a faux barn wood table. Today it’s getting a NEW restyle. I’ve used a faux marble paint technique to totally update the look. I can’t wait to hear what you think!
*As an Amazon Associate, I earn from qualifying purchases. There are affiliate links in this post to other companies/products I use and love as well. You will never be charged extra when you purchase through these affiliate links. If you purchase from my links – A BIG thank you for supporting me and the #siblog! To see my full disclaimer, click here.
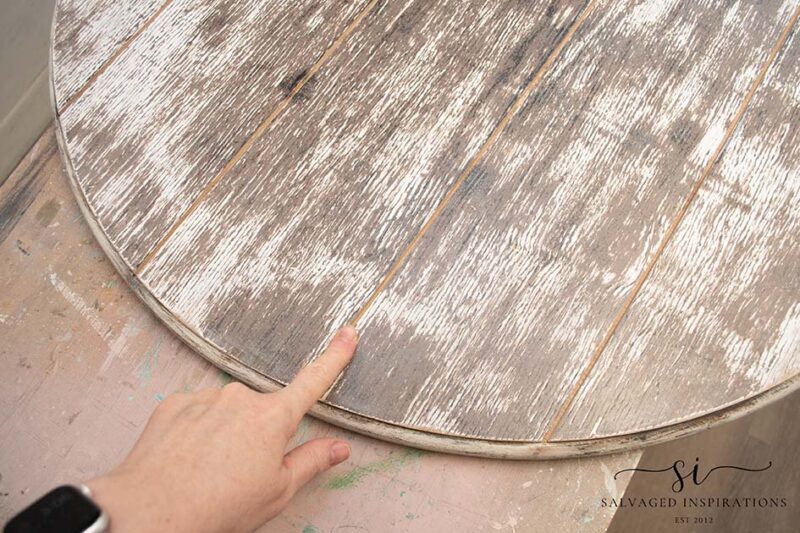
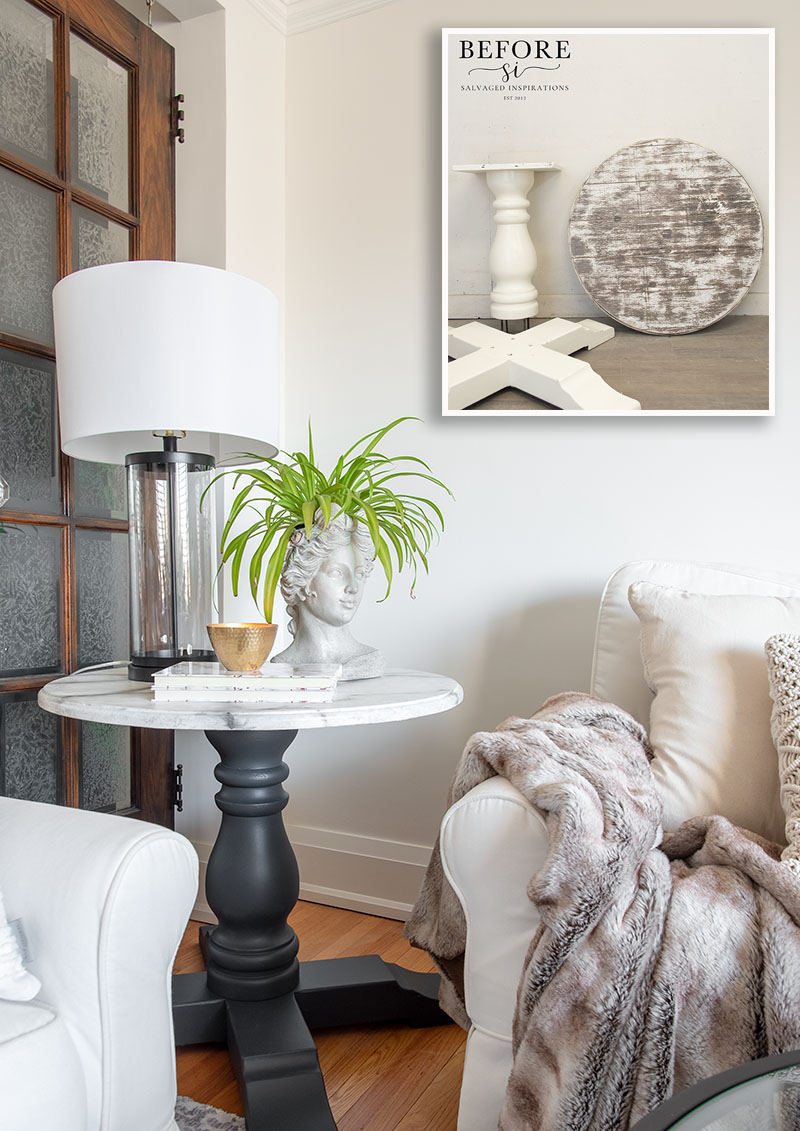
Here’s the table I started with. It’s a salvaged cable spool along with a mismatched base from another set that was missing a top.

The farmhouse faux wood finish I did back in 2017 held up really well. I’m in the mood for a change and it’s fun to see how a little paint can transform the entire look! But for this marble finish, I needed to fill in all these grooves.
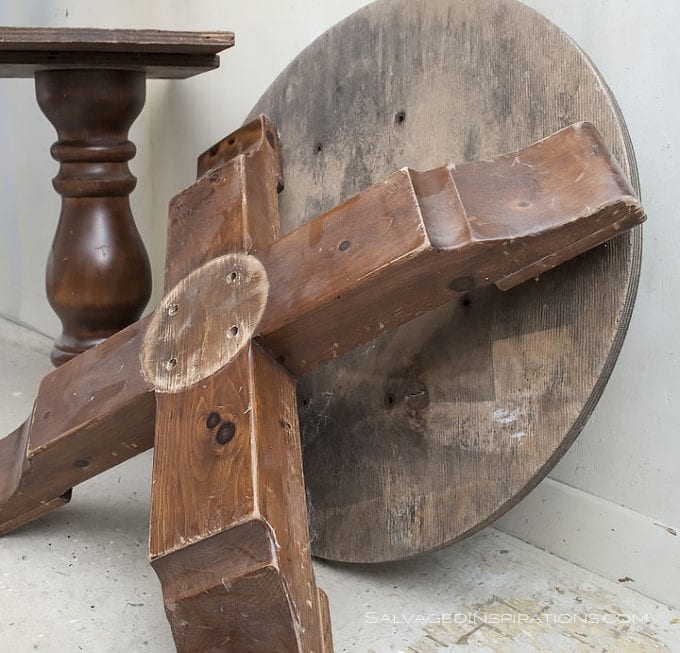
Below is the before the before. It’s how the cable spool and base looked before my first makeover.
THIS POST IS SPONSORED/CONTAINS AFFILIATE LINKS TO PRODUCTS I USE. YOU CAN SEE MY FULL DISCLOSURE HERE.
WHAT YOU’LL NEED
Cable Spool + Pedestal Base – SALVAGED
Bondo Wood Filler
DB Mudd Wood Filler
Paint Brush
Smooth Roller
Sea Sponge Roller
Bosch Sander (25% OFF as of writing this!)
Bonding Boss Primer (COMING SOON!)
Whitecap SILK Mineral Paint
Baja Gray SILK Mineral Paint
Black Sands SILK Mineral Paint
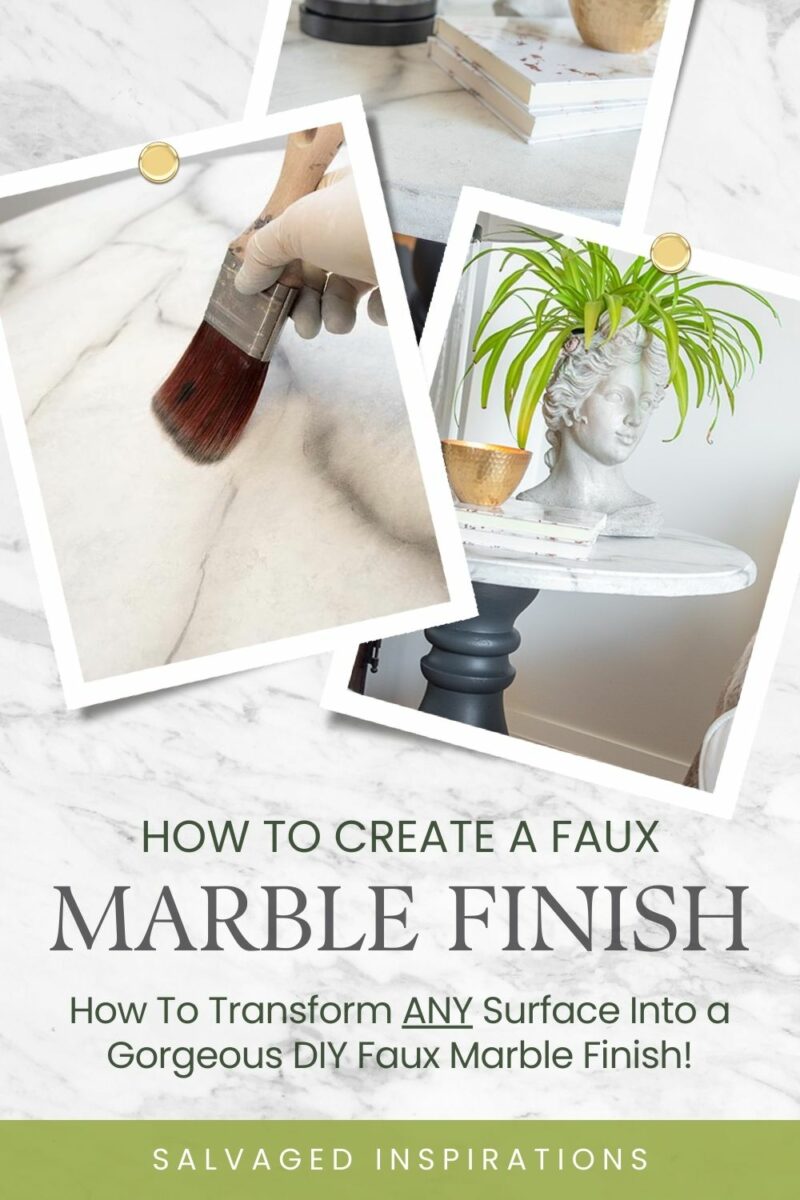
PAINTING FAUX MARBLE
I’ll start with the faux marble painting technique. The intimidating part – at least for me, is getting started. But this paint finish is way easier than I thought it was going to be. I felt the same way on the last DIY Marble Project I did as well which encouraged me to try it on this one.
PREPPING THE SURFACE
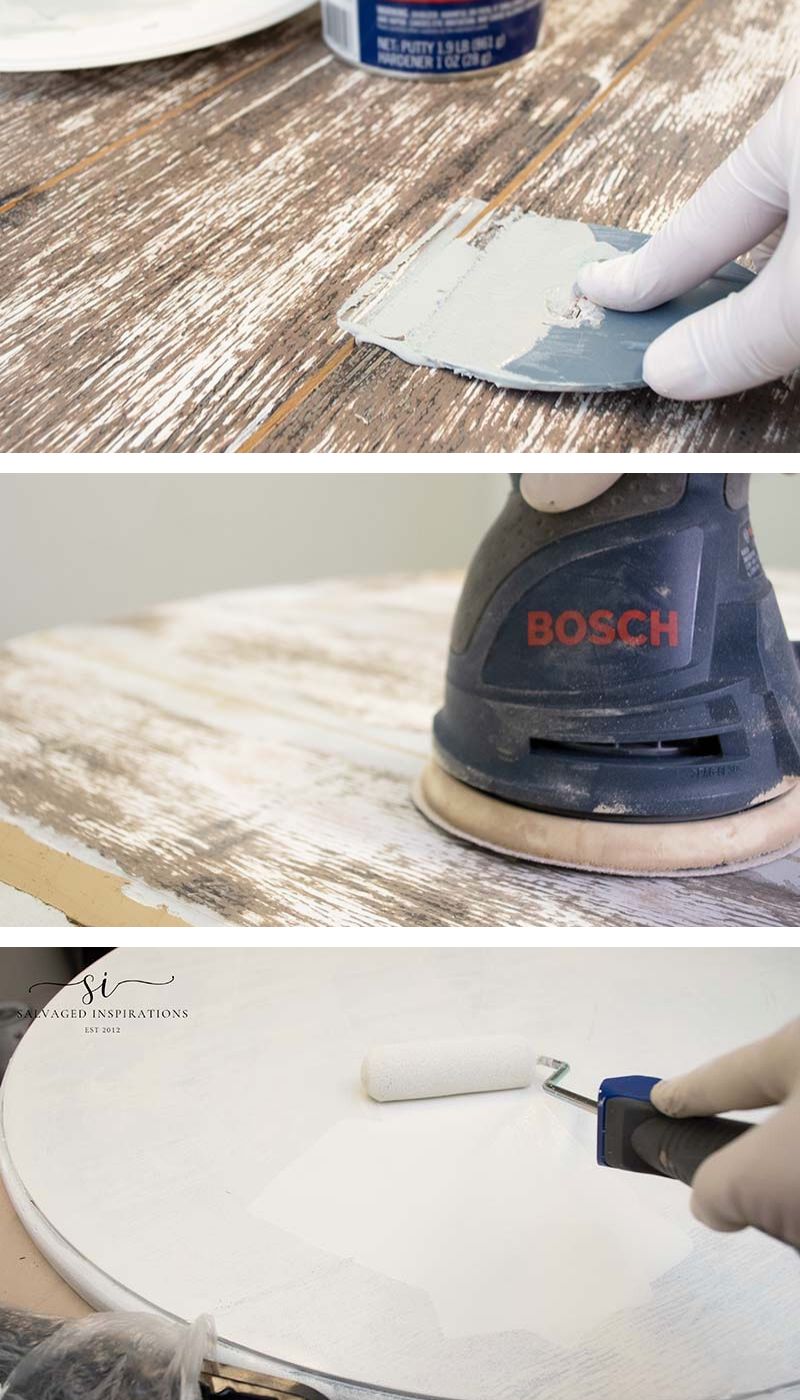
This table needed prepping before painting. I filled in the grooves with Bondo which dries super fast and hard – usually within 10 to 15 minutes. I sanded the Bondo flush using my orbital sander and then used this easy-to-sand wood filler to fill in all the remaining nooks and crannies.
Pro Tip – I like to use two types of filler for any repairs or hardware holes. It works well and requires less sanding.
I sanded and primed until everything was smooth and ready for the base color.
PAINTING
To paint the faux marble finish I used three (3) colors of paint. Whitecap, Baja Gray, and Black Sands SILK All-In-One Mineral Paint. When painting a faux marble finish, it’s not important what brand of paint you use, but using three colors – light, midtone and dark will help create depth to your marble finish.
I also used a smooth roller to paint on the base coat, a textured sea sponge roller (or shop towel also works) to add some dimension, an artist’s brush, and another soft brush to feather out the marble veins.
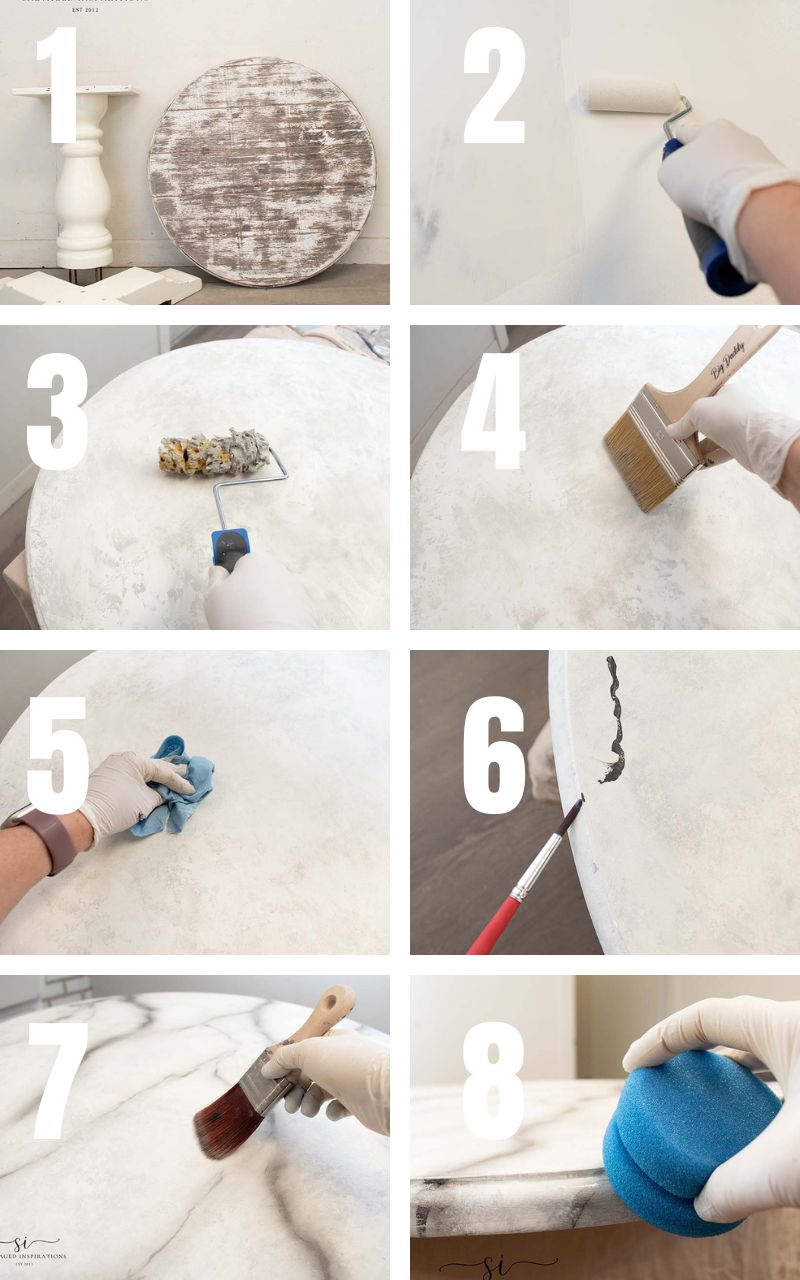
Here’s the step-by-step to create a Faux Marble Paint Finish:
- Clean, fill, and sand your existing surface.
- Prime and paint a white base coat.
- Add texture by using a sea sponge roller (or shop towel) in a light gray.
- Feather and smooth out the light gray paint with a soft brush.
- Remove or blot any dark areas and play with the paint until you like what you see.
- Using an artist’s brush, paint in black veins using irregular and jagged patterned lines.
- Feather the black veins with a soft brush into the rest of the finish. Use a mist of water if necessary.
- Once the marble finish is dry, top coat and seal for a durable finish.
SHARE TO PINTEREST FOR LATER 🥰
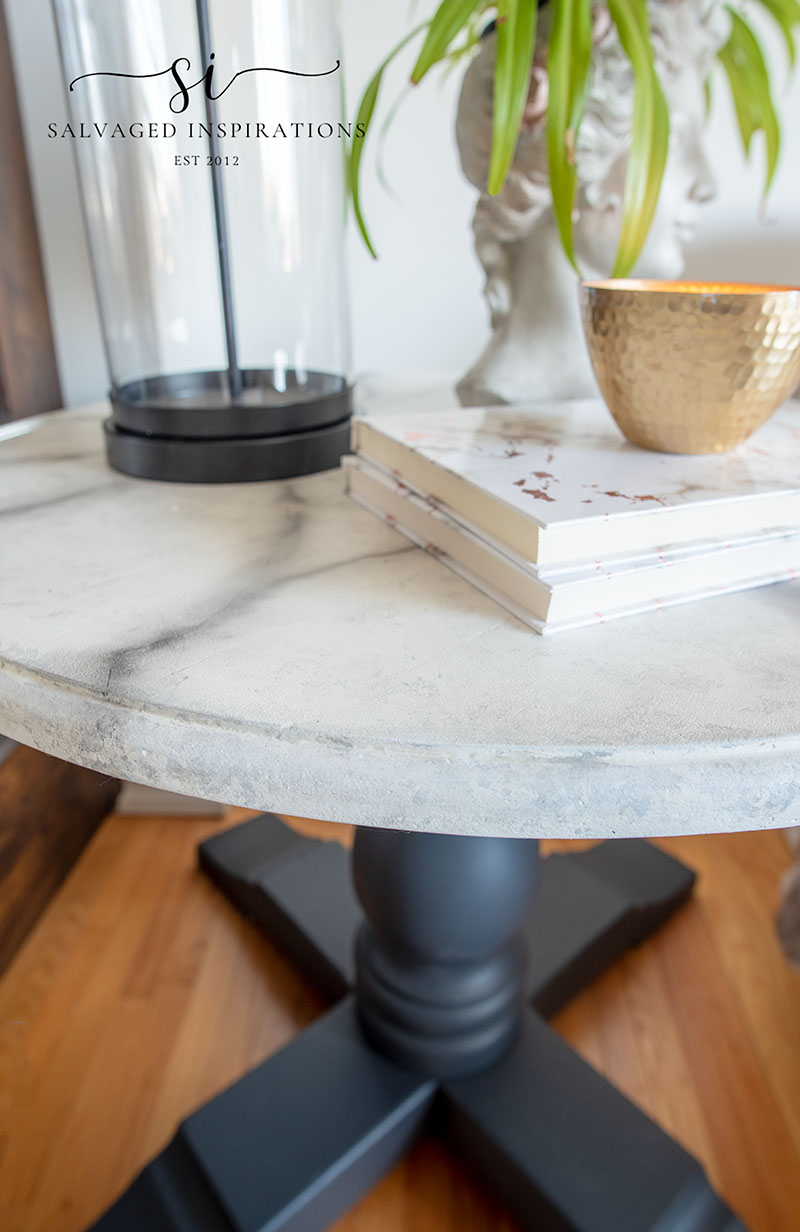
PEDESTAL BASE
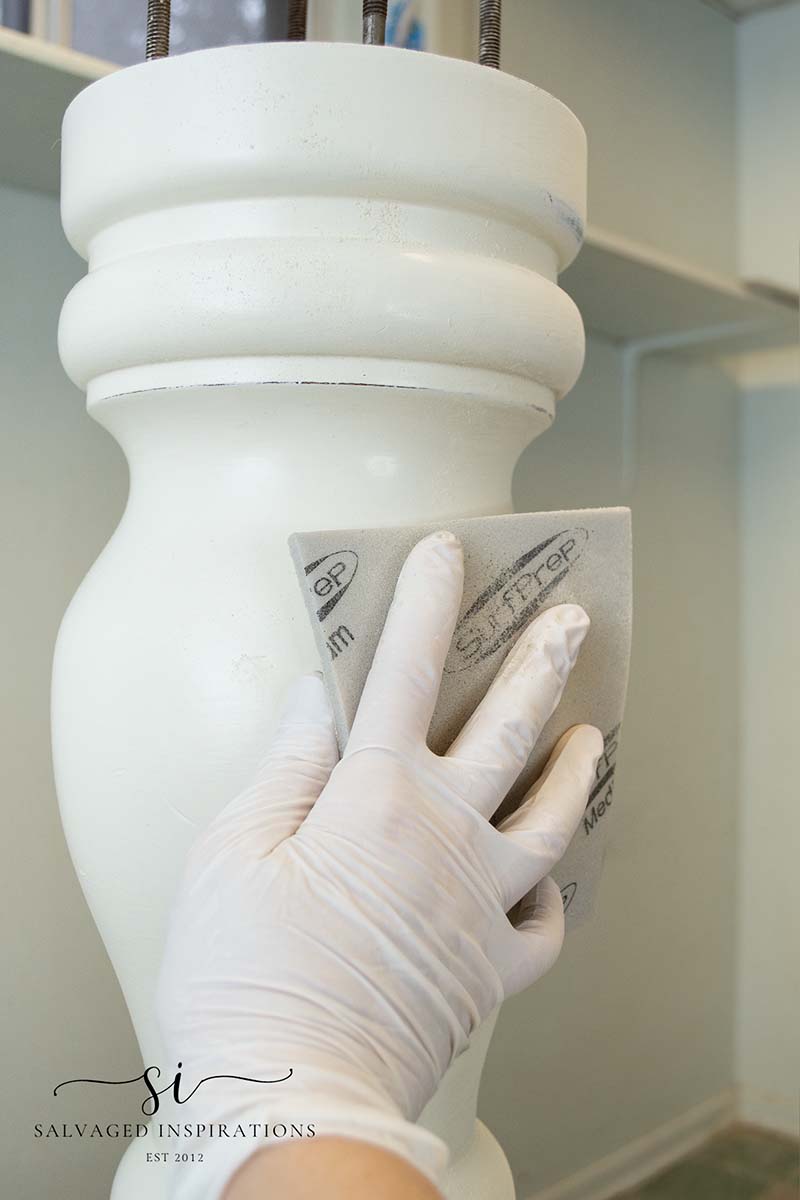
To restyle the pedestal base, I hand-sanded the curved pedestal and used my sander for the base. To hand sand the pedestal curves, I used medium grit sandpaper. The goal is to scuff it up. Not remove all the paint and topcoat. You know you’re doing a good hand sand when you see dust and the surface is looking dull rather than shiny.
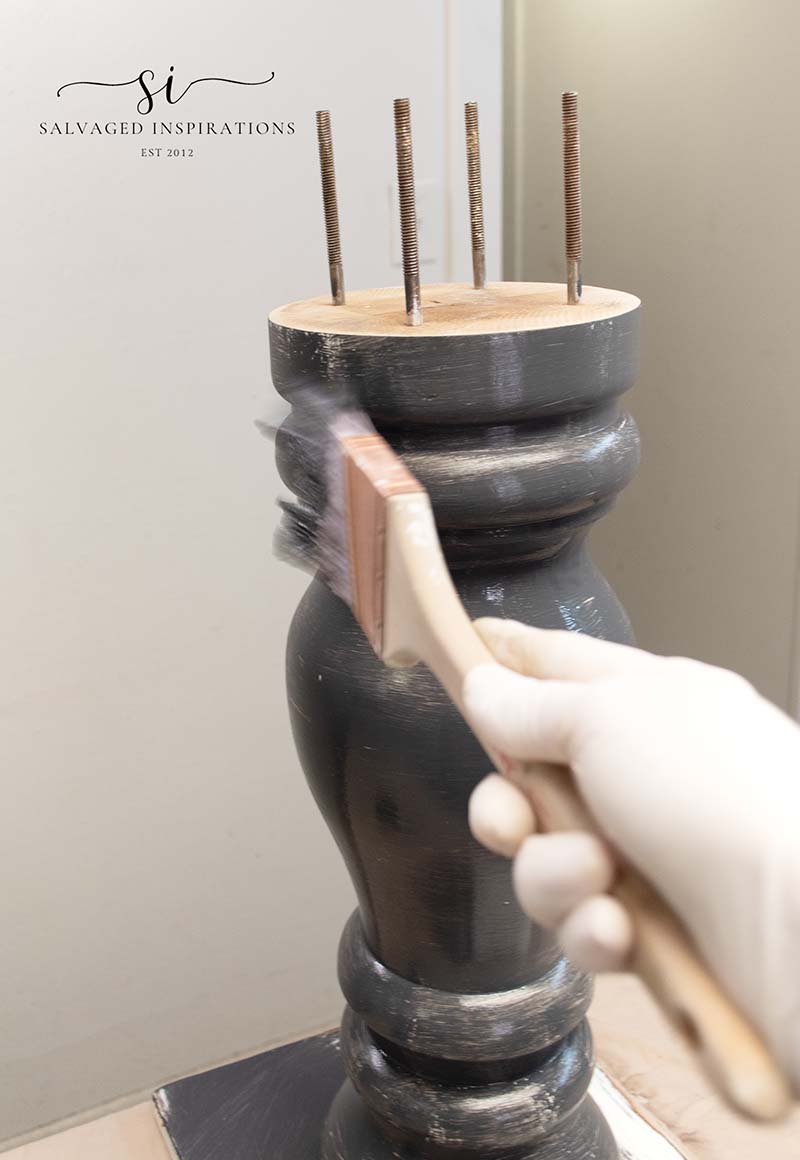
Then I painted the base in Black Sands with my slap-it-on paint technique for NO brushmarks. I have a full video on how to paint curves and spindles with NO BRUSHMARKS here. I’ll also be sharing this smooth-as-silk paint finish in this Saturday’s video as well.
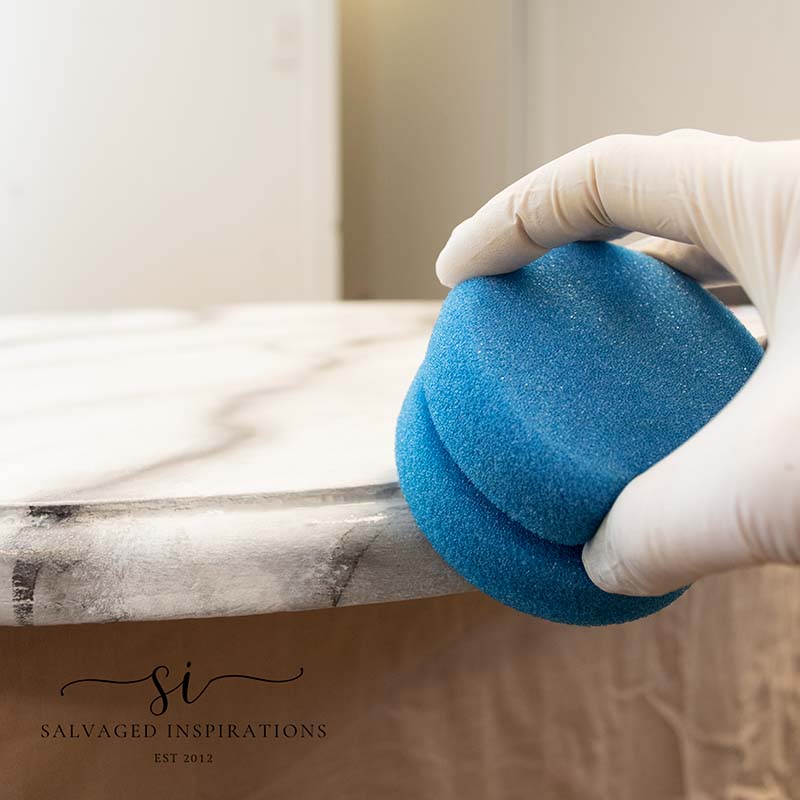
TOP COATING
To protect this table top I used my favorite durable poly – Gator Hide. This is not only water resistant but also water repellant. Super easy to keep clean from spills etc. You may remember I used it on my kitchen table makeover 4 years ago and it’s still holding strong. It’s also super easy to apply. I used this sponge applicator to apply 3 coats waiting about 2 hours between coats. I didn’t sand between coats because this is such an abstract top no one would see a tiny imperfection anyway, but when working on a solid surface, I like to spray, tint the poly, or sand between coats.
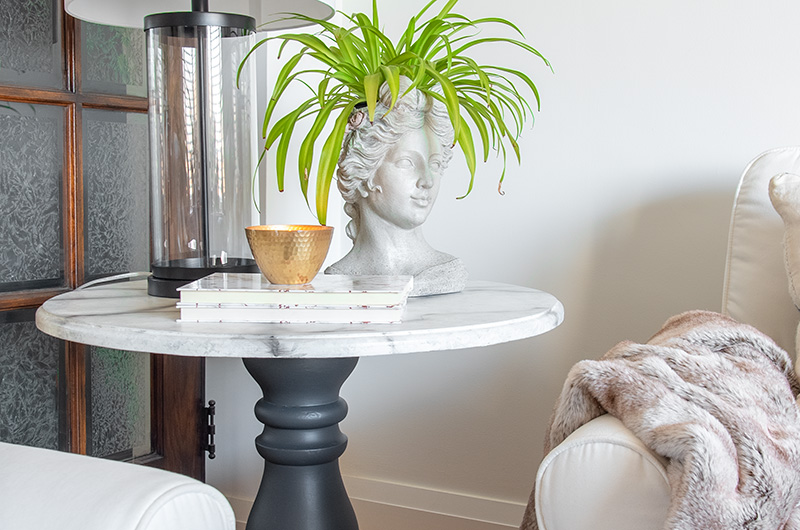
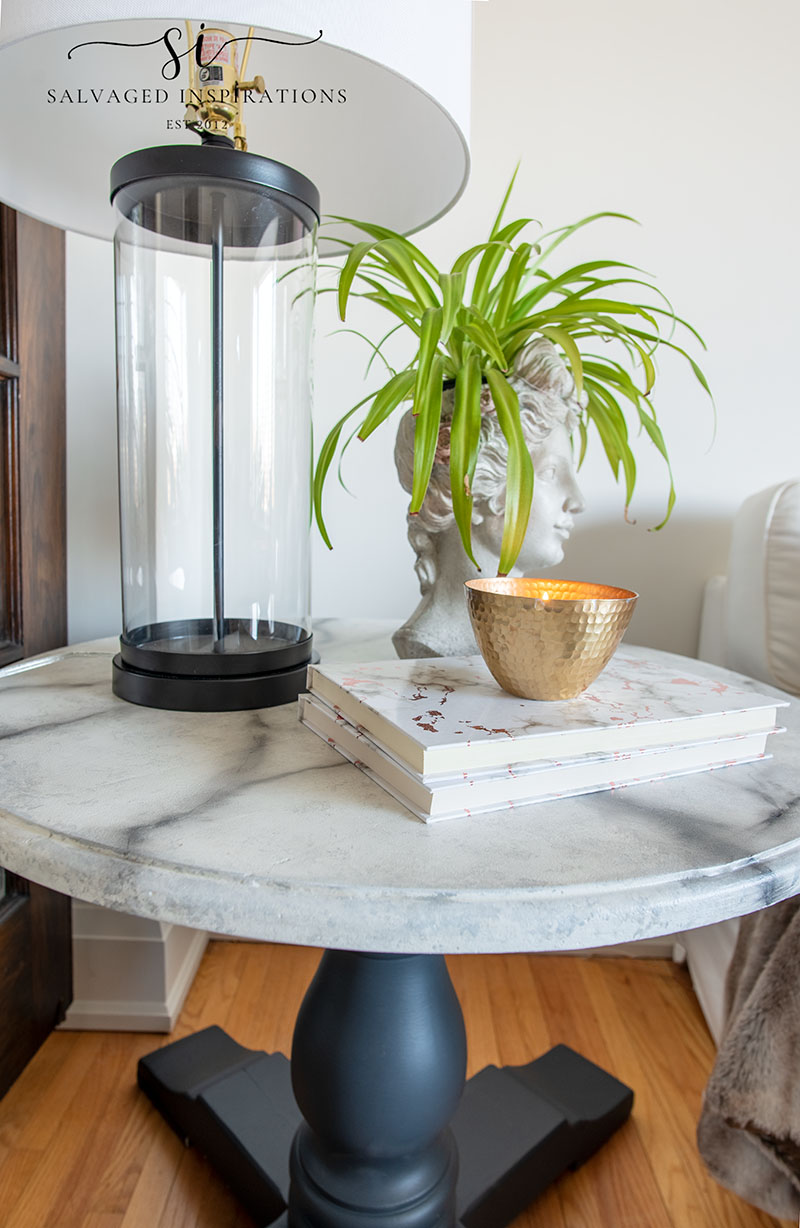
FINISHED MARBLE TABLE
And here’s the finished look in my living room. What do you think?!
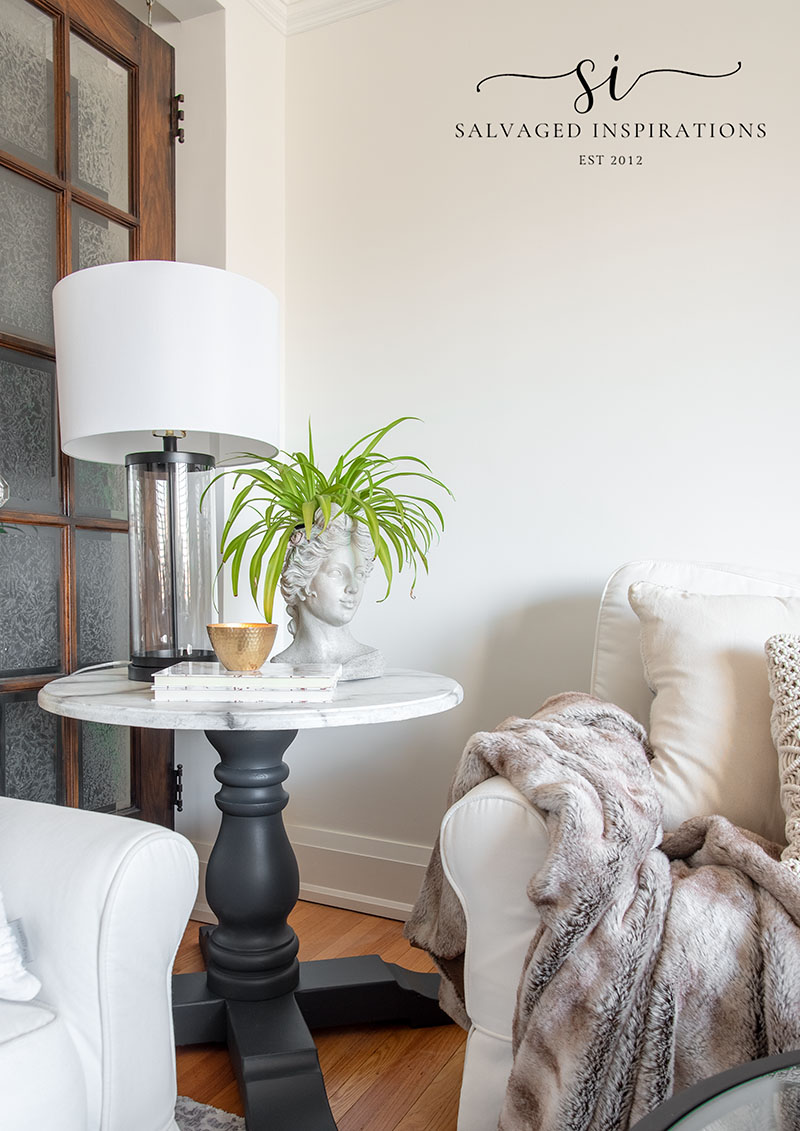
I’m loving this new look. It’s looking fresh and modern. And as you can see we have the faux fur blankets out to cozy up in which I’ve been using a lot!
And here’s a close-up. The marble finish gives this salvaged table a totally new look! Amazing what a little paint a few hours can do!
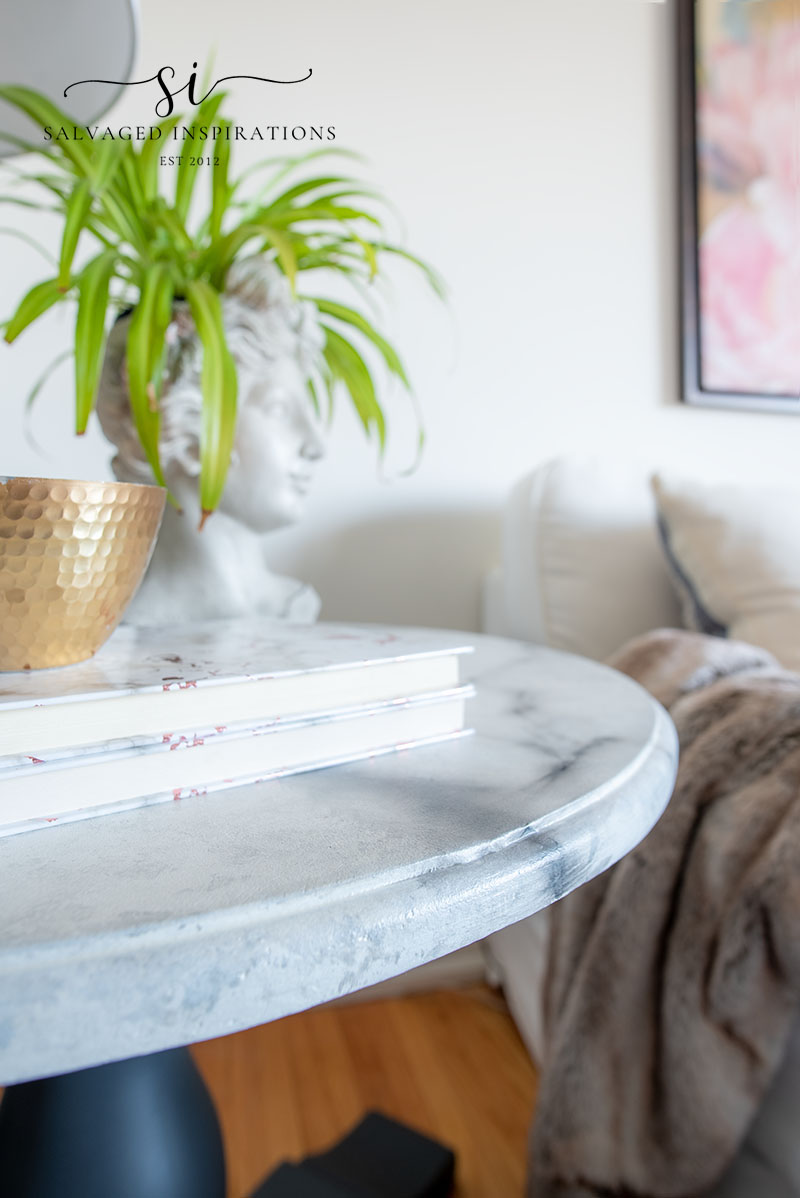
There are still a few tiny imperfections in the finish but I think it adds to the character. It’s interesting how when I work on a piece for my home, I don’t concern myself with all the tiny imperfections. I like them. Home projects feel fun and easy. It’s a nice break from paying attention to every detail when restyling a piece for sale. Funny how that works. Is it just me or does anyone else feel the same?
I can’t wait to hear what you think of it’s NEW LOOK!
YOUTUBE TUTORIAL
Here’s the full step-by-step YouTube tutorial. Our #siyoutubefamily is already a community of 42.8K so don’t forget to subscribe if you haven’t done so already! So exciting, thank YOU! 🙂
Here’s another look at this Faux Marble Painted Table before and after. I hope it’s inspired you and given you some ideas for your furniture and DIY projects.
Thanks so much for being here and sharing this makeover with me today. Let me know what you think of this faux marble finish before and after, or feel free to chime in with any questions you may have. I always love hearing from you. It makes my day! 🙂
See you next Tuesday and happy painting my friends!
Denise x
RELATED POSTS::
PAINTING OVER LAMINATE THE EASY WAY
2 BEST WAYS TO PAINT LAMINATE FURNITURE
HOW TO PAINT A FAUX WOOD FINISH
THE DIFFERENCE BETWEEN LAMINATE AND VENEER
HOW TO PAINT LAMINATE WITHOUT SANDING
PIN AND SHARE!

You did an amazing job on this marble table!😍
Thanks so much Nicki! XOXO
This table looks wonderful! Great job Denise.
Thanks my friend! XOXO
This is excellent work. It’s so beautiful. I’m looking forward to seeing the video.
Yay! Thanks so much Lizzy. I’m having fun doing the vids for you!😃
Chic upgrade!
Thank you Ruth!!
Hi Denise. This table is spectacular. Looks just like real marble. Have you ever tried this technique on a kitchen or bathroom countertop? Well done
Thanks Monique, and i have not. I’d love to though!
Denise,
You never cease to amaze me with your talents. The table is stunning and looks just like marble. Well done, my friend. 😍
Thanks so much Do! It was a fun project and much overdue like a bunch of other projects around my home.😂