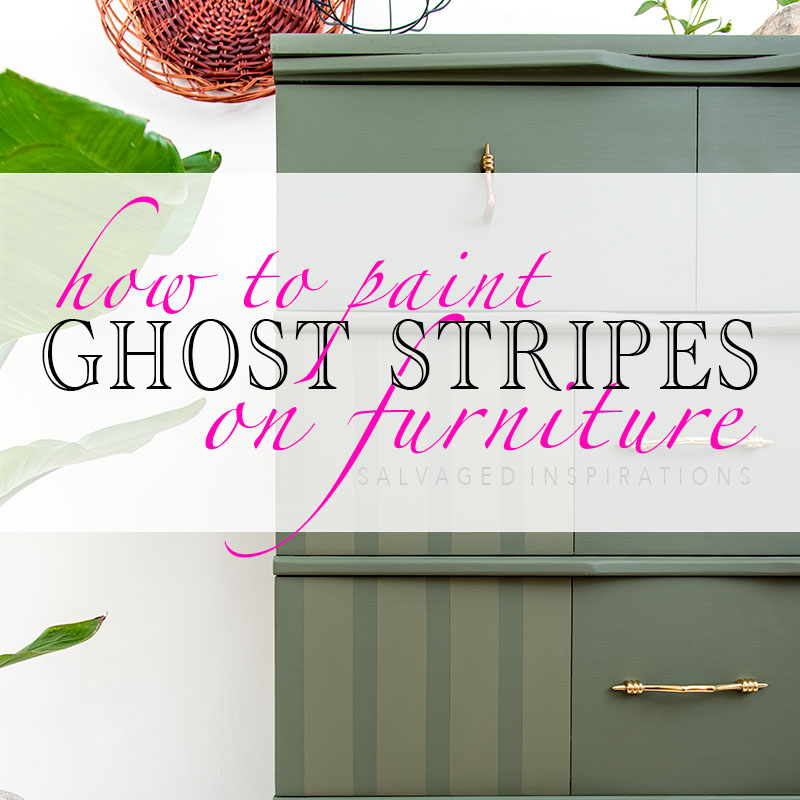
HOW TO CREATE GORGEOUS GHOST STRIPING ON YOUR PAINTED FURNITURE | YOUTUBE TUTORIAL!
 Hi creative friends! If you’re not familiar with ghost striping, you’re in for a treat! Louise S. asked me to create a piece of furniture showcasing ghost stripes and how to create them using glaze.
If you’ve been following me here and on my Youtube channel, I’ve been encouraging you to drop in with ideas for makeovers. What do YOU want to see me do? Are there any painting techniques YOU’RE interested in seeing? I’d love to hear from you so feel free to leave comments down below! After reading Louise’s comment, I was searching for a new piece on FBM to demo this on when I thought, hey, I already have a piece in my inventory this would look amazing on… and it hasn’t been top-coated yet. Perfect candidate!
It’s also Furniture Fixer Upper Day where I share my FFU Crews makeovers as well. Be sure to check them out below as well!
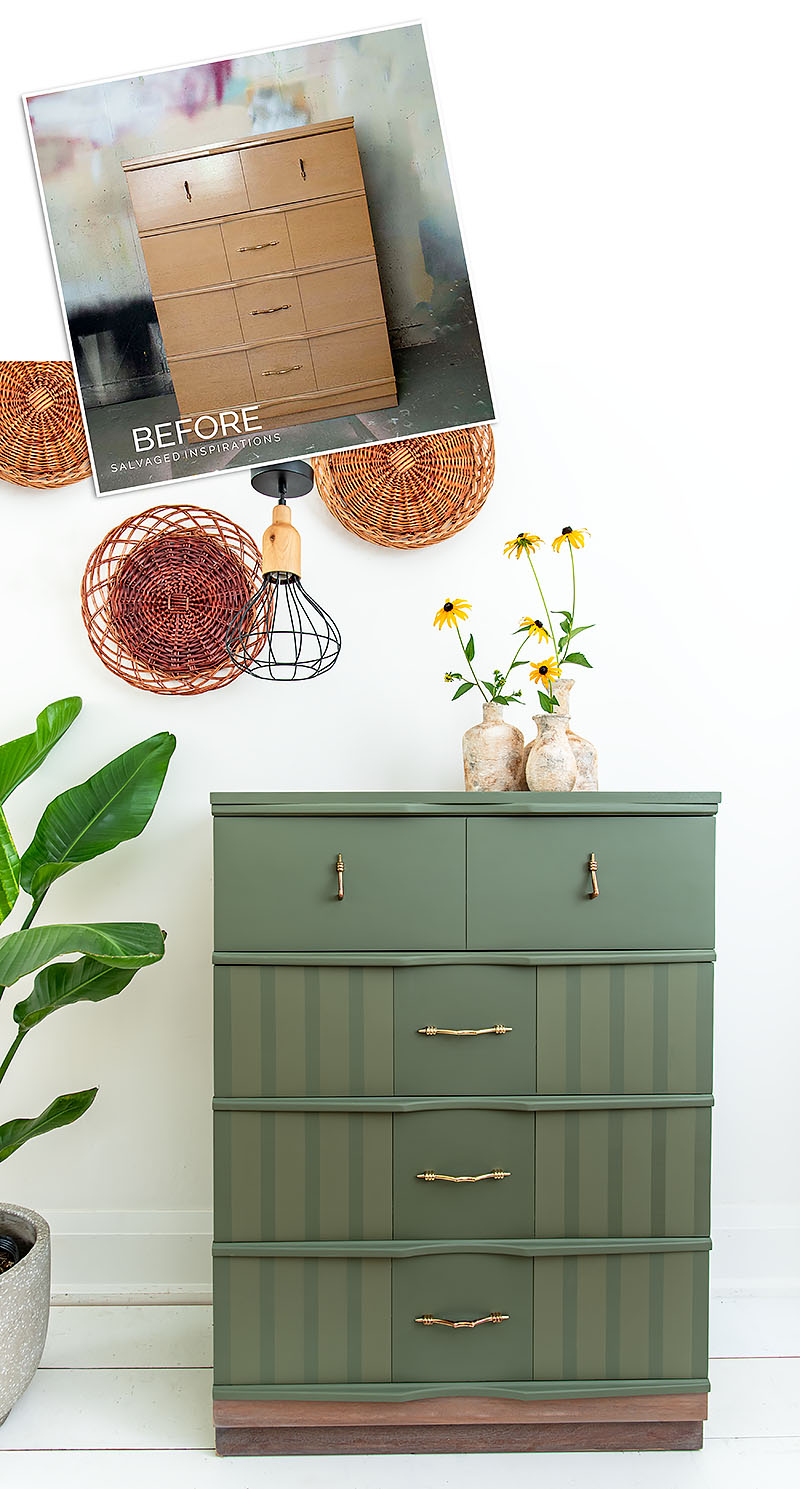
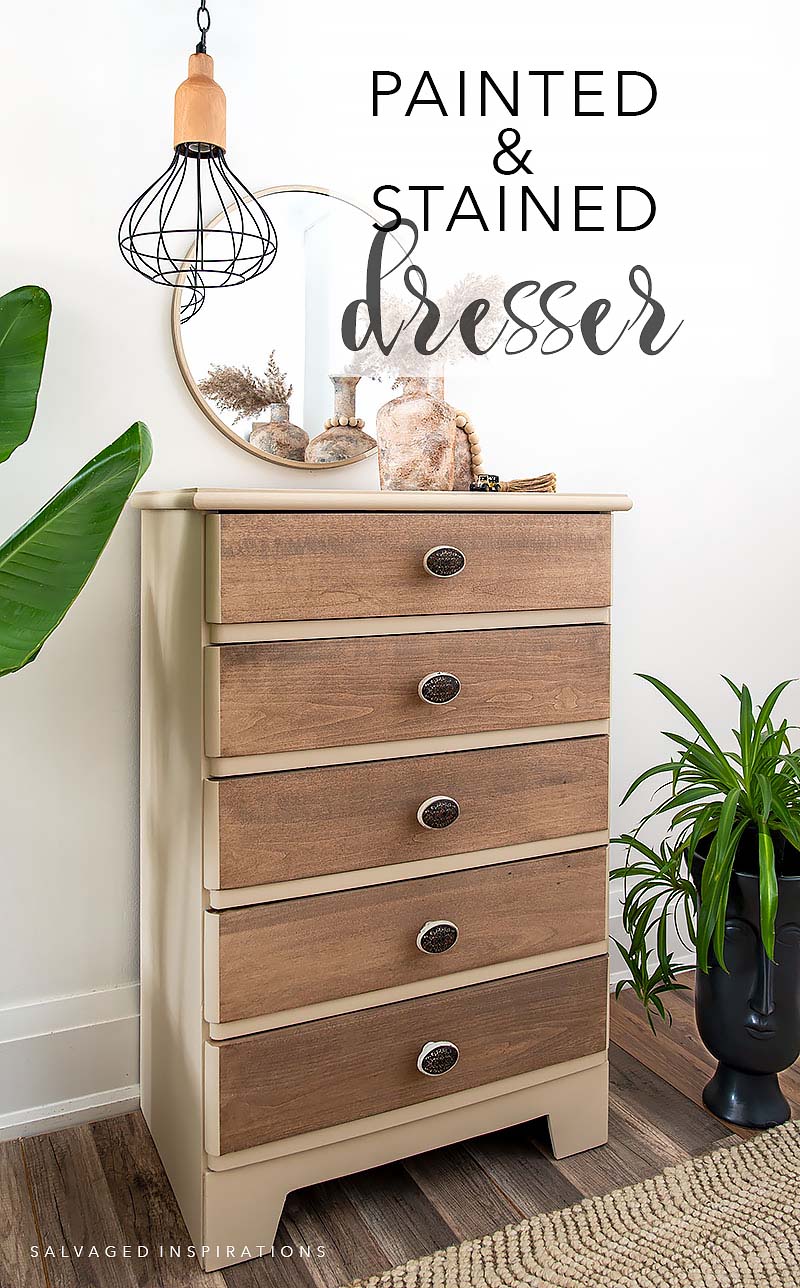
But first, here’s what I started with. You may remember this dresser in a previous post back in October of 2021. My sweet friend Mara from Revived By Mara gifted me this dresser on one of our fun shopping days!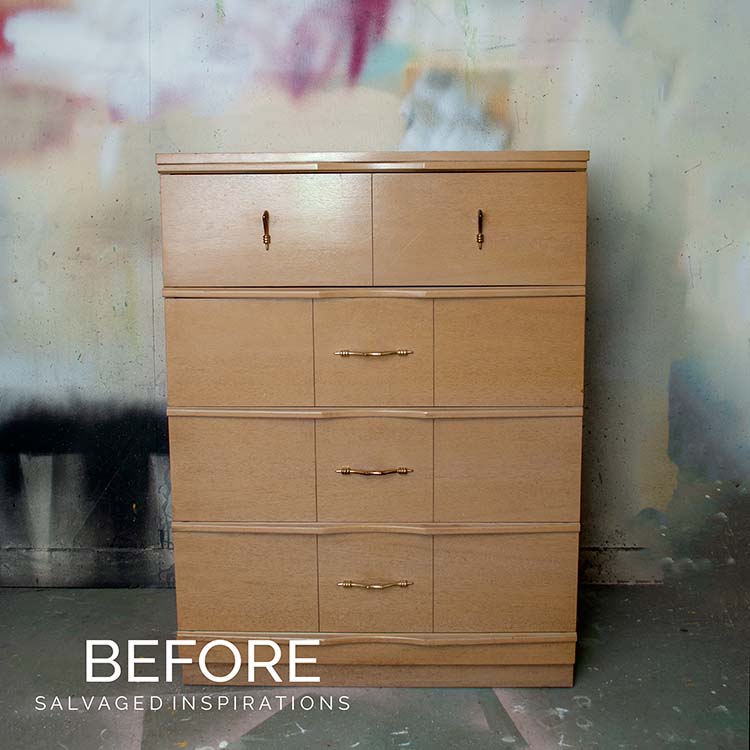
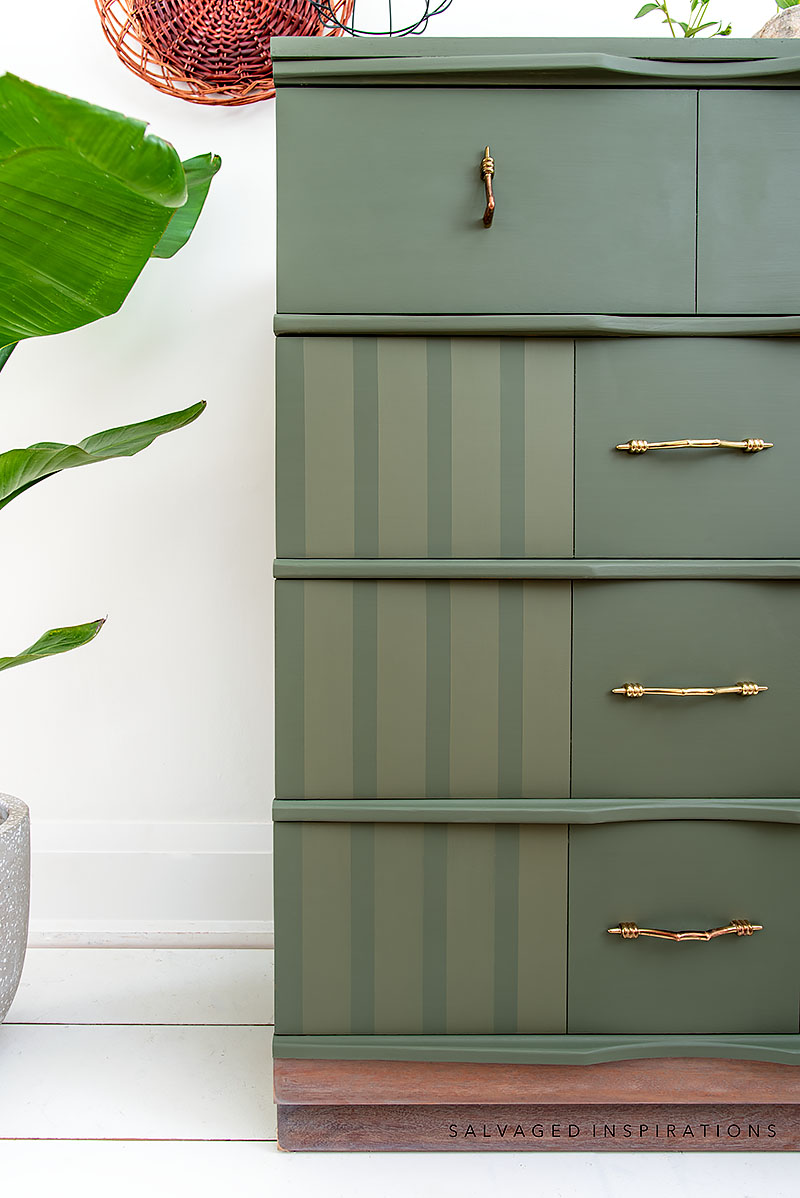
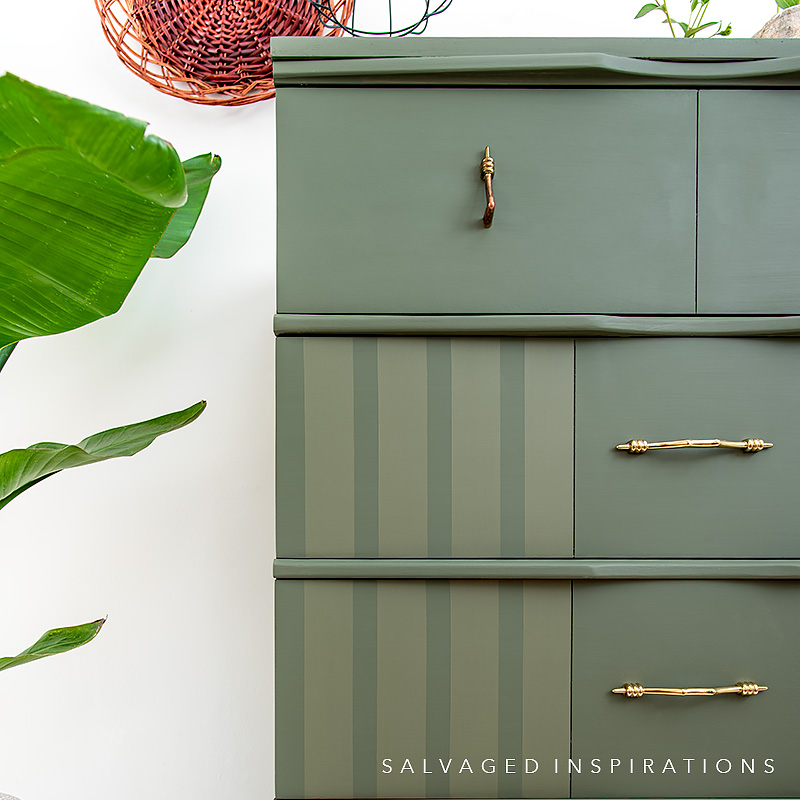
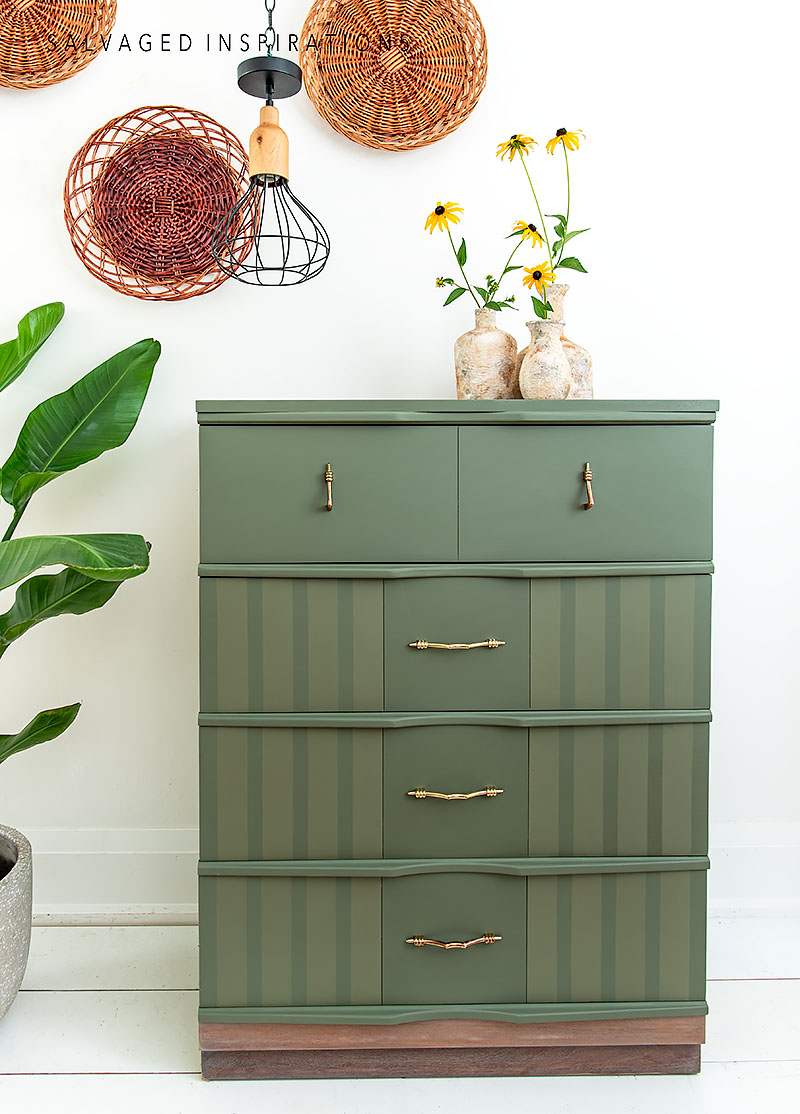
Before I get into the how-to details here’s a sneak peek at the NEW look! What do you think?
THIS POST IS SPONSORED/CONTAINS AFFILIATE LINKS TO PRODUCTS I USE. YOU CAN SEE MY FULL DISCLOSURE HERE.
SOURCE LIST
Thrift Dresser – SALVAGED
Green Painter’s Tape
Scissors
Paint Brush
Gold Shimmer Glaze
Equal parts Kudzo + Collard Greens = Juniper
Stir Sticks | Plastic Container
WHAT IS GHOST STRIPING?
Ghost stripes are created when you STRIPE the same color paint but make the stripes a slightly different hue or sheen. This can be achieved by using a different topcoat — say a satin on the base and a high gloss on the stripes for example. It can also be done by lightening or darkening your base color by a shade. OR an even easier way of doing this is to use a glaze with a pearl or metallic mixed into your base color. Ghost stripes are most visible when the light hits them just right. I’ll bet you’ve seen ghost-striping on classic cars. It’s super popular on those old muscle cars and looks amazing when the sunlight hits it!
Here’s how I created these stripes using glaze…
PAINT BASE COLOR
As I mentioned this was a piece I did last fall. It already had a base color of Juniper which is no longer available as it was a limited edition. A recipe to get this exact same green is to mix equal parts Kudzo + Collard Greens. I have a full post and free download recipe card for all these trendy FALL COLORS HERE.
DESIGN & TAPE
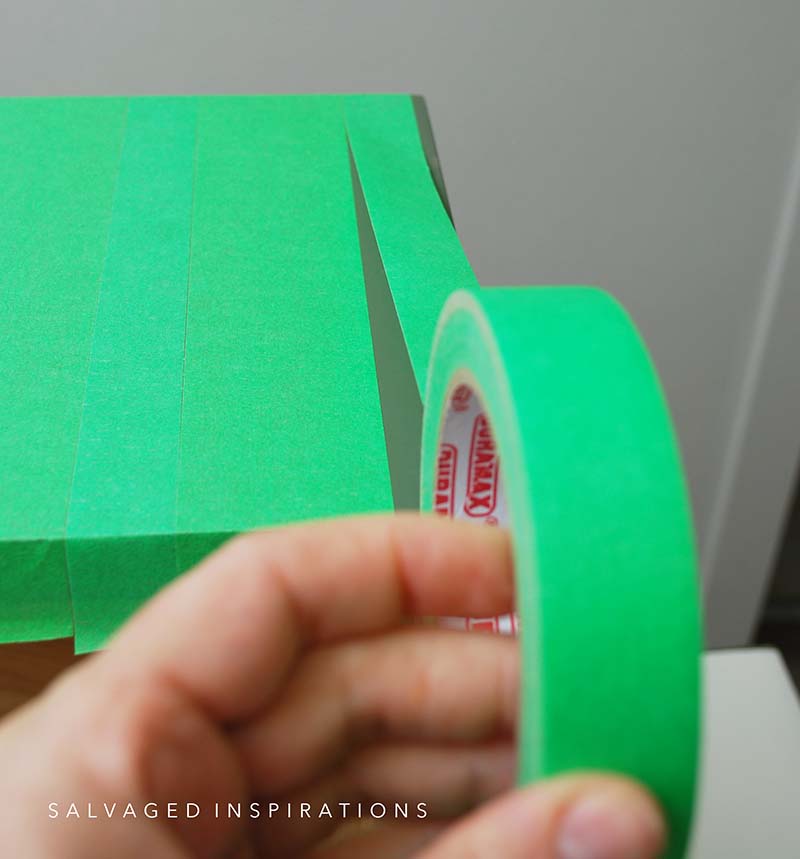
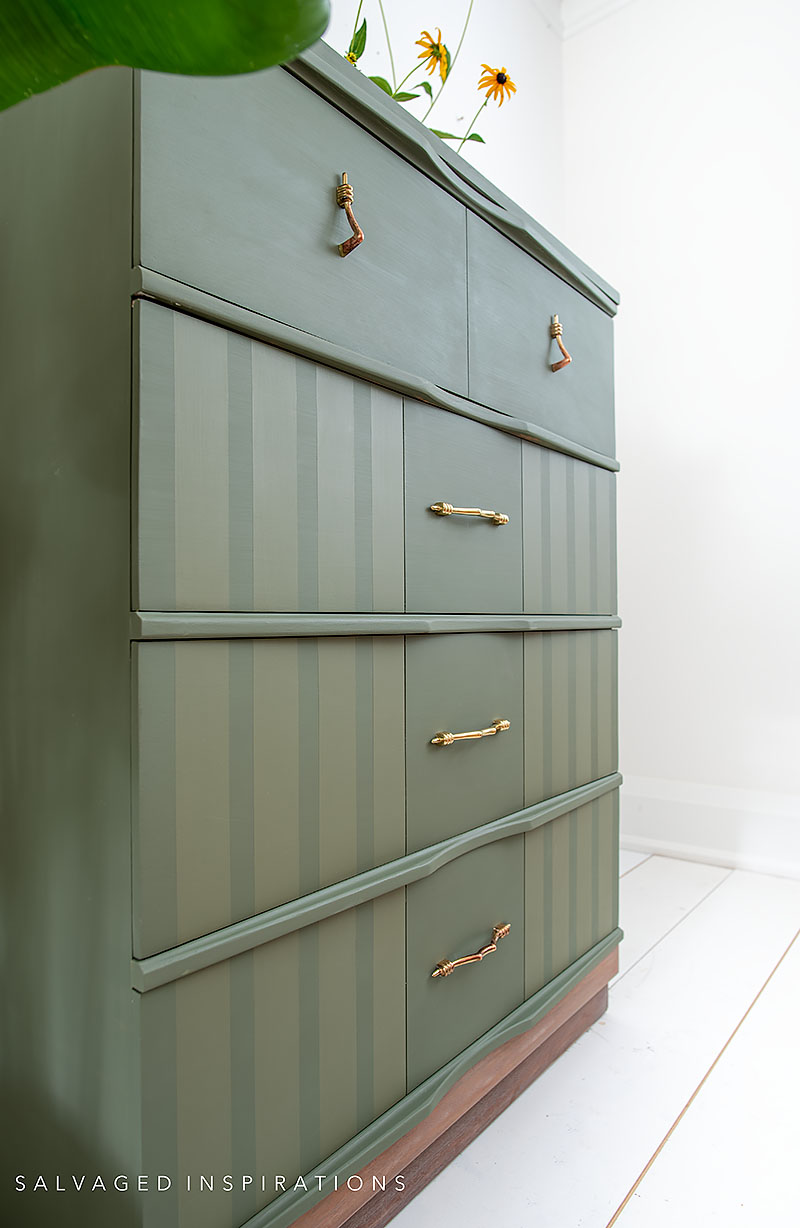
After your base color dries it’s time to design. I chose to add the stripes on the bottom three drawers on the side. I started with the same width of stripes but then decided to use two different widths of tape to create some variation. I think it makes the stripes look more interesting when it’s not quite as symmetrical but be sure to pick whatever looks good to you. If you wanted super chunky ghost striping, you can even double or triple up on the painter’s tape to create a super thick stripe!
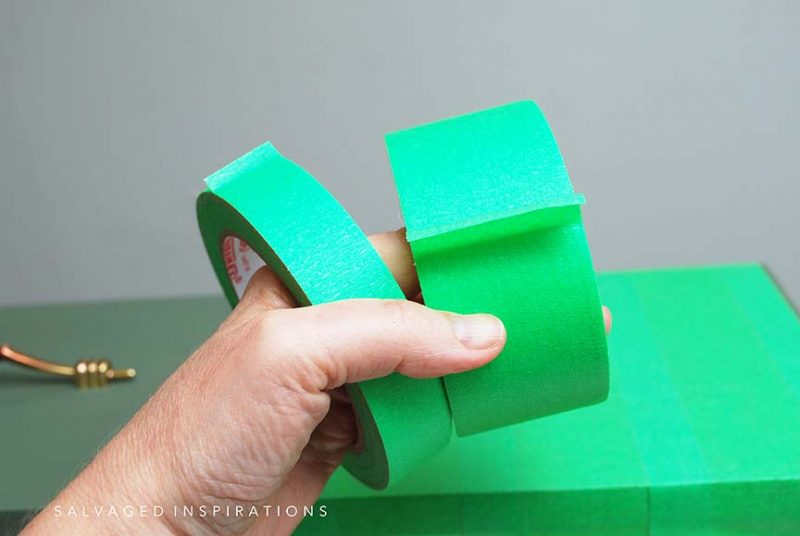
TIP – To tape off perfectly straight lines, start at a straight edge of your furniture. Then start butting the painter’s tape side by side. This will create PERFECTLY STRAIGHT STRIPES every time! I’m sharing two ways in the Youtube Tutorial at the end of this post so you can see it in action!
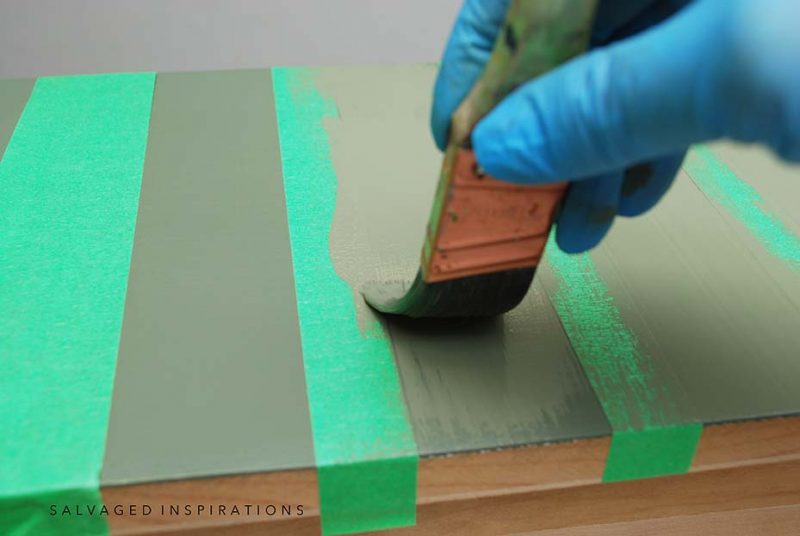
SEAL PAINTERS TAPE
To get perfect crisp ghost stripes I recommend sealing the tape. To seal the painter’s tape and prevent bleedthrough I painted over the tape with my base color. One thin coat is all that is required and once this coat is dry it’s time to create some ghosting! 👻
GLAZE + PAINT
I had a few different glazes on hand and tried a couple before deciding on the one I wanted to use on this dresser which was the third one in the pic below.
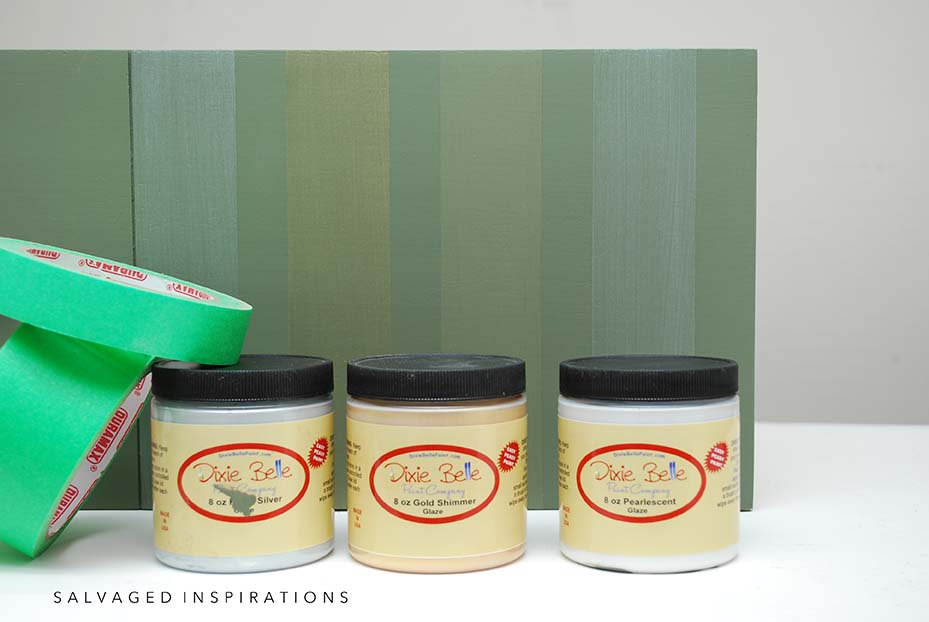
I tried applying the glazes at 100% and then tried a 50/50 mix of paint and glaze which I much preferred.
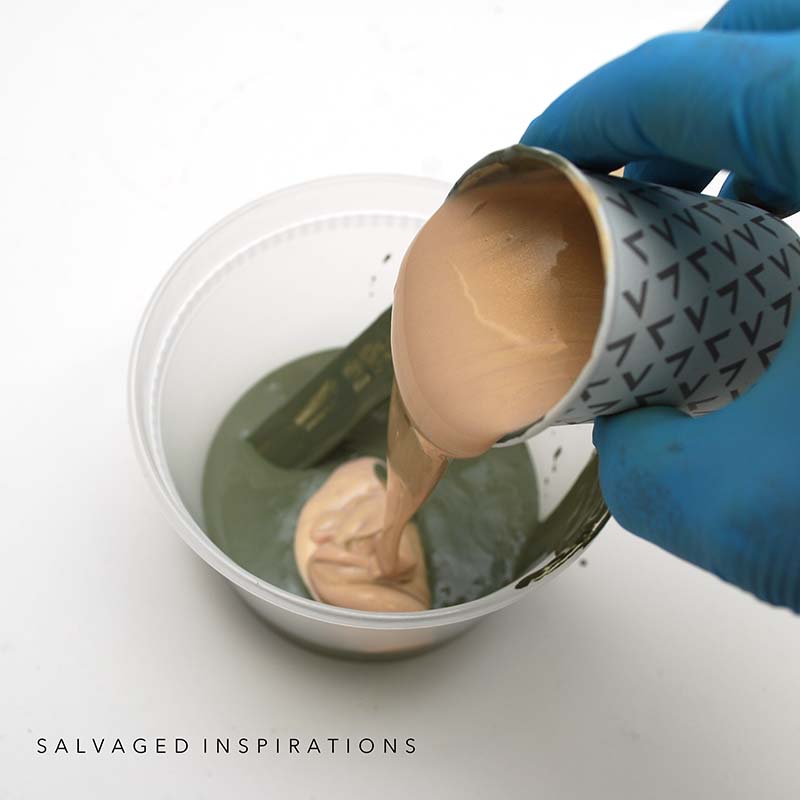
Once I mixed a small batch of 50% Juniper and 50% of this Gold Shimmer Glaze, I painted one coat to add the striping. While this coat was still WET, I removed the painter’s tape.
That’s all there is to it! So easy right!
Now I can go ahead with a topcoat in whatever sheen I want and the glaze beneath will still catch the light and provide that really pretty sheen.
YOUTUBE TUTORIAL
Here’s a step-by-step tutorial on Youtube. If you have any problems viewing below, feel free to watch it on my Youtube Channel HERE. Our #siyoutubefamily has hit 14.6K so don’t forget to subscribe if you haven’t done so already! So exciting, thank YOU! 🙂
AND NOW FOR SOME FURNITURE FIXER-UPPER FUN!
You’re going to LOVE what my creative team of Furniture Fixer Upper ladies do! Below are their BEFORE photos. Visit the links below to see the amazing AFTERS and learn how they did it! I’m heading over to take a peek as well! x

1. SALVAGED INSPIRATIONS (HAPPY YOU’RE HERE!)
2. PETTICOAT JUNKTION
3. CONFESSIONS OF A SERIAL DIYER
4. GIRL IN THE GARAGE
Here’s another look at this dresser’s before and after. I hope it’s inspired you and given you some new ideas for your projects!
LET ME KNOW WHAT YOU THINK OF GHOST STRIPING. FEEL FREE TO ASK ANY QUESTIONS YOU MAY HAVE OR ADD ANY TIPS I MAY HAVE MISSED! I ALWAYS LOVE HEARING FROM YOU. IT MAKES MY DAY! 🙂
Happy furniture painting friends!
Denise x

Simple yet stunning! I am painting a French Provincial Cabinet in DB Drop Cloth, and I wanted to do stripes….I followed your instructions, and used the DB Gold Shimmer Glaze for stripes on the sides….Loving it! Thanks again for the great ideas 🙂
Hi Laura! Thank YOU and I’m so happy the glaze technique worked for you. Super easy, right?!😃
Yes! and super glam 🙂
I love looking at your creations. You’re-a very talented woman. I wish I had discovered how much I like redoing furniture pieces while I was younger, I’m 71. I do some pieces just for myself now but I would have gotten into this much more earlier in my life. Keep posting your talent.
Thanks so much, Jeanie! And I’m so happy you are here and creating for yourself! Painting is such a fabulous creative outlet, isn’t it?!💜
Hey amazing creator of things beautiful! I agree with everyone else: the stripes are super cool! — but my Q for you is regarding the BASE of this piece, which you didn’t say anything about! What did you do to refinish the skirt, as it has obviously been changed from the original. Thanks for filling us in the 4-1-1 — you know we love you, Denise OXO!
Thanks Suzy! XOXO And this is the second makeover for this piece. You can see the first makeover here where the top and bottom were wood. I’d love to hear which version/style you prefer. 🤗
This is gorgeous and I love to try new painting techniques ❤️
Thanks Carol! If you give it a try I’d love to hear how it all turns out for you!
Very pretty. However, I would have added the ghost stripe color to the next horizontal surface below the last drawer ledge. Thereafter on the remaining horizontal surface I would have painted the base color. I find it distracting that the base of the chest is totally different.
Thanks Robin! The first makeover on this dresser had the top, top drawer, and bottom all in the wood finish. For take#2 I really like the base wood! It adds interest.
The green with the subtle stripes are eye catching. I’m a lover of green and this one is over the top. As always, you nailed this finish. Thanks for sharing, my friend. Pinned. 🙂 xo 😘
I love green as well! Although I don’t do a lot of striping, I love the way it catches the light. Thanks for the PIN my friend! XOXO
I must say that I, like you, don’t “do stripes”. But you converted me with this piece. It is just gorgeous!! Can’t wait to see the video. KUDOS TO YOU!! And of course, many thanks. I so appreciate you.
I appreciate YOU Caye! Thanks so much!💕
Wow this really added so much to this piece! I love it! XOXO
Thanks Christy! It was fun to do something a little different than I usually do! XOXO
I’d love to try the ghost stripes are u going to have a how too video ant time soon? It looks amazing!
Thanks Karen! And yes, I’ll have the youtube video published this Saturday morning for you so you can see it in action!
The striping adds beautiful detail. Thank you for sharing!
Thanks so much Nicki! 🙂
Love this effect Denise; beautiful new look! Wouldn’t be surprised if your friend wants it back now lol.
Thanks so much Sara! XOXO
Thank you Denise! I love this look and it is perfect for this piece. I have juniper. I just need the gold glaze. Looking forward to the video to see how you make the stripes.
If you have a pearl glaze or other metallic glaze it would work just as well! I tried the pearl and the gold mixed into the paint and they both picked up the light beautifully. The gold was just slightly warmer. 🙂
Hi Denise. Wonderful tips on how to paint ghost stripes…and stripes in general. This dresser looks so classy with the striping. Beautiful work.
Thanks so much, Monique! XOXO
My sister in law did the same thing to her bathroom walls years ago with the same color cream paint in flat and semi gloss the striping looked very cool
YES! I’ve seen this technique used in home decor and it looks amazing, doesn’t it!?!