$4.99 THRIFT STORE GLASS VASES GET TRANSFORMED INTO DIY AGED CLAY VESSELS | YOUTUBE VIDEO
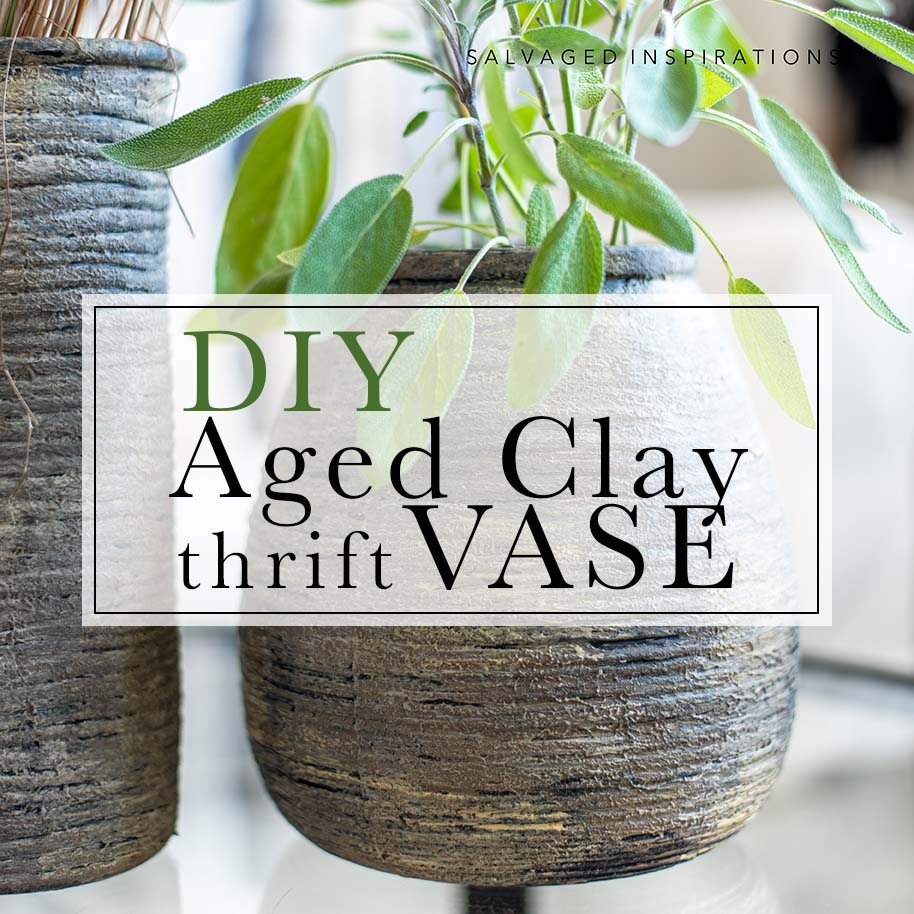 Hi creative friends and thanks for joining me on Trash To Treasure Tuesday! I have an easy way to update your cheap glass vases into gorgeous faux clay vessels that are selling for hundreds of dollars! I love the look of these RestorationHardware or PotteryBarn aged vases but you all know I’m thrifty — so I don’t like the prices. So, today I’m sharing how to add Aged Clay Texture to any borning glass vase. These turned out even better than I imagined so they’re taking center stage on my coffee table right now. I can’t wait to share and hear what you think!
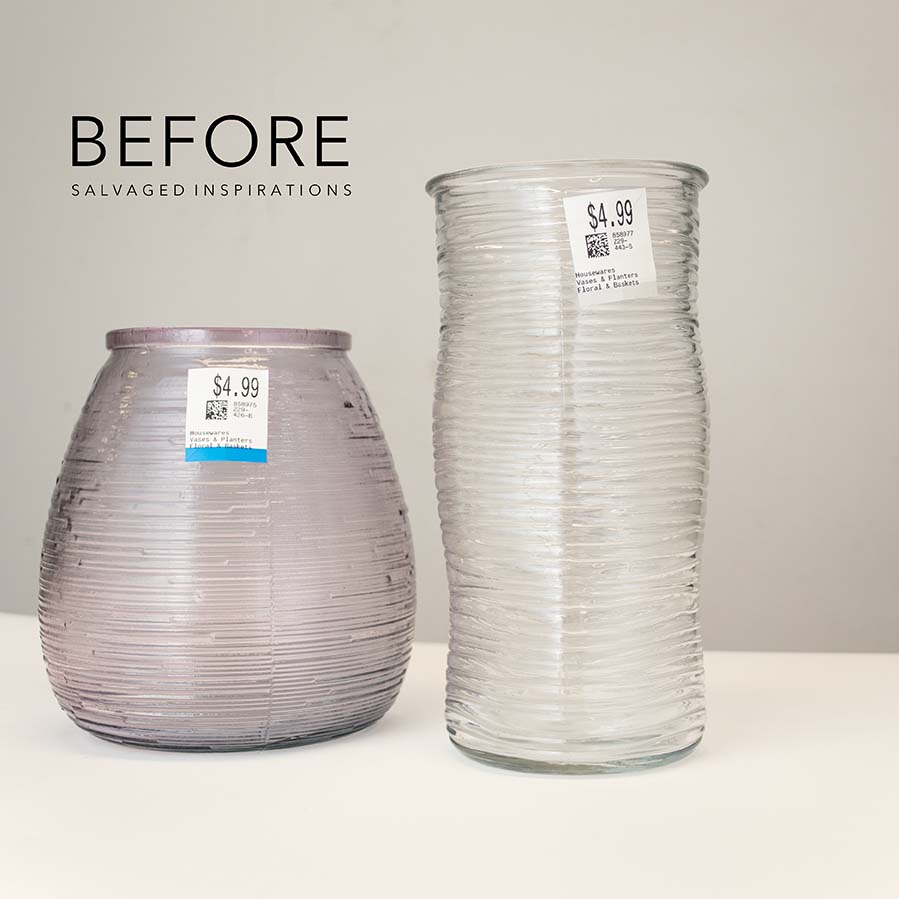
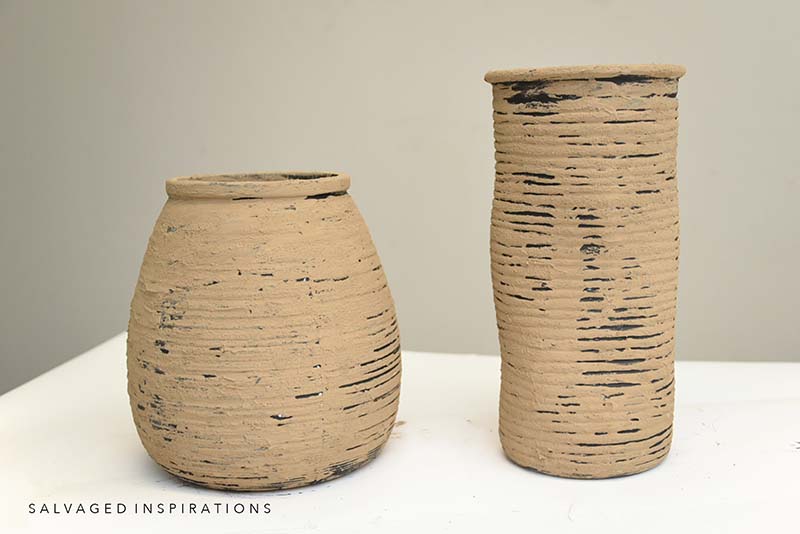
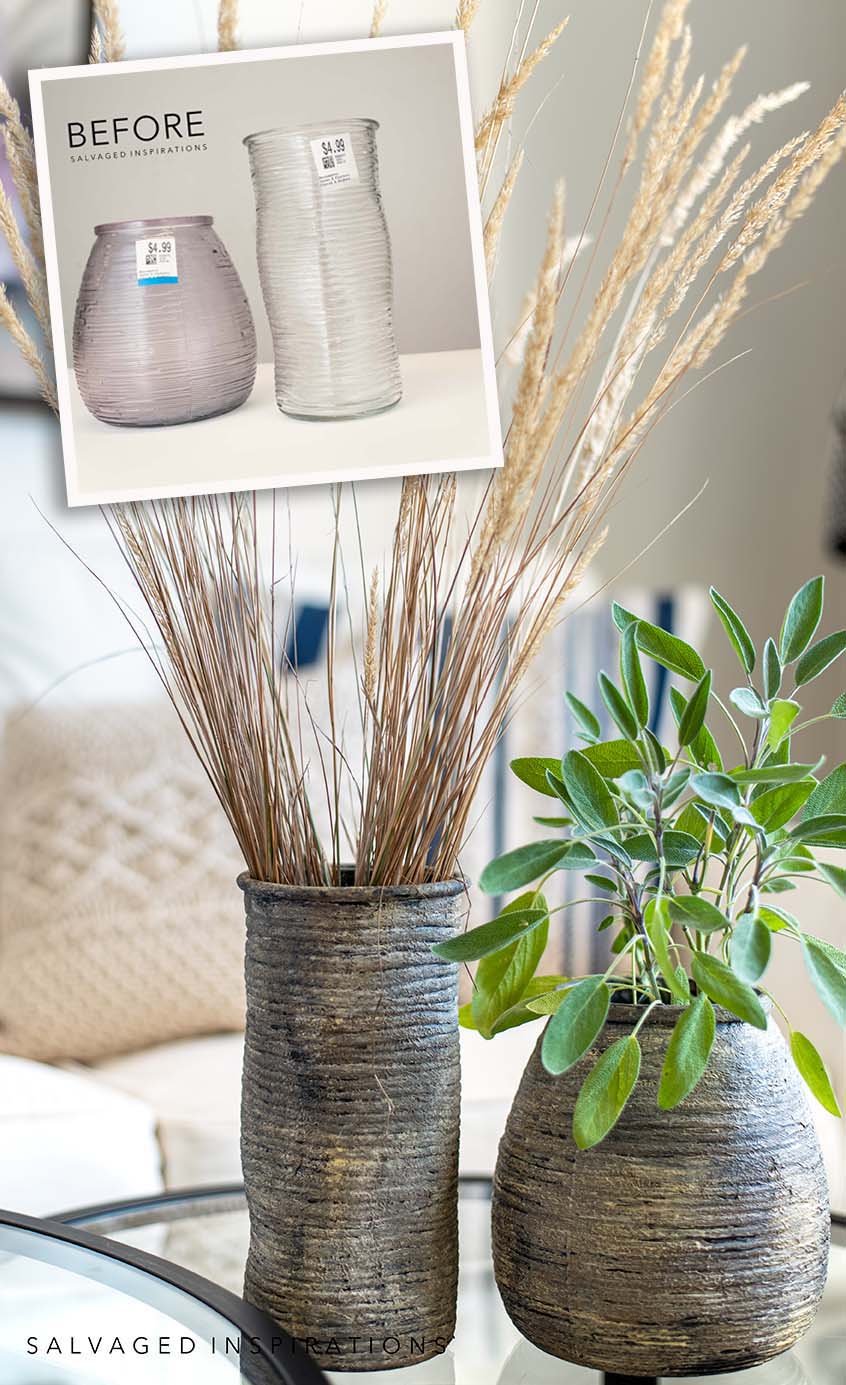
Here are the glass vases I started with. I picked them up from my local thrift store for $4.99 each. I liked the shape and size and the ridges in the glass made them interesting as well. (*Note – the technique I use below does NOT require the glass to be ridged)
THIS POST IS SPONSORED/CONTAINS AFFILIATE LINKS TO PRODUCTS I USE. YOU CAN SEE MY FULL DISCLOSURE HERE.
SOURCE LIST
$4.99 Glass Vase(s) – SALVAGED
Heat Gun
Shop Towel
Chip Brush
Water Mister Bottle
Slick Stick Primer
Caviar Chalk Mineral Paint
Wheat Terra Clay Paint
Desert Tan Terra Clay Paint
Terra Seal Matte
DIY AGED CLAY VASES
Here’s how it all came together on this project…
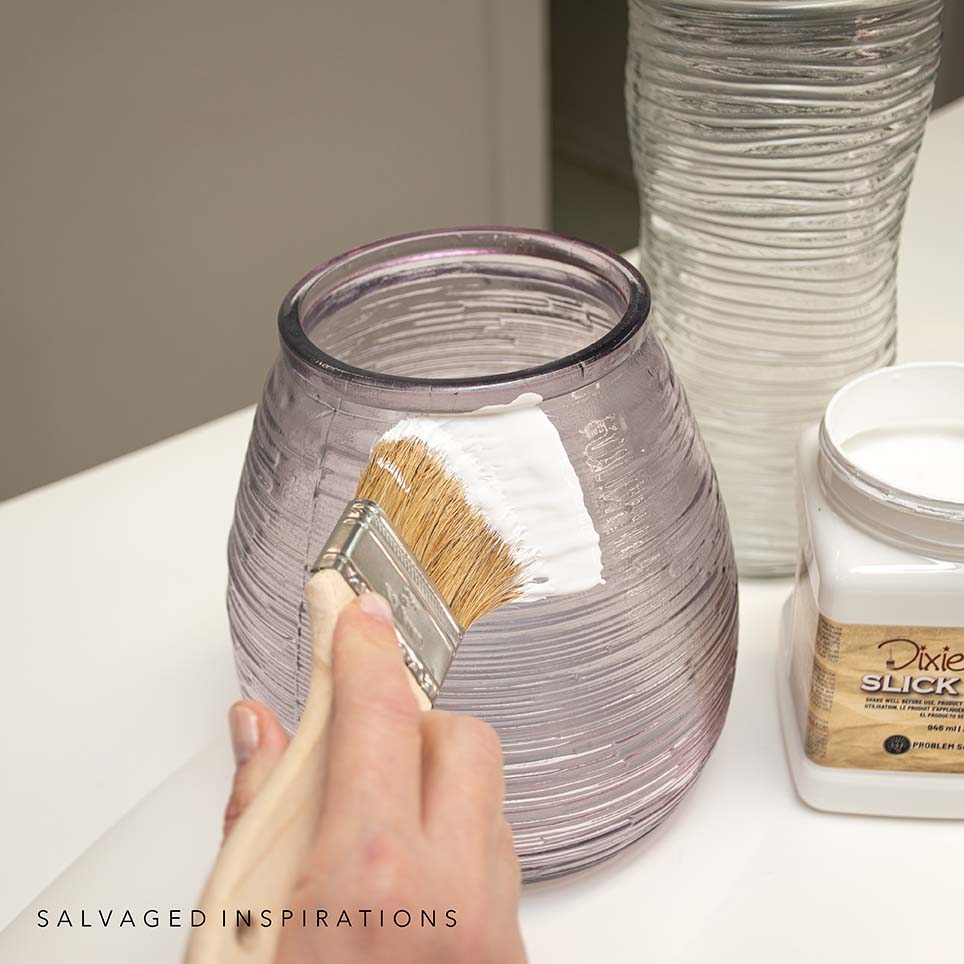
PRIMING GLASS
I started by priming the glass with this Slick Stick which is a bonding primer. This step is to ensure whatever I add to create my textured clay look will adhere 100%. I have a full tutorial on how to use Slick Stick Primer here.
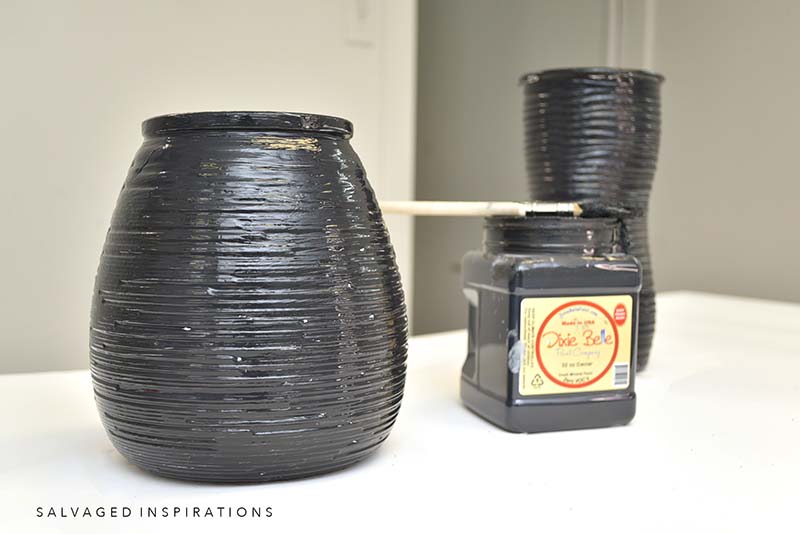
BASE COAT
For my base color, I used Caviar Black. One coat was enough to give these vases a really good base to create a faux clay finish.
Once my Caviar Black base coat dried, I took some Brown Dixie Belle Mudd and rubbed it all over the vase. Once I had some mud texture on both vases, I waited a couple of hours for them to dry. To speed up the drying process, I used my heat gun. If you don’t own a heat gun- get one! They are super inexpensive and help with so many tasks such as removing price tags, stickers, contact paper, old veneer, and old paint, not to mention dry time and so much more! I promise you’ll love it and use it all the time!
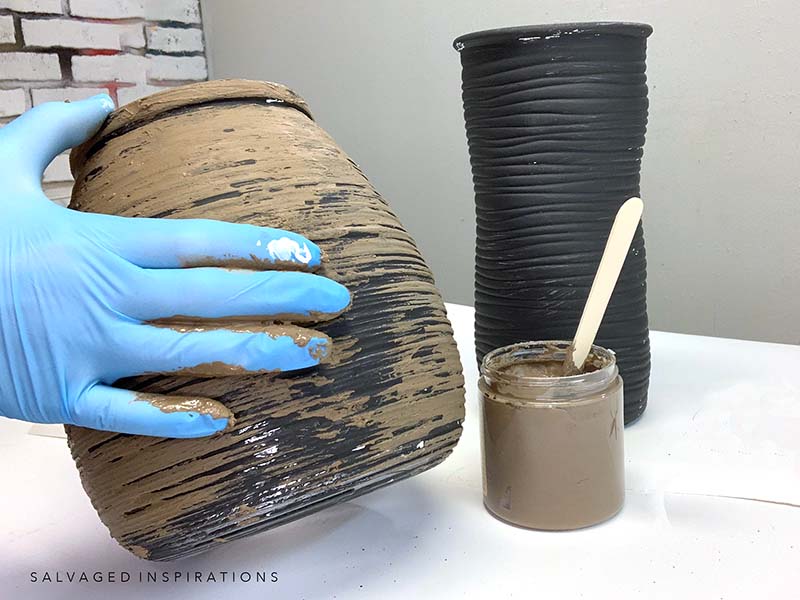
Here’s what they looked like covered in the dry Dixie Belle Mudd. As you can see below, I wasn’t perfect at applying it. There are places where you can see the black peeking through but they’re already starting to look like clay, right?!
PAINTING AGED FAUX CLAY
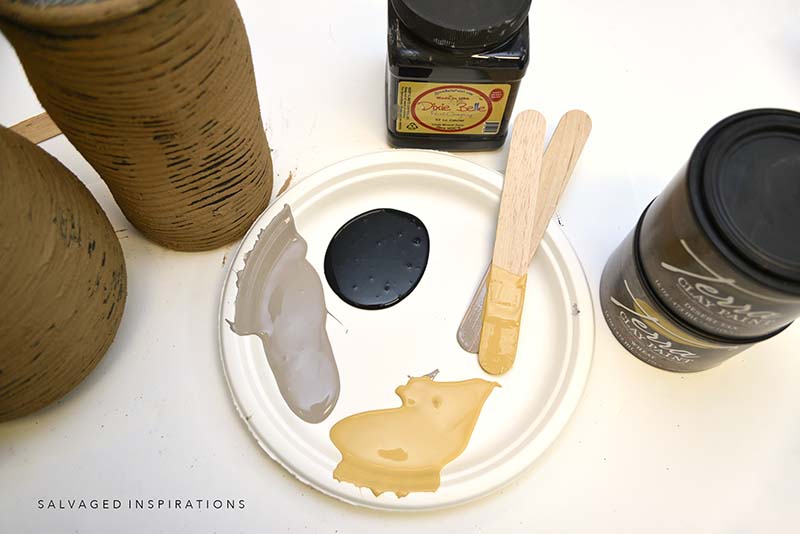
Now it’s time to get creative. You need VERY little paint for this technique so you can even use craft paint from a dollar store or whatever leftover paints you have on hand. I wasn’t exactly sure what paint colors to use so I went online and searched clay vase images. Once I had an idea of what I liked, I poured a small amount of Caviar Black, Desert Tan, and Wheat onto a paper plate.
Then using my spray mister bottle, I sprayed my chip brush and dipped into the various colors, and lightly brushed the paint on. If I added too much, no worries, I dabbed at it with a shop towel until I liked the look. There is no right or wrong with this technique. I just kept playing and layering the three paint colors until I liked the look. You can see how the layers all came together in the Youtube video below.
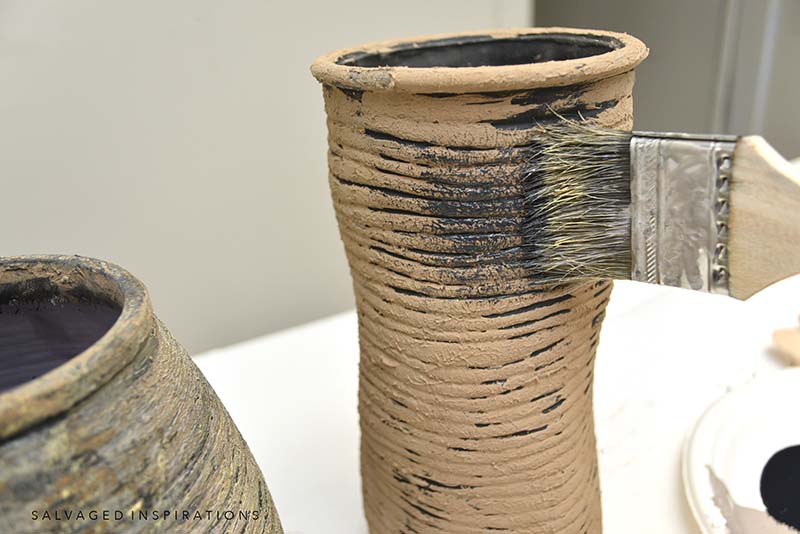
Building the layers of paint really adds a lot of depth and texture.

TOPCOAT | PROTECTION
Because Terra Paint reactivates so easily with water, it was important to protect my work with this Terra Seal. I applied two coats. Like most topcoats, it goes on looking milky and dries hard, clear, and matte.

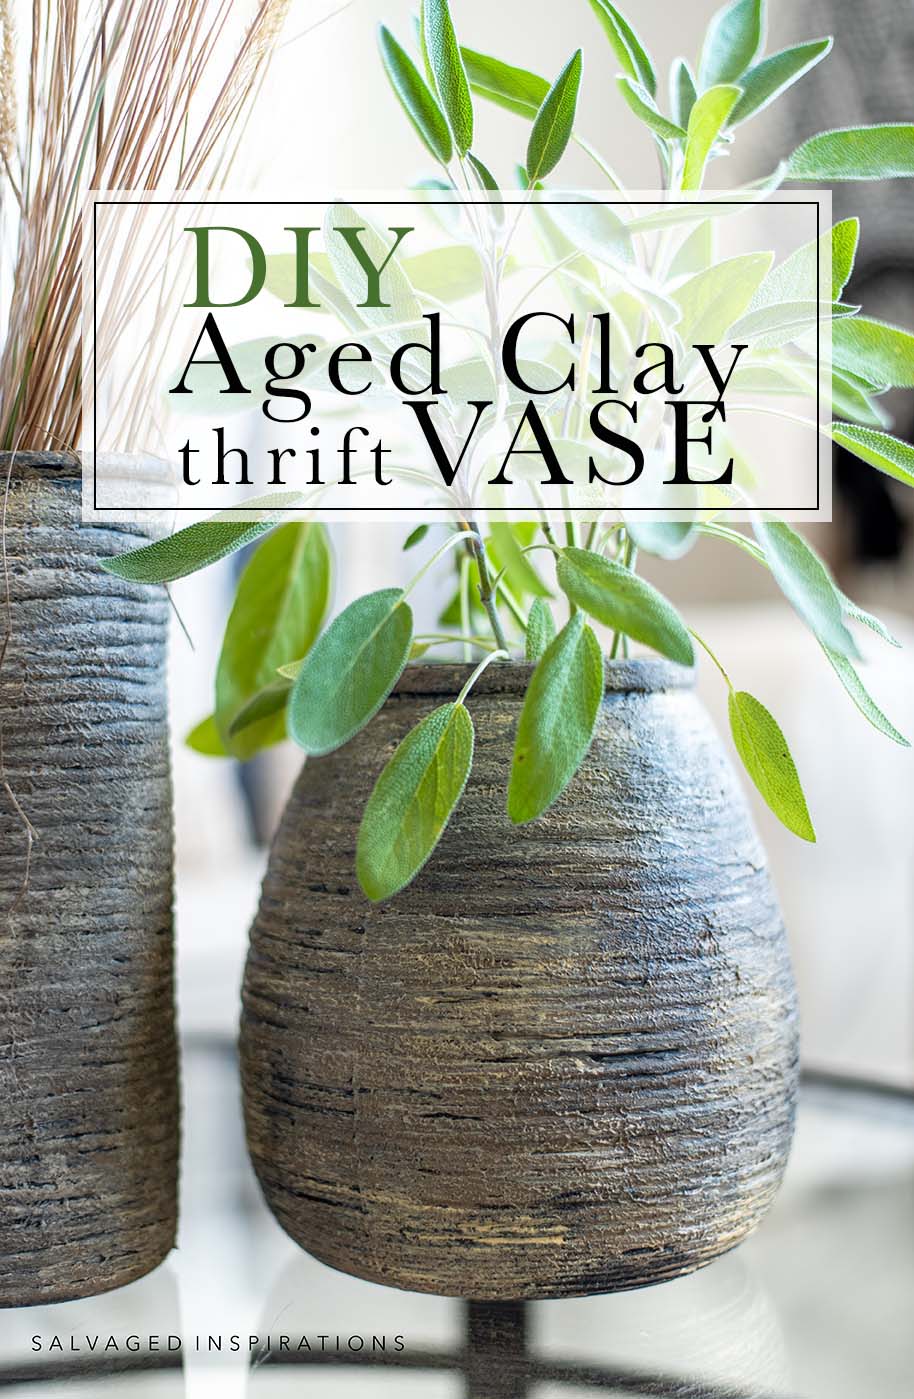
FINISHED LOOK
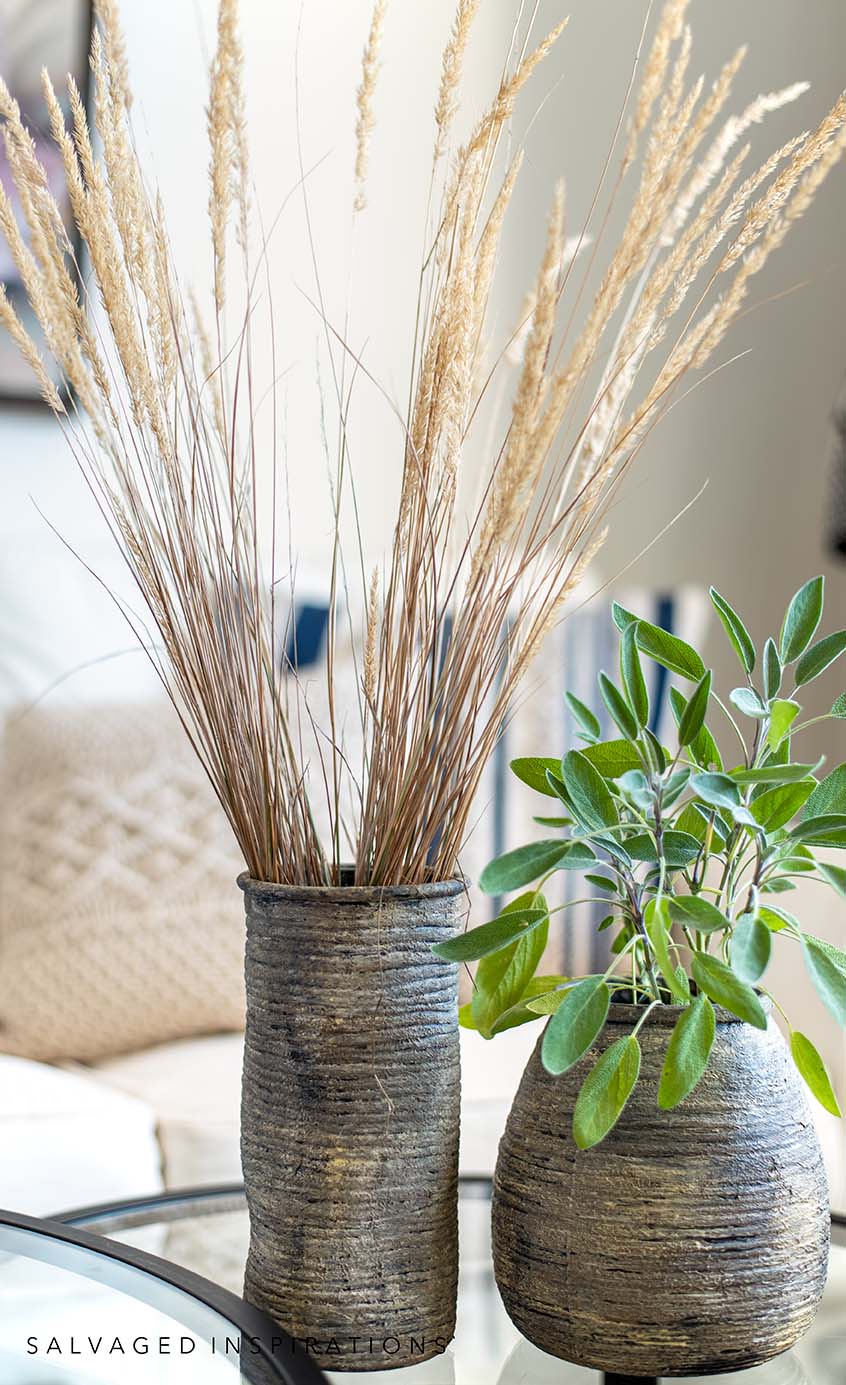
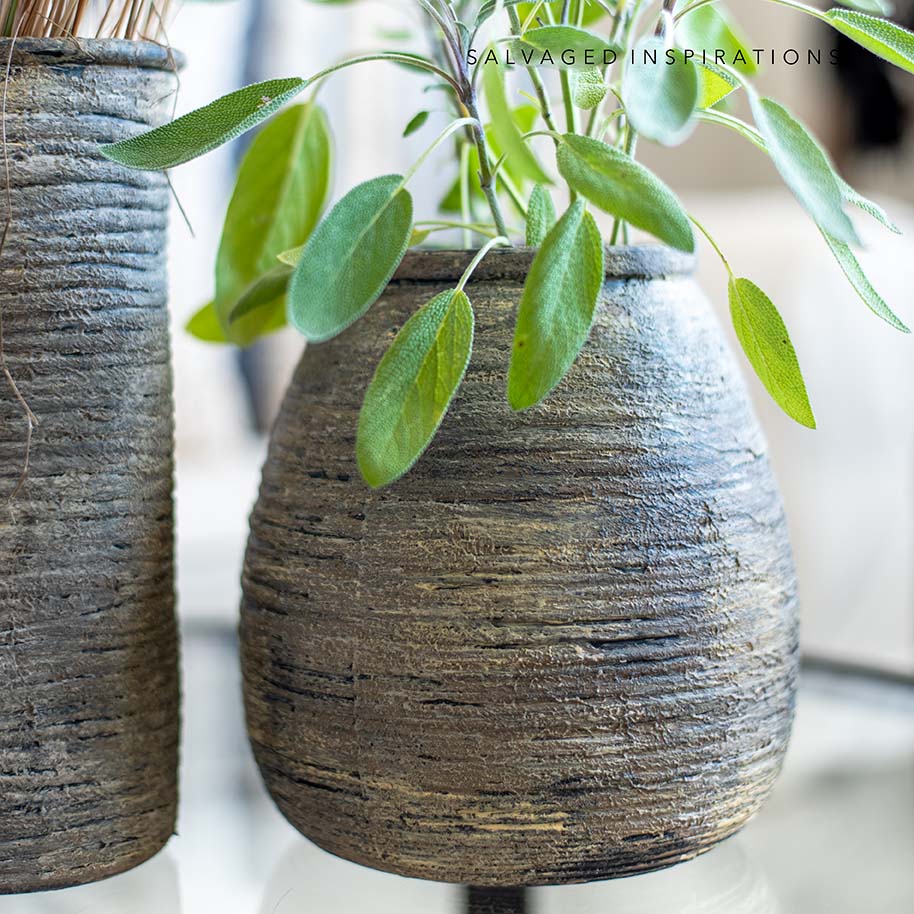
Here’s the finished look! What do you think?

Look at all this texture!
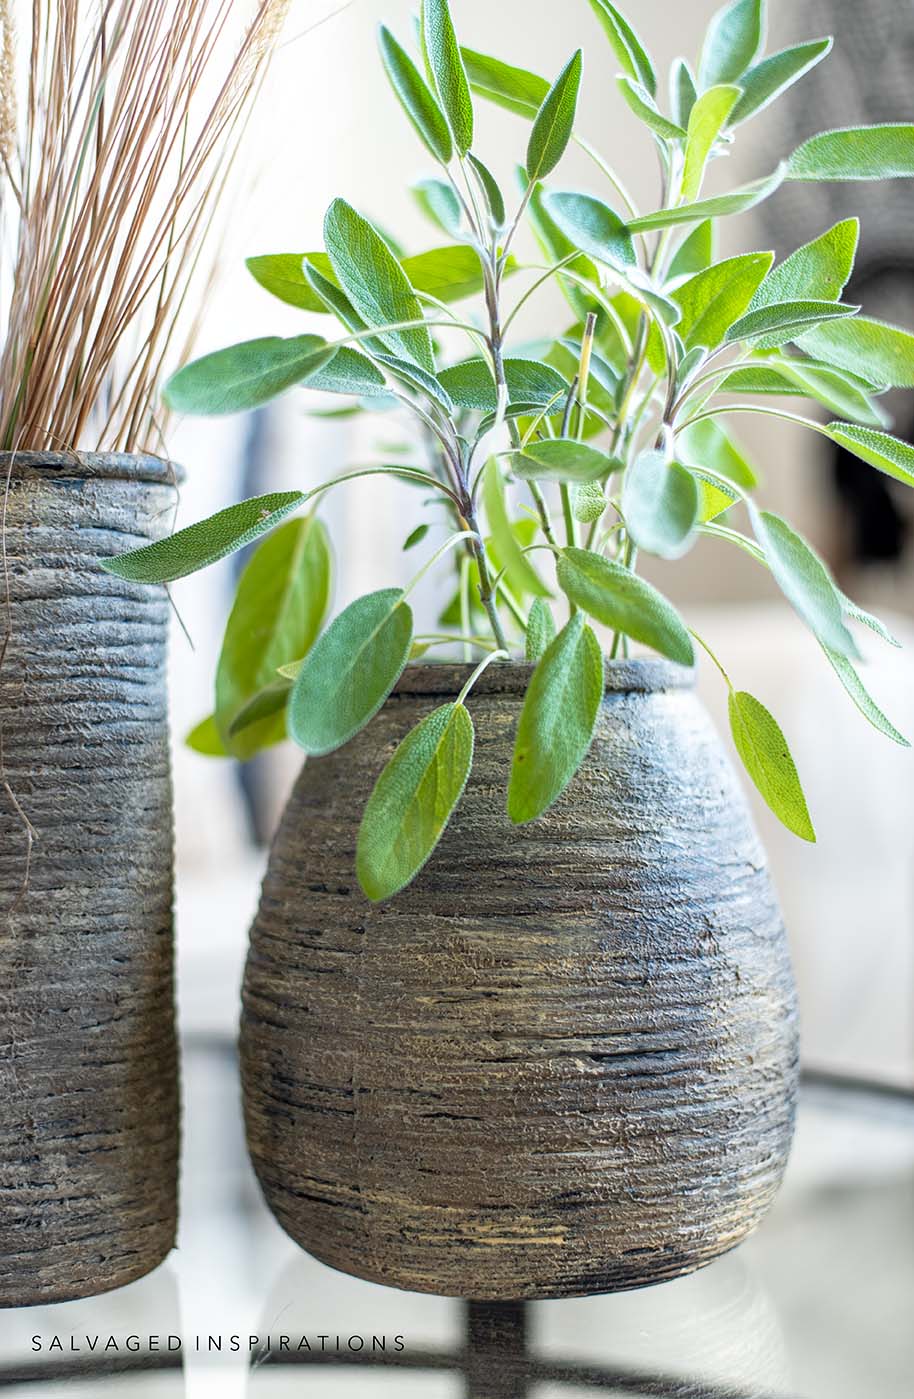
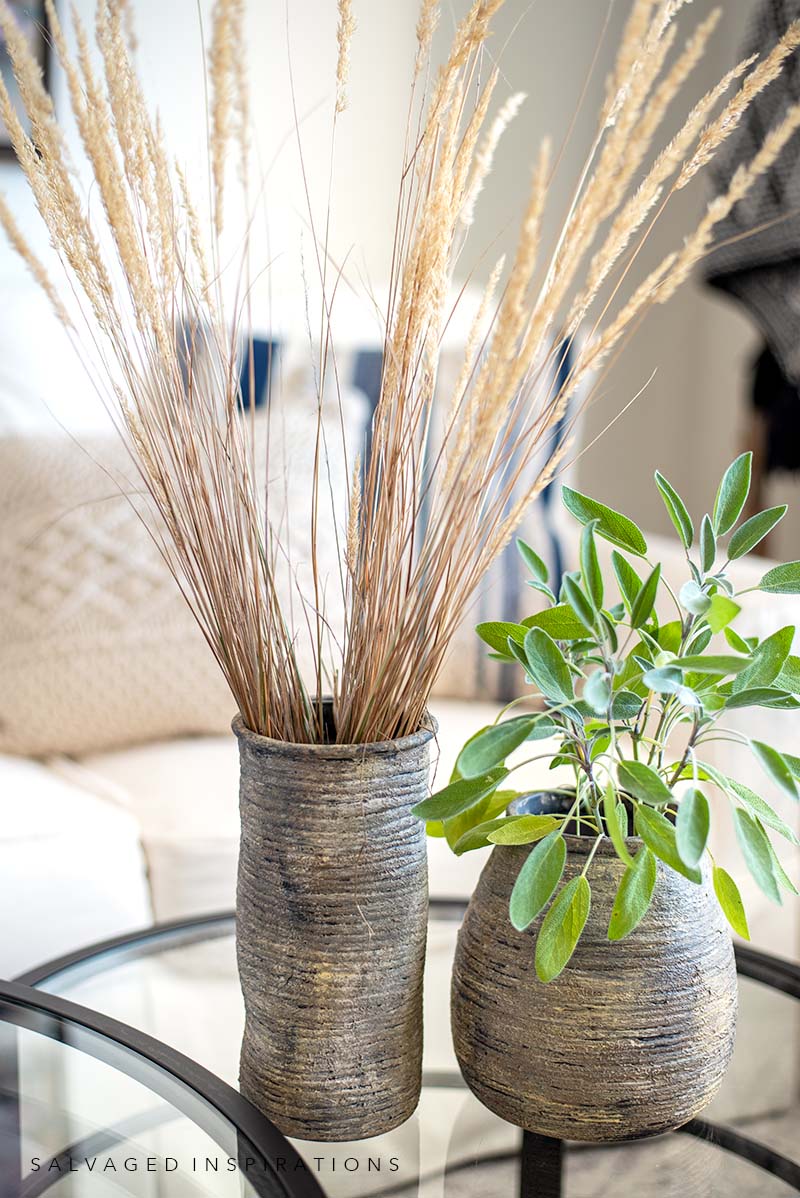
I love them so much they are taking center stage on my coffee table.
Looking at them now I could have added even a little more black as I wanted them to be in contrast with my white furniture and walls, but overall I’m pretty happy.
I think they tie in really nicely. And check out the grass. I went to Michael’s and bought some faux branches and sprigs but when I put them in these vases they looked terrible. I ended up cutting sage from my garden and grass from the side of the road. 😉
YOUTUBE TUTORIAL
Here’s a step-by-step tutorial on Youtube. If you have any problems viewing it below, feel free to watch it on my Youtube Channel HERE. Our #siyoutubefamily is already a community of 26K so don’t forget to subscribe if you haven’t done so already! So exciting, thank YOU! 🙂
AND NOW FOR SOME TRASH TO TREASURE FUN!
You’re going to LOVE what my creative team of Trash to Treasure ladies do! Below are their BEFORE photos. Visit the links below to see the amazing AFTERS and learn how they did it! I’m heading over to take a peek as well! x
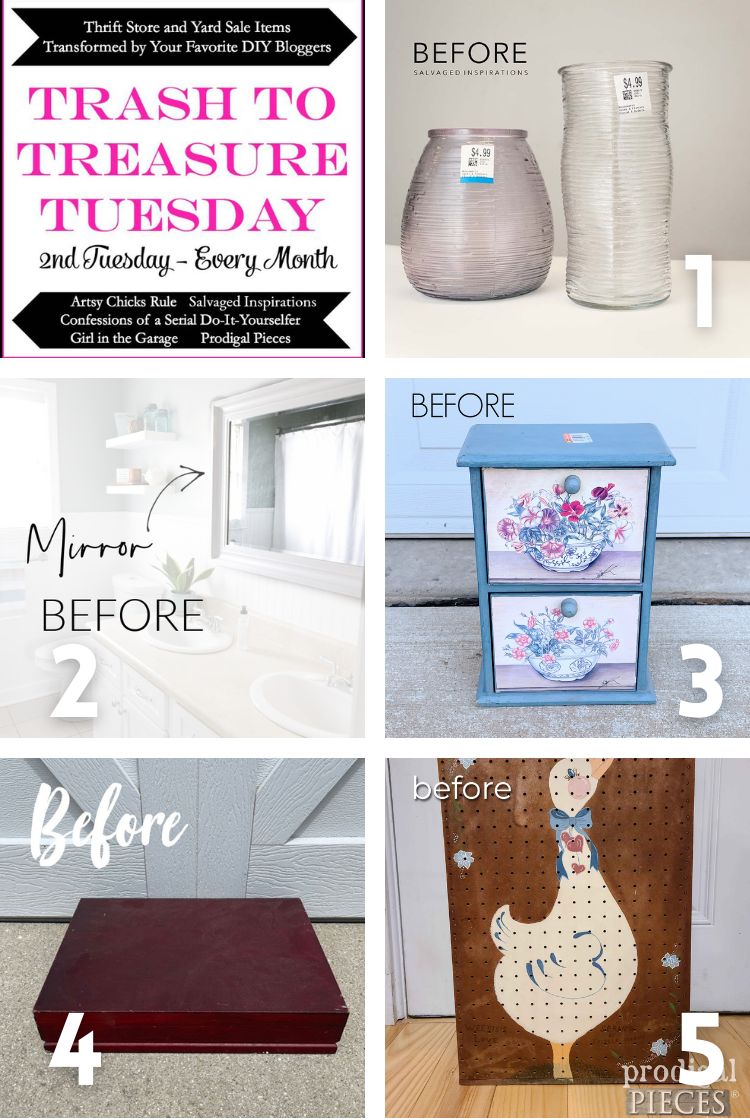
1. SALVAGED INSPIRATIONS (HAPPY YOU’RE HERE!)
2. ARTSY CHICKS RULE
3. GIRL IN THE GARAGE
4. CONFESSIONS OF A SERIAL DIYER
5. PRODIGAL PIECES
Here’s another look at these thrift store vases before and after. I hope it’s inspired you to give a DIY Aged Clay Vase a try!
LET ME KNOW WHAT YOU THINK OF THESE FAUX CLAY VASES AND FEEL FREE TO ASK ANY QUESTIONS YOU MAY HAVE… I ALWAYS LOVE HEARING FROM YOU. IT MAKES MY DAY! 🙂
Happy painting friends!
Denise x
RELATED POSTS::
HOW TO PAINT GLASS VASES
THE BEST SPRAY PAINT FOR GLASS
DIY ANTIQUE GOLD MIRROR
SALVAGED WOOD WINE BOX
DIY CHRISTMAS TRAY
HOW TO PAINT POUR ORNAMENTS
PIN AND SHARE!


These turned out so good, Denise! Those ridges really help make them look amazing painted!
Thanks my friend! XOXO
These look so great! What a clever up-cycle. Now I’ll be looking for suitable vases at garage sales and thrifts stores….
Oh ya, right?! At garage sales you can pick them up for .50 cents!😃 Have a super day my friend. XOXO
Awesome!
Thank you!
Love love love love LOVE! Can’t wait to try DB mud! Have never used it before but it looks easy and fabulous! Thanks SO much, as usual, Denise, for so graciously sharing your boundless creativity: you’re a ROCK STAR!!!
Aw, thanks Suzy! And you’re going to LOVE the DB Mudd. It’s super easy to use!
Very nice, Denise! I love that you used the textured vases. I made some to look like stone, using aluminum foil, baking soda or clay. So much fun!!
Thank you for always giving us something to strive for! We appreciate you.
Aluminum foil, eh?!😃 That’s brilliant Caye… I wouldn’t have thought of that!
These legit look like clay!! Absolutely fantastic upcycle, my friend! XOXO
they do, don’t they? I surprised myself with how realistic they turned out! hehe 😉 thanks Christy! XOXO
I know this is just gorgeous!!!!
Thank you!
LOVE these, Denise. What a great way to repurpose those glass vases. 😍
Thanks my friend! XOXO
What a fun new finish!! Love it! xo
Thanks Nancy! 🙂
I want to try this! They are beautiful. As always, thanks for sharing with us Denise.🙂
If you give it a go I’d LOVE to hear how they turn out for you Nicki! Have fun!
As always you hit it out of the park. Great job!
Thanks Nancy!😃
It was really clever of you to find two vases that had so much ‘texture’ in the glass itself! They turned out wonderfully. 👏👏👏👏👏👏👍🏼👍🏼👍🏼👍🏼👍🏼👍🏼🥰🥰🥰🥰🥰
Thank you Lisa!
Hi Denise! They turned out amazing!! I usually use Dap for my faux pottery but I like how the Dixie Mud looks. You know I will be trying this now. Thank you for the inspiration!
Yessss, I’ve used Dap as well and it works amazing. I like the one that goes on pink and turns white when it dries. 🙂
So beautiful! I have an old glass vase that I am going to do this to. Thanks for the inspiration!
My pleasure and I think you’ll have a ton of fun with this project. I sure did!😃
Hi Denise. Your DIY vases turned out beautifully. They definitely look high end. Nobody would believe you got them for under $5 at a thrift store;). I think the ridged glass makes them look very authentic.
The ridged glass and the shape of the vases help for sure! Thanks my friend. XOXO
Oh how fun! I adore the new look and so simple to do too.
So simple, right!?! Thanks my friend. XOXO