HERE’S HOW I CREATED THIS SWEET CHRISTMAS DECOR FROM A SALVAGED CURBSHOPPED WOOD SLED | YOUTUBE VIDEO
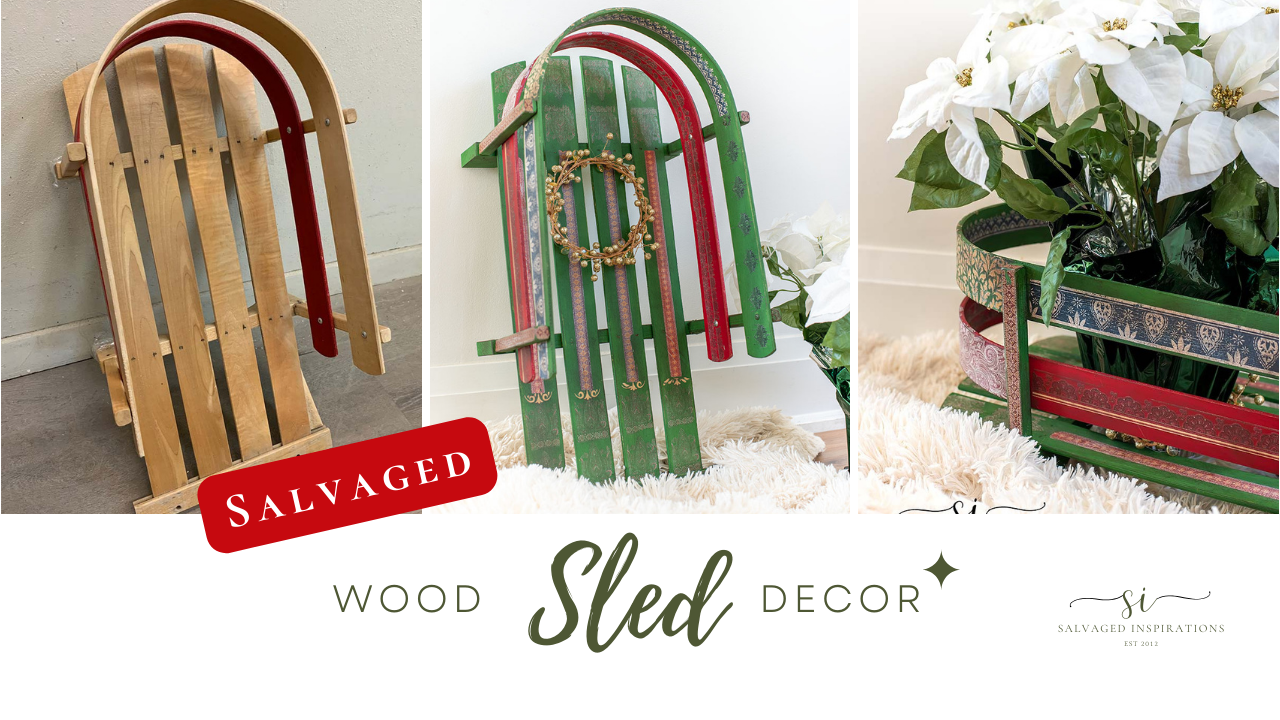 Hi sweet friends and thanks for joining me today! Where has the time gone? We have six weeks left until Christmas! I found this wood sled curbside last year and I’m sharing how I transformed it into the sweetest wood sled decor for this winter season. I hope it inspires you to get creative with what you have on hand!
*As an Amazon Associate, I earn from qualifying purchases. There are affiliate links in this post to other companies/products I use and love as well. You will never be charged extra when you purchase through these affiliate links. If you purchase from my links – A BIG thank you for supporting me and the #siblog! To see my full disclaimer, click here.
It’s also one of my favorite days of the month – Trash To Treasure Tuesday. I’m joining my T2T crew and sharing links to their projects below. I’m looking forward to seeing what they’ve created and I hope you join me on today’s tour as well!
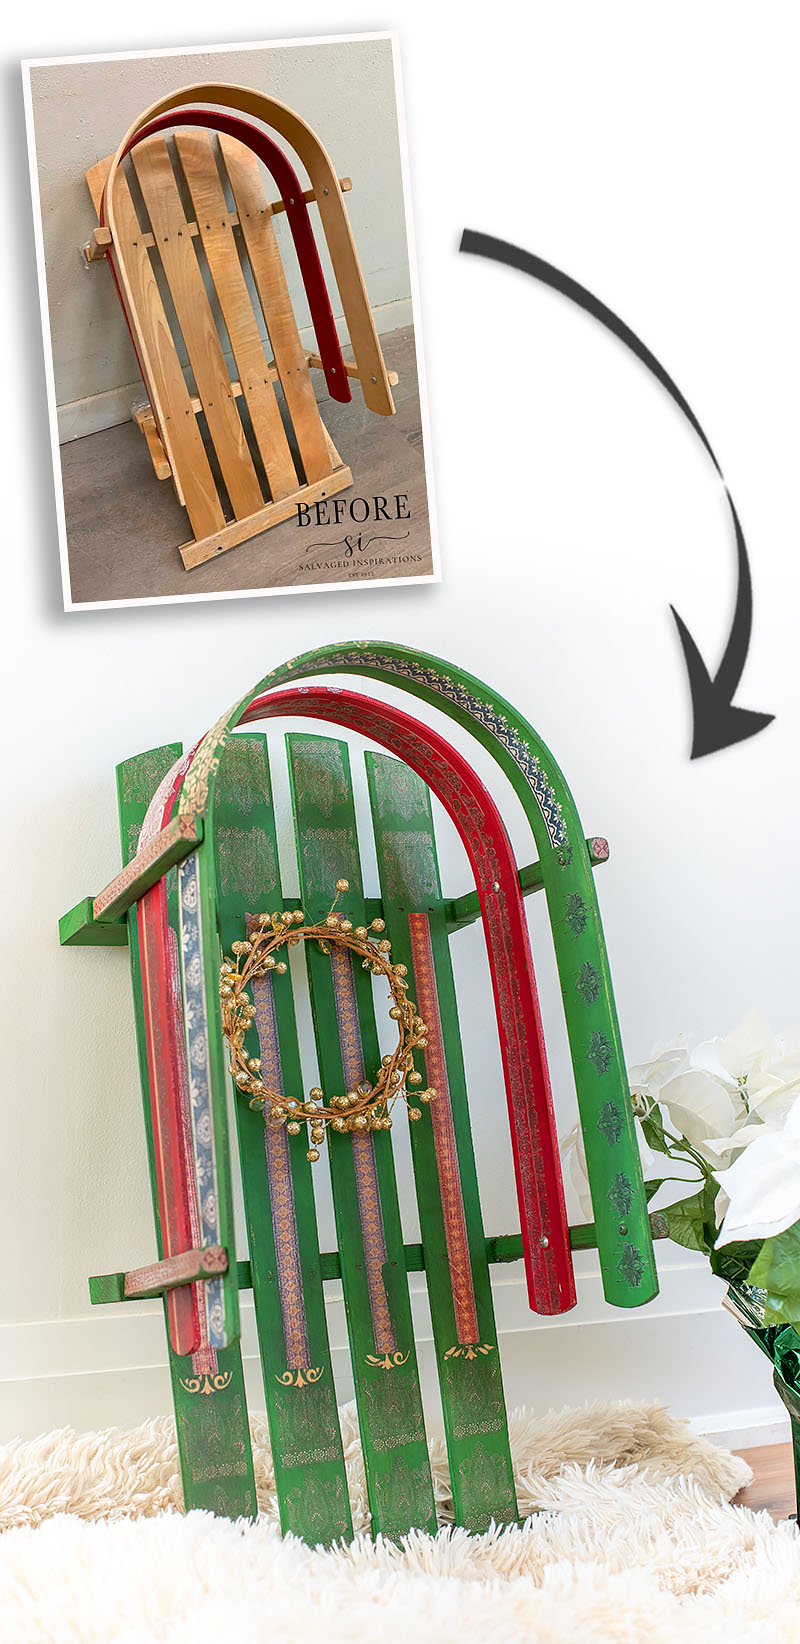
Here’s the wood sled I salvaged last year. Super cute, but…
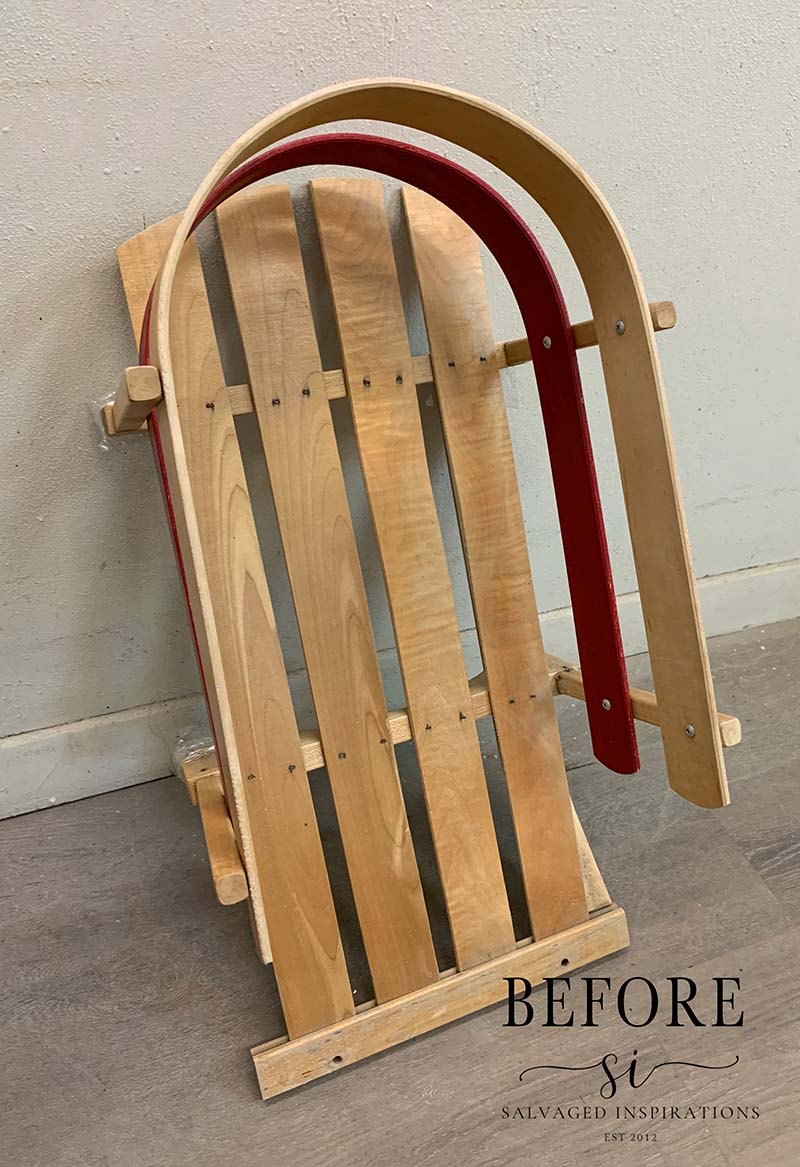
It was missing one of the wood runners. I’m pretty sure that’s why it was put out by the curb for bulk day.
THIS POST IS SPONSORED/CONTAINS AFFILIATE LINKS TO PRODUCTS I USE. YOU CAN SEE MY FULL DISCLOSURE HERE.
WHAT YOU’LL NEED
Wood Sled – SALVAGED
White Lightning Cleaner
Screw Driver (40% OFF as of writing this!)
Paint Brush
220 Grit Sanding Sponge
Evergreen Chalk Mineral Paint
Bohemian Dream Transfer
Brown Wax
DIY WOOD SLED DECOR
Here’s how this sled decor all came together…
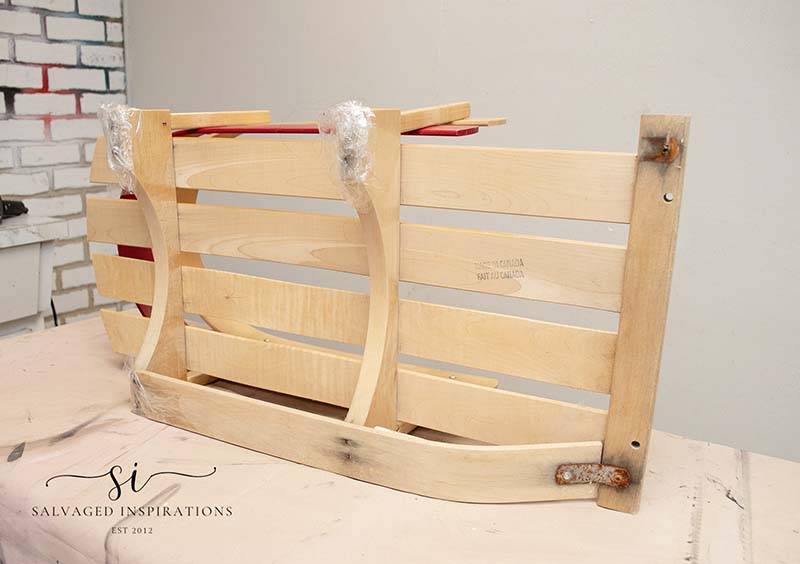
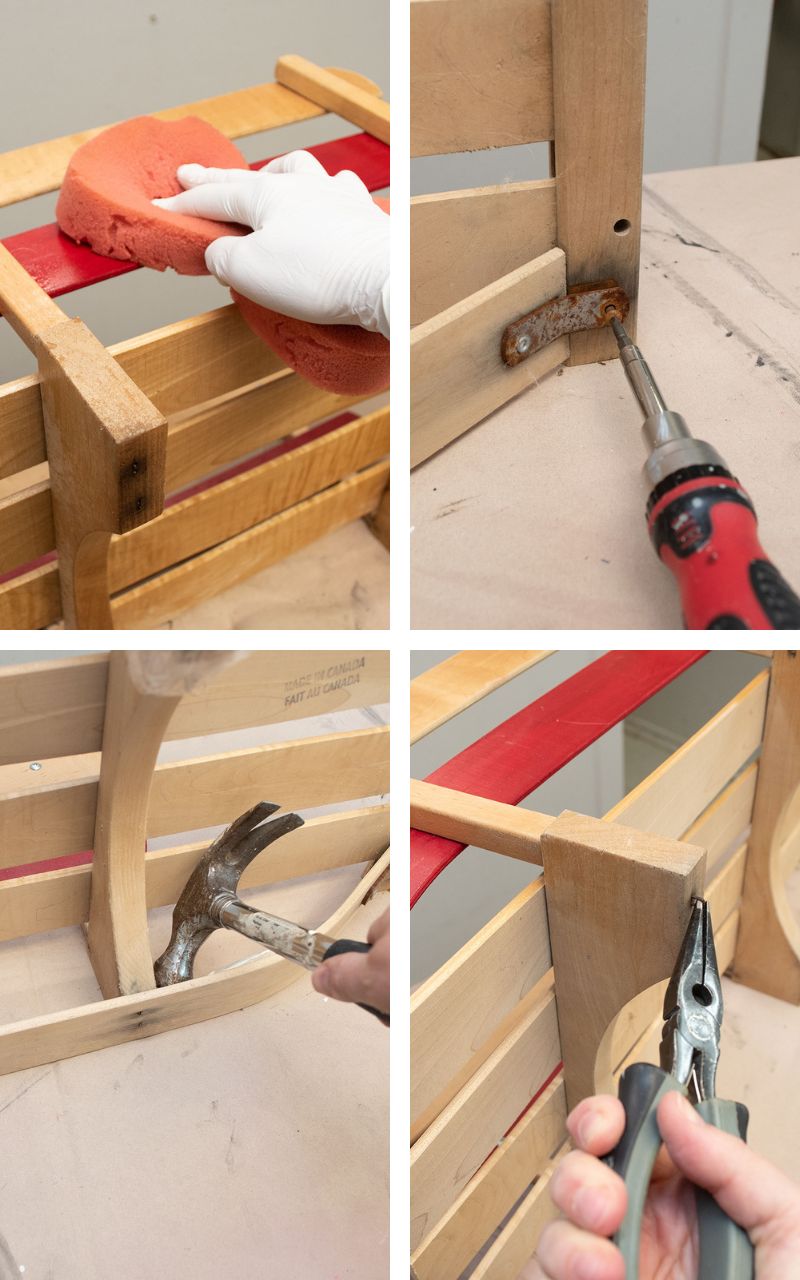
CLEAN & PREP
I started by removing the remaining wood runner. It was held on by a rusted screw and some galvanized staples that were easy enough to remove with a screwdriver and pliers. Once I had the runner off, I gave the sled a really good cleaning.
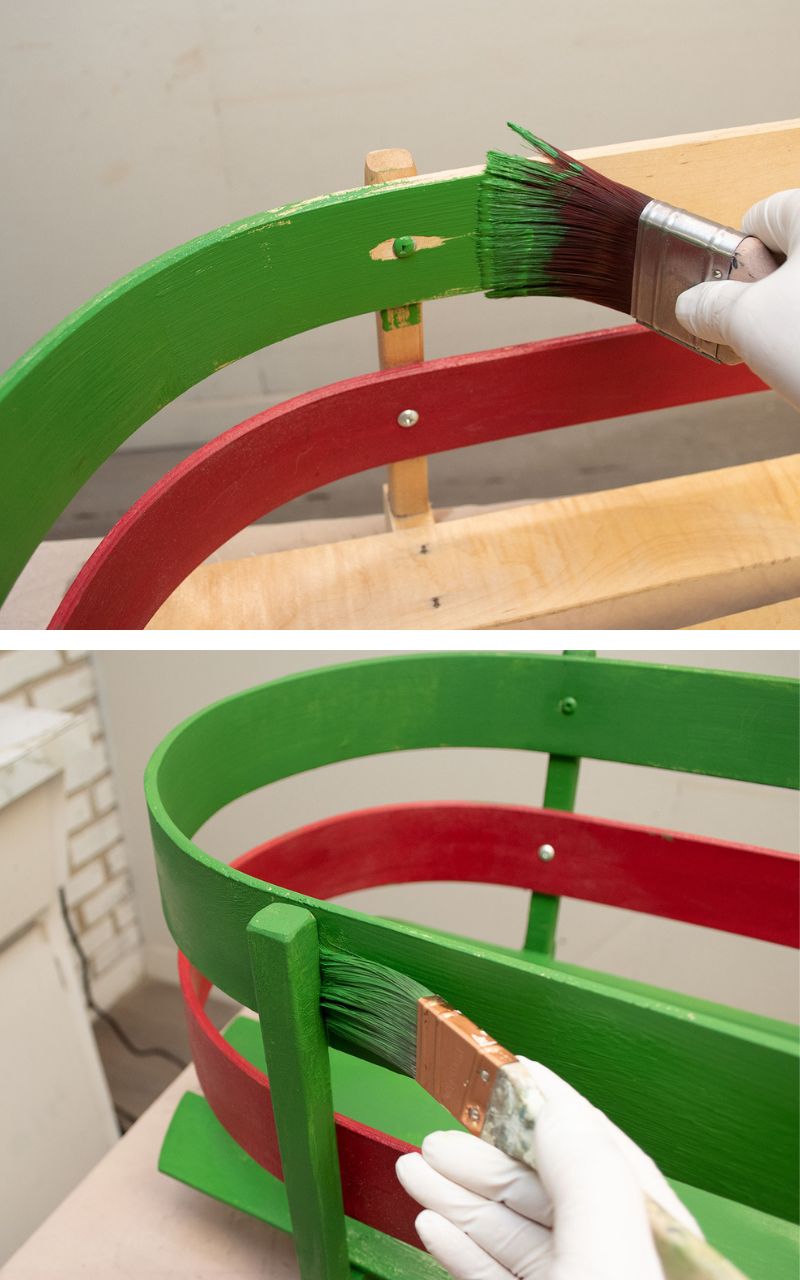
PAINTING
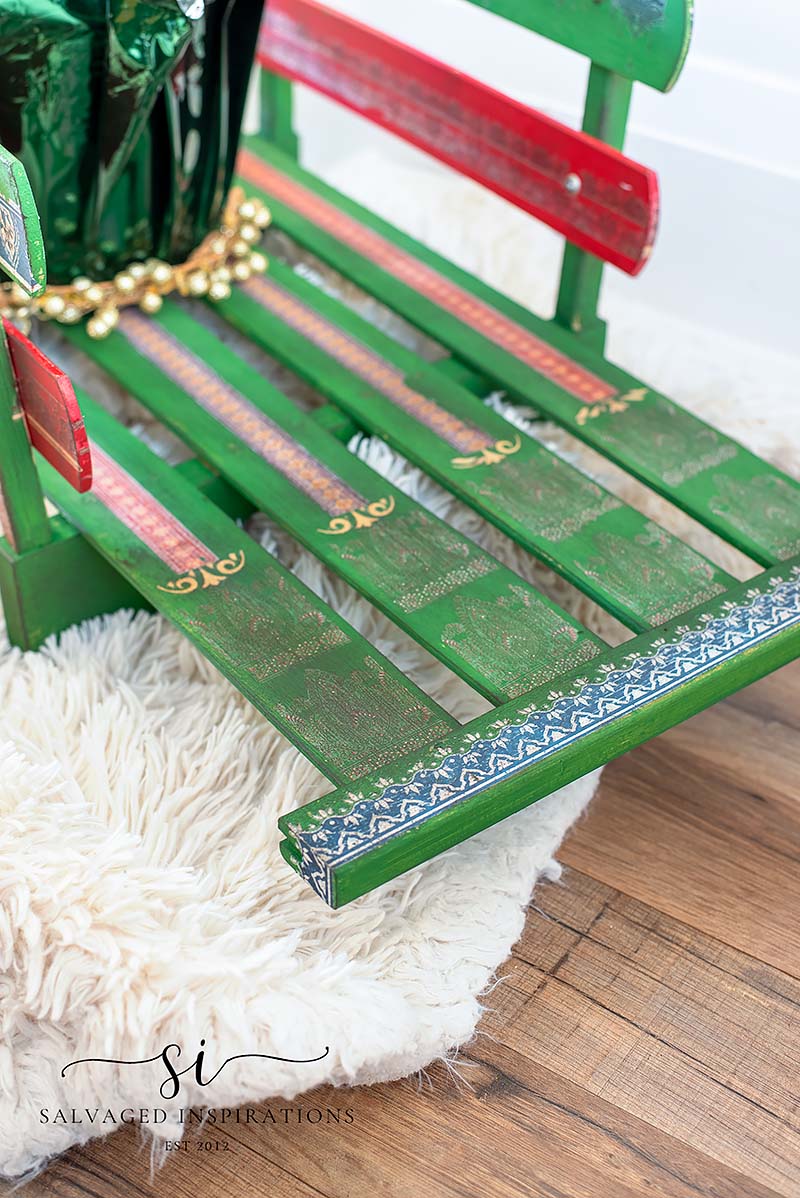
I used this Evergreen Chalk Mineral Paint which has got to be the most perfect holiday green paint color… ever! I painted one coat covering all the wood areas and left the one slat in its original red color.
Pro Tip – Be sure to use the correct size paint brush for the job. It makes painting your projects so much easier, cleaner, and professional looking!
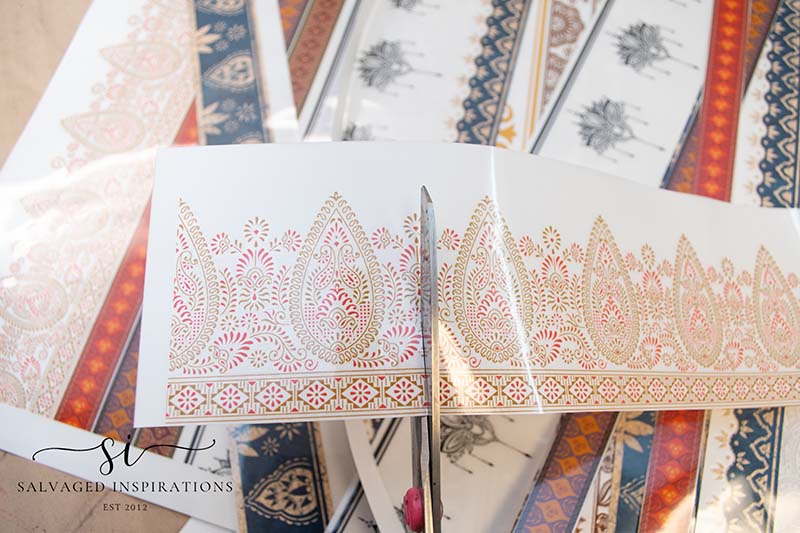
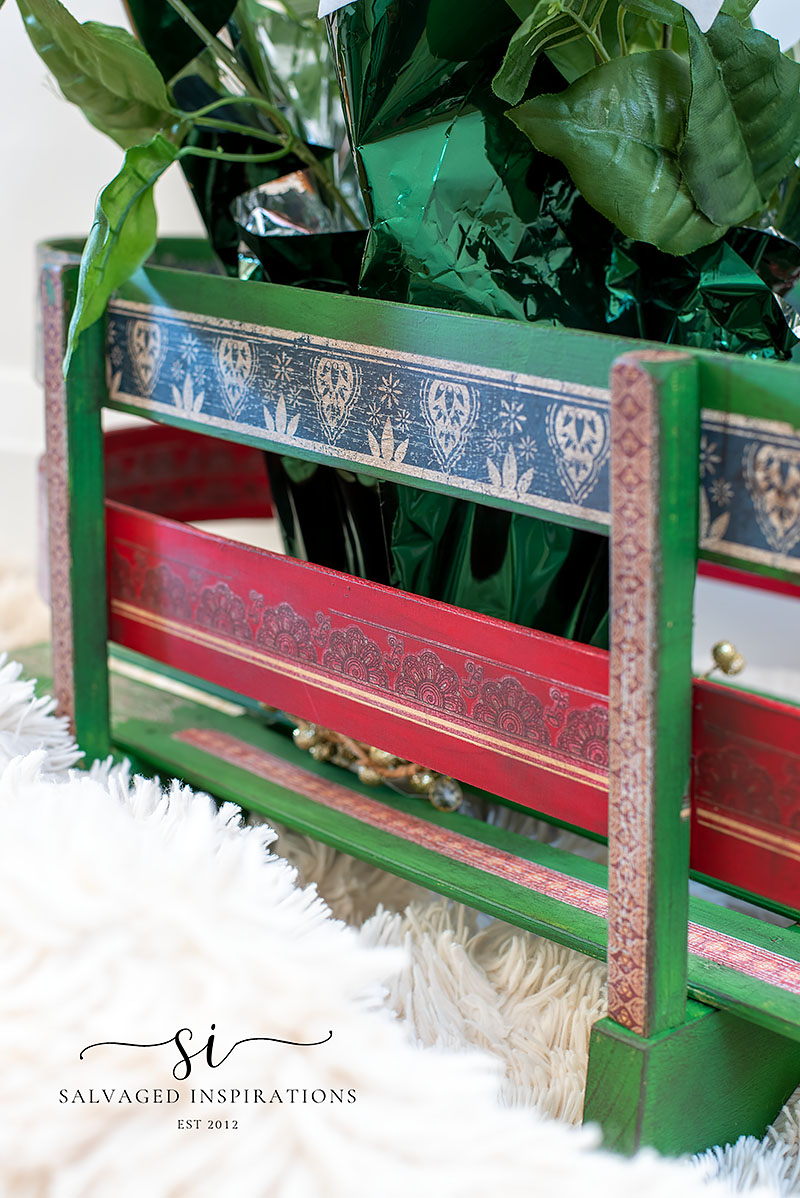
ADDING TRANSFERS
For a fun and different twist on this holiday sled, I added these Bohemian Dream Transfers designs. This pack was easy to cut up into strips and separate the designs. There are SO MANY to pick from in this pack and I still have a ton left over for another project or two!
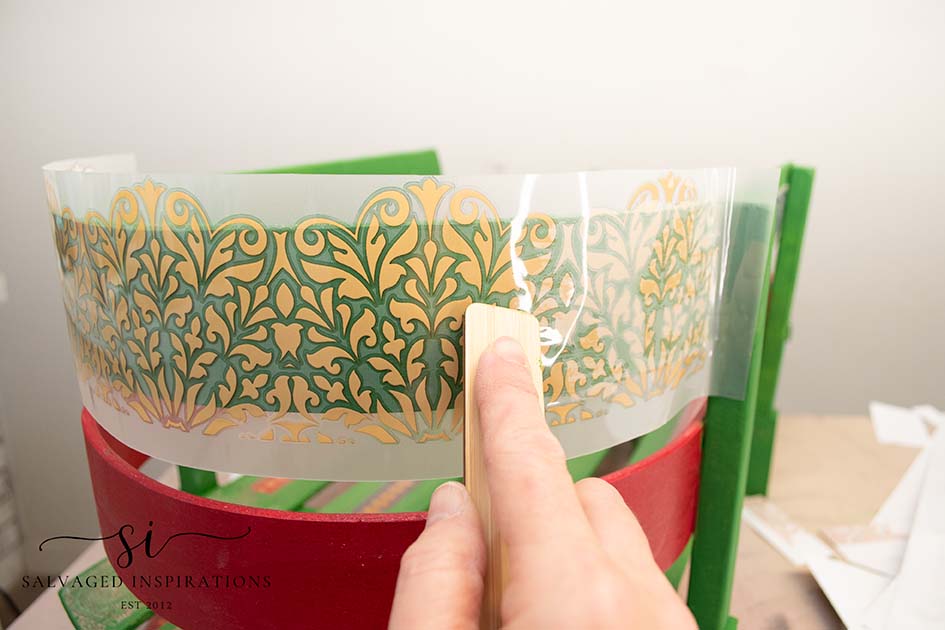
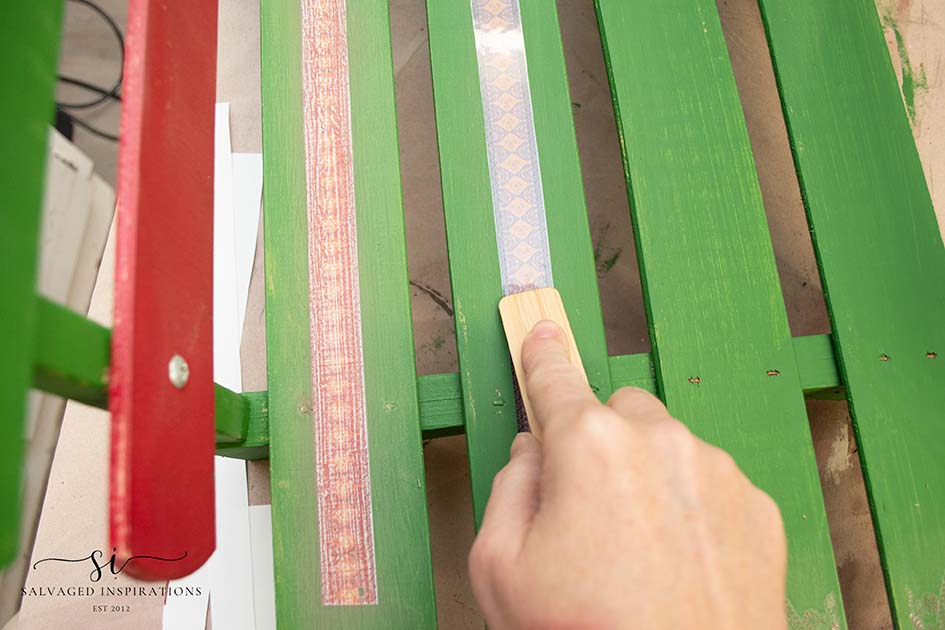
I went ahead and rubbed on different designs in different areas of the sled. I have a full tutorial on How To Rub On Transfers here.
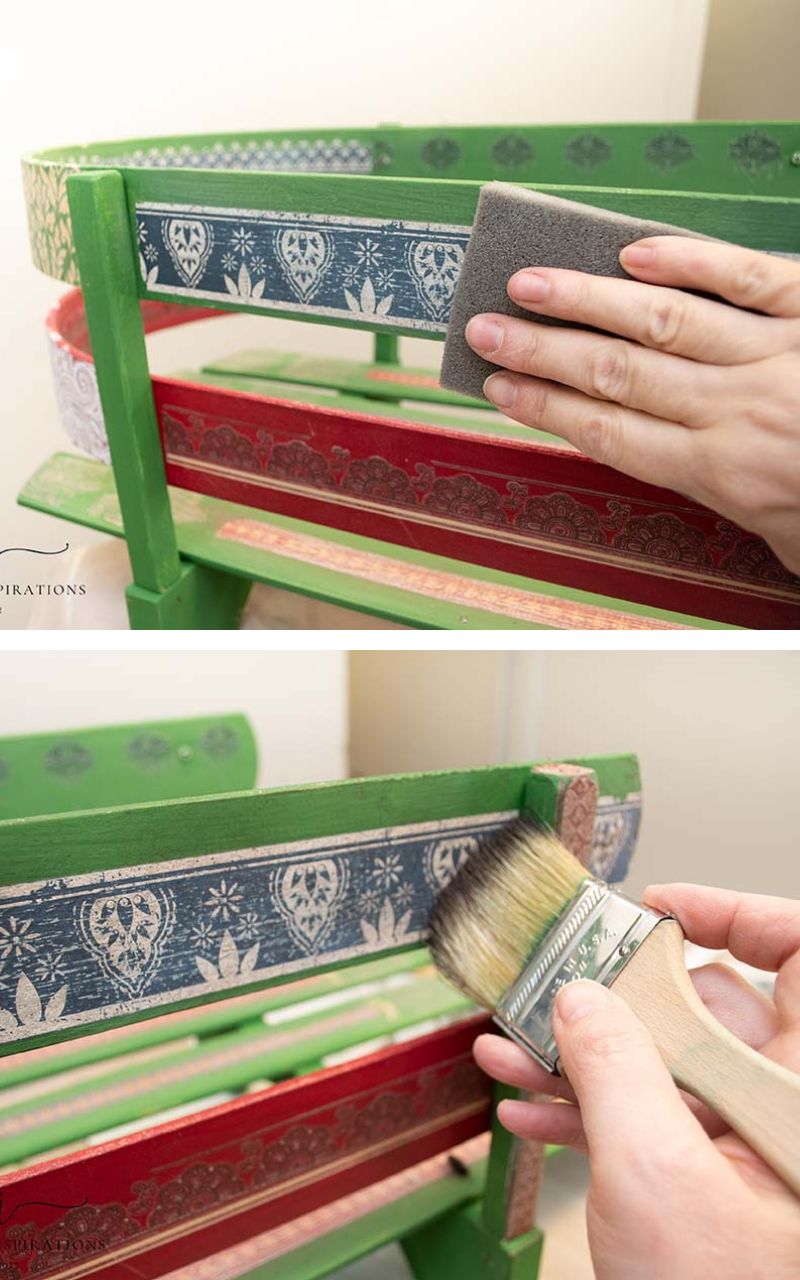
ANTIQUING
Once I had a collage of designs all over this sled, I sanded the transfers and paint finish with this 220 sanding sponge. This distressed the designs and gave them an old worn look. To finish off the antiquing, I used Brown Wax applying it with a cheap chipbrush. I brushed on the wax applying more in some areas and less in others.
FINISHED WOOD SLED
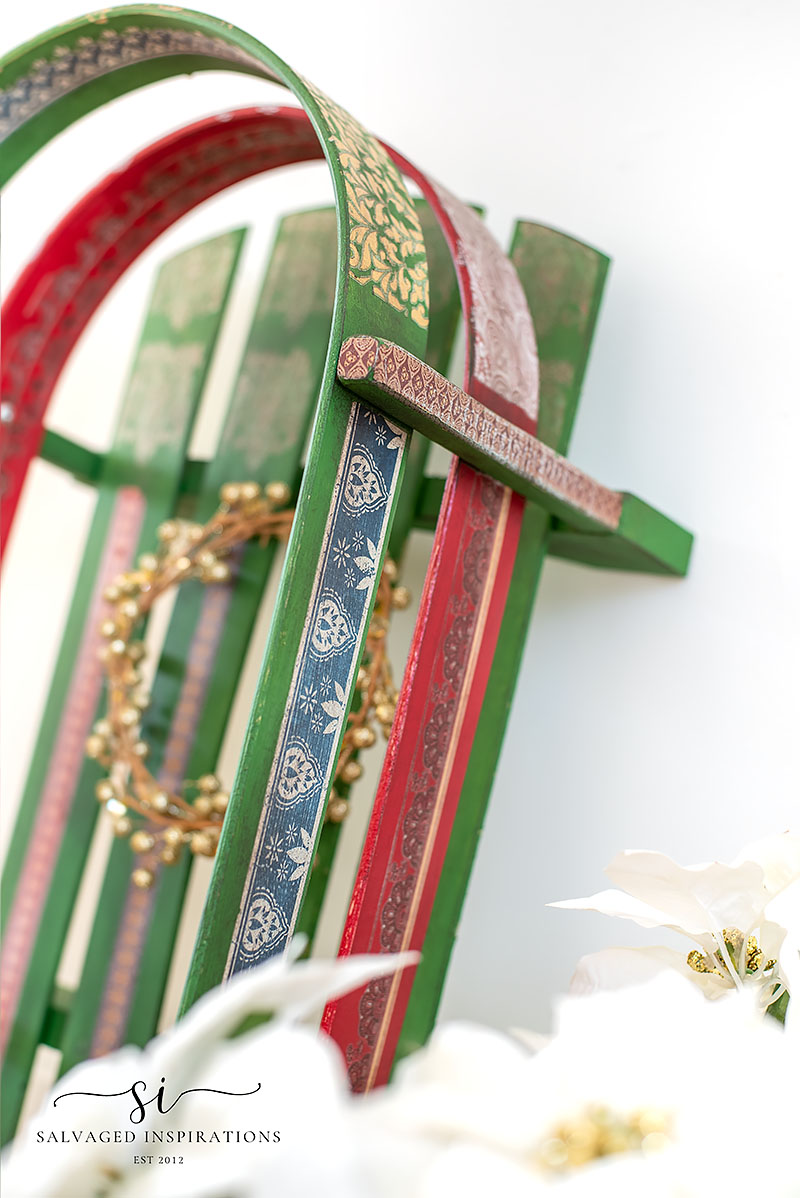
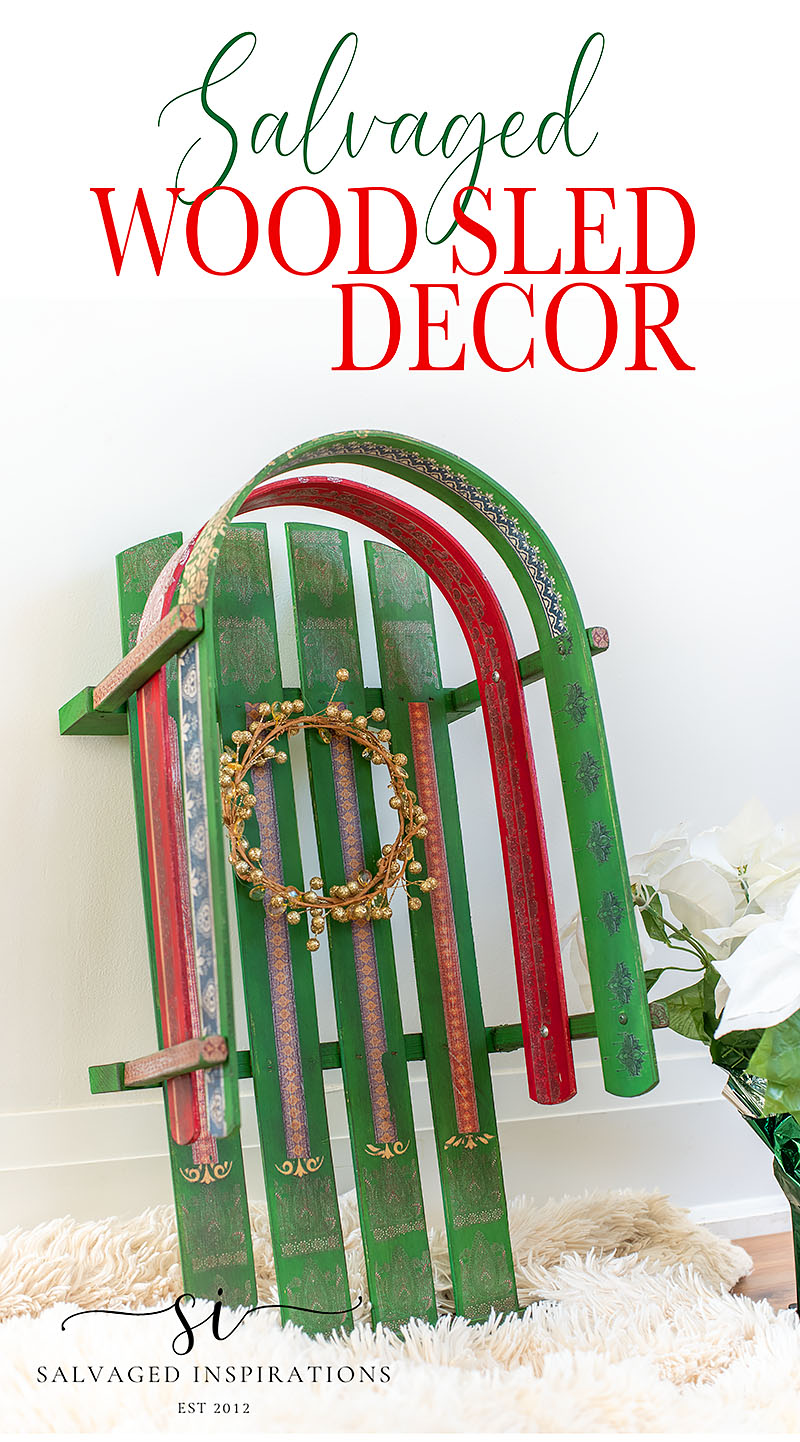
Here’s the finished look. What do you think?!
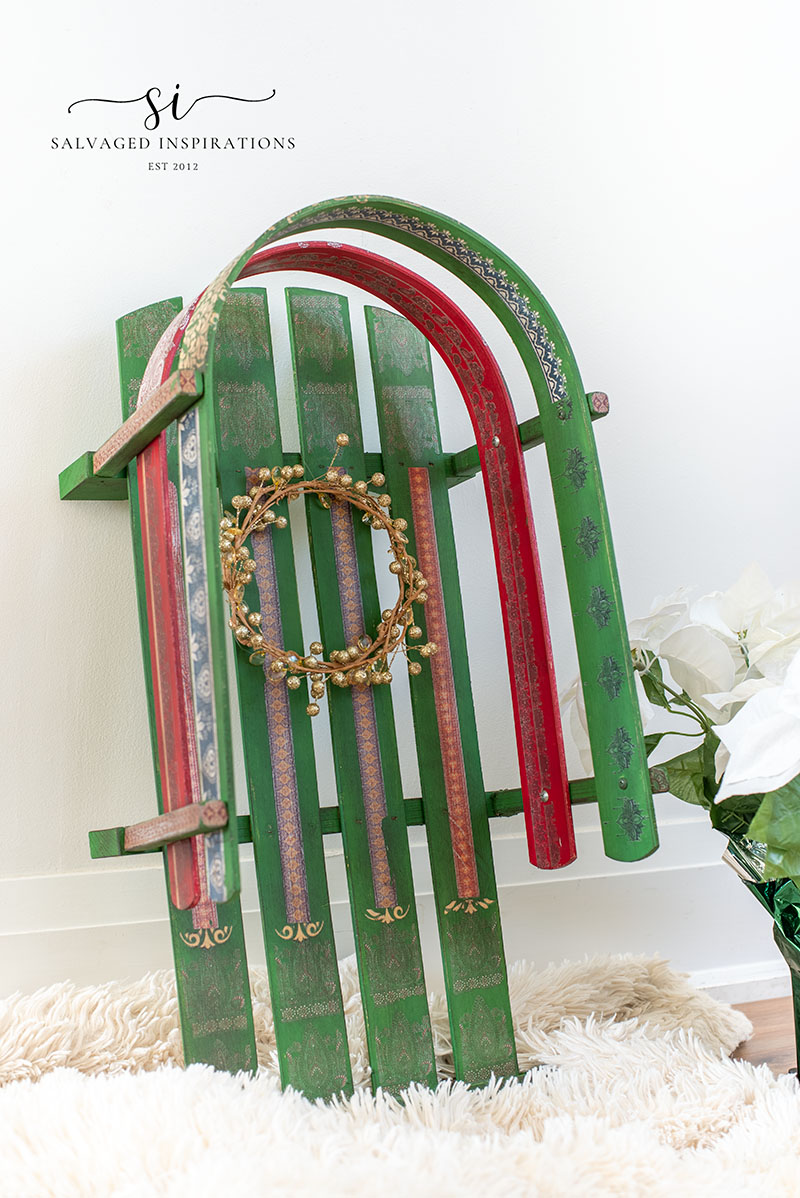
I think it’s super sweet and adorable! I love the different colors and designs.

I staged it with this small gold wreath (so you can see all the transfer designs!) but this would look amazing with a larger wreath, a pair of ice skates, or a large Christmas swag!
Also, I haven’t bought my Christmas arrangement for the front of my home yet, but I think this decorated sled holding a large potted arrangement will look lovely as well!

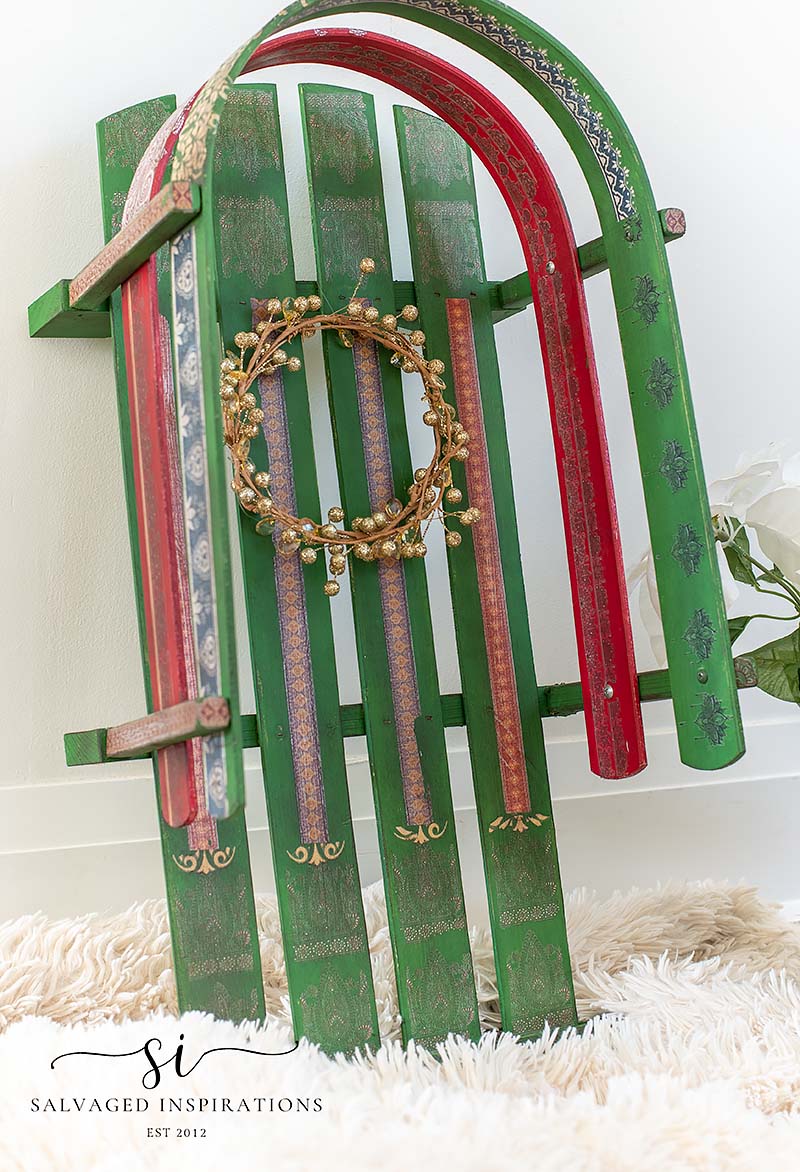
Check out all this gorgeous antique patina! The way this sled all came together reminds me of the Victorian-painted sleds back in the 1800s.
I can’t wait to hear what you think of this unique sled design. I can guarantee you, no one else on my street is going to have a look-a-like! 😉
YOUTUBE TUTORIAL
Here’s the full step-by-step tutorial on YouTube. Our #siyoutubefamily is already a community of 42K so don’t forget to subscribe if you haven’t done so already! So exciting, thank YOU! 🙂
And now for some Trash To Treasure FUN!
You’re going to LOVE what my creative Trash To Treasure ladies do! 🙂 Below are the BEFORE photos. Visit the links underneath to see the amazing AFTERS and learn how they did it! I’m heading over to take a peek as well! x

1. SALVAGED INSPIRATIONS (HAPPY YOU’RE HERE!)
2. PRODIGAL PIECES
3. ARTSY CHICKS RULE
4. GIRL IN THE GARAGE
5. CONFESSIONS OF A SERIAL DIYER
Here’s another look at this Wood Sled Makeover before and after. I hope it’s inspired you and given you some ideas for your holiday projects!
LET ME KNOW WHAT YOU THINK OF THIS SALVAGED SLED MAKEOVER OR FEEL FREE TO ASK ANY QUESTIONS YOU MAY HAVE… I ALWAYS LOVE HEARING FROM YOU. IT MAKES MY DAY! 🙂
Happy painting my friends!
Denise x
RELATED POSTS::
DIY CHRISTMAS COUNTDOWN
HOW TO PAINT POUR ORNAMENTS
CHRISTMAS PINK CHAMPAGNE DRESSER
HOW TO PAINT BUFFALO PLAID
BEST OF FFU PAINTED FURNITURE
PIN AND SHARE!

So festive and fun, Denise, love it!! xo
Thank you Nancy!🤗
Tres’ Chic!
It is gorgeous and elegant. Love it.
Thanks so much Marietta! 🙂
Hi Denise. What a great trash find! This little sled reminds me of when I was a child. Your vintage makeover is perfection. It’ll look amazing on your front porch:)
It reminds me of when I was a kid as well! Thanks so much Monique! XOXO
The sled is darling, Denise! You did a fantastic job giving it a festive feel for the holidays. Are you ready for the snow? We don’t sled or ice skate here in Texas. We roller skate. 😂 I’m thinking I should paint a pair for my front porch. Thanks for sharing this unique project.
xo 😘
Thanks my friend! I used to loooove roller skating!😃 And I think a painted pair for a front porch would be super cute! And no, I’m never ready for the snow even though we get a ton of it here. It looks pretty but it’s not fun to shovel or drive in!😆
this sled will look so good on your front porch. I also envision it under a Christmas tree holding gifts!🎁
I never thought of this! What a great idea! Thanks my friend. XOXO
So beautiful! Reading in order, a little part of me was thinking, “Is this getting too busy?” But then you showed the finished piece and it was lovely, unique perfection.
haha, I was wondering if it was getting too ‘busy’ while I was working on it as well…lol. But I think it all came together nicely. The distressing and antiquing pulled it all together. 😉
I love the way you rescued this sled! The transfers give it a very vintage Swedish look! It will be perfect on your porch! XOXO
Thank you my friend! You knocked it out of the ballpark with ALL your makeovers this T2T day! Thanks for sharing! XOXO
Very festive. You brought it together very well!
Thanks Cynthia! 🙂
That is so cute!! Very nice!
Thank you Tammy!
Oh my goodness, this turned out so beautiful!! I am so glad to see it with gorgeous color and pattern and not white. I have nothing against white but it is refreshing to see some color and personality in this piece. Love, love it.
Yes! It has personality now for sure! Thanks Regina! XOXO
How fun! Yes, time is passing by quickly. oy!
So quickly, right?! Where has the year gone? Must mean we’re having fun. 😉