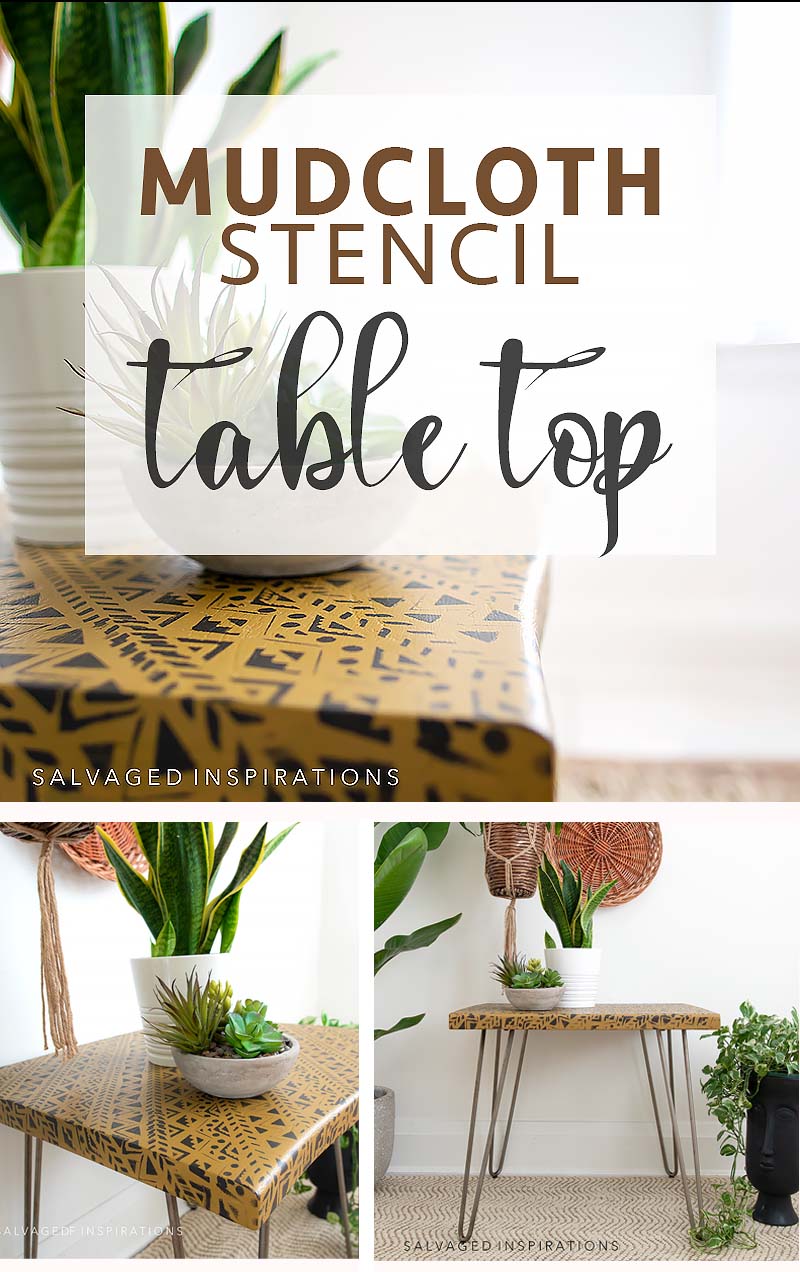
THIS CURB-SHOPPED TABLE GETS A GORGEOUS TRIBAL MUD CLOTH STENCIL MAKEOVER | YOUTUBE VIDEO COMING THIS SATURDAY
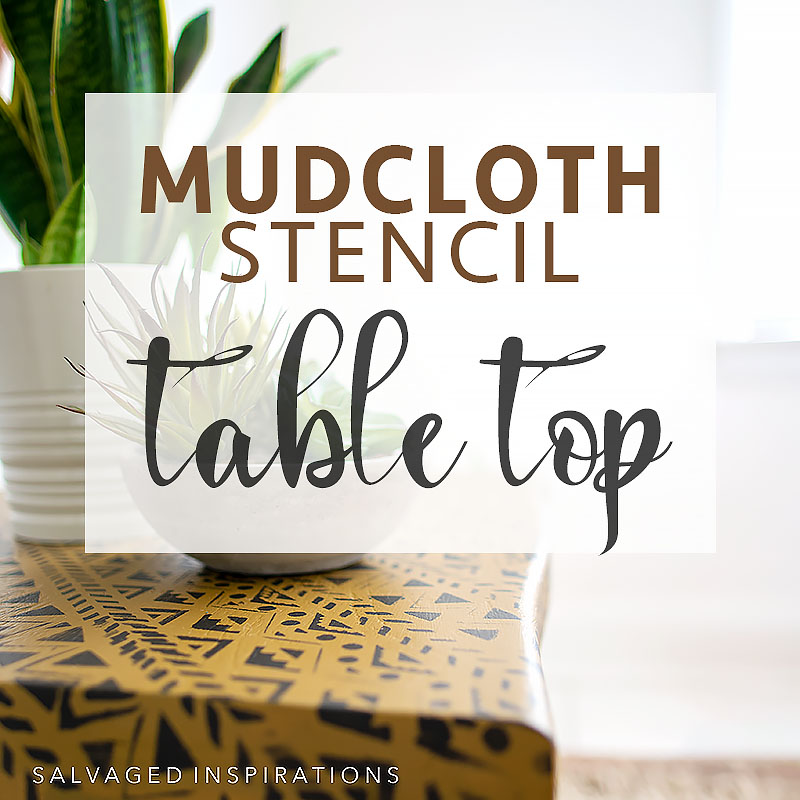
It’s Trash to Treasure Tuesday creative friends. I can’t wait to share this curb-shopped table makeover with you! And hint, hint… have you seen all the GORGEOUS Tribal Mudcloth Designs that are trending right now? I have a dedicated Tribal Pinterest Board showcasing these stunning patterns and colors so thought it was time to step out of my comfort zone and give it a try!
The great thing about curb-shopped furniture is it allows me to be more adventurous. NO GUILT if it doesn’t turn out. hehe. So today I’m sharing a new Mudcloth Stencil and new paint color and I can’t wait to hear what YOU think!
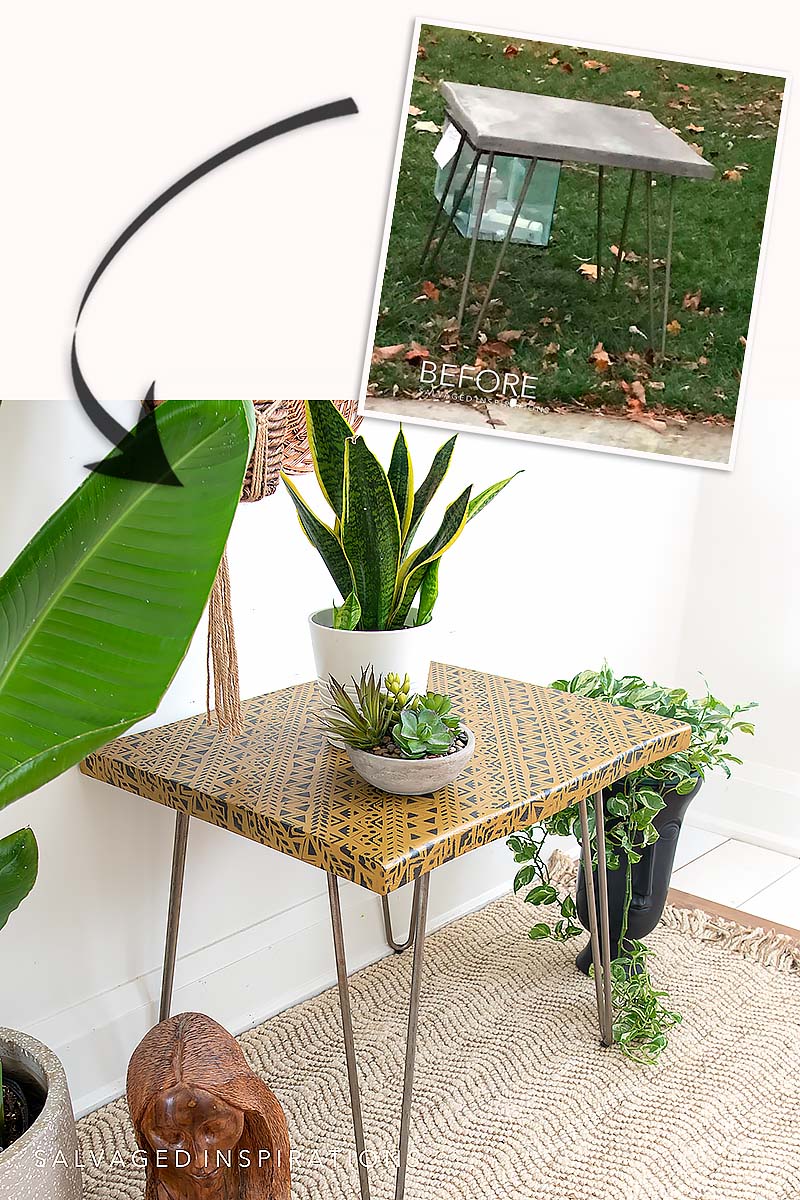
Here’s the ‘trash’ I started with. A pin leg Homesense table that I found curbside last November.
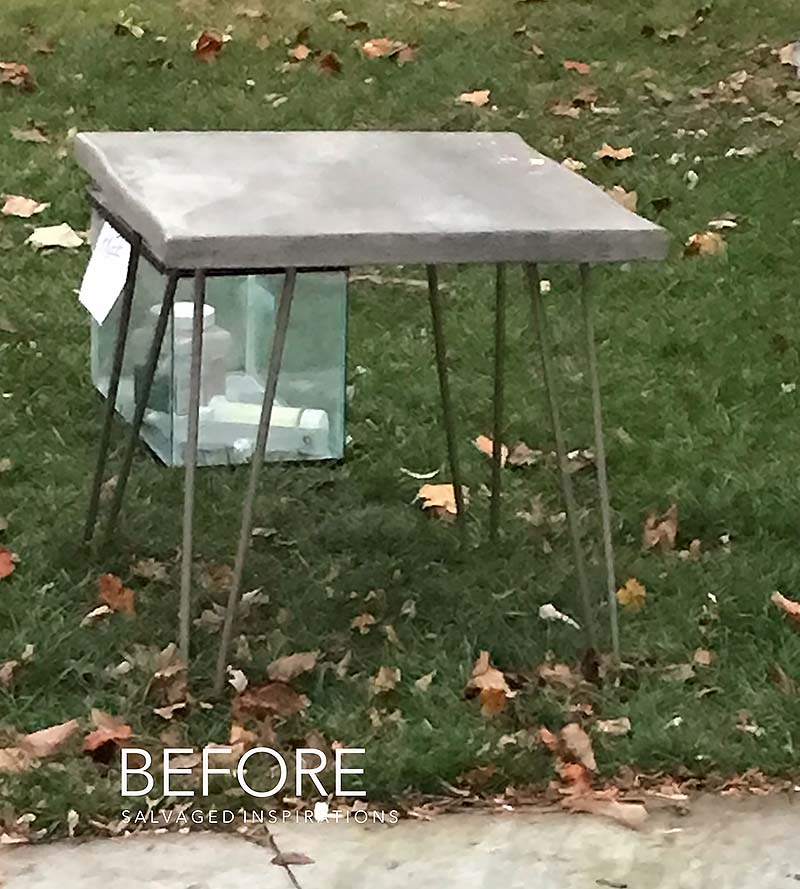
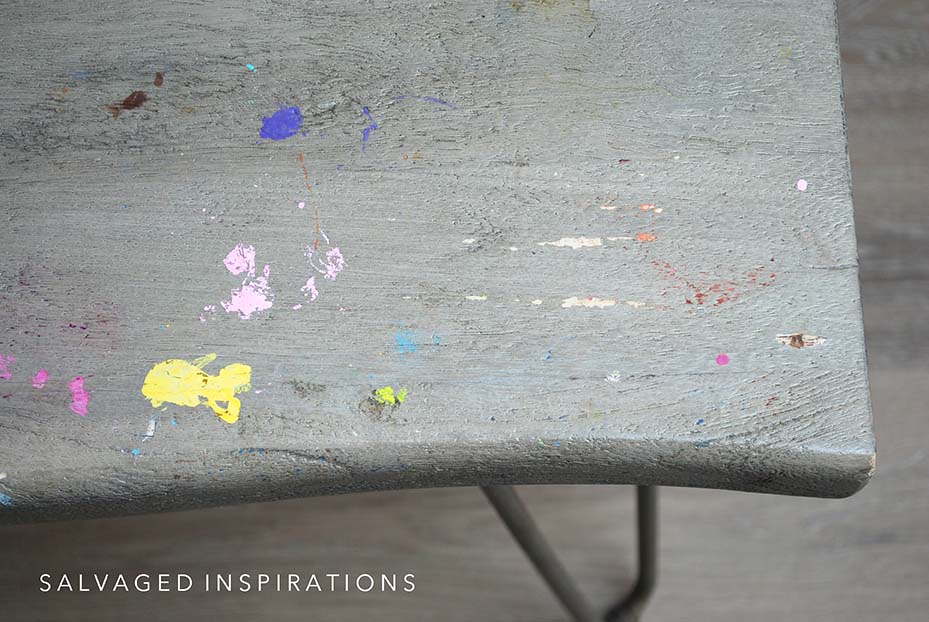
To give you a better look at this before (my phone didn’t take a clear pic) I took a few more shots when I got it into my studio. This pin leg table is structurally sound but the top was a mess.
THIS POST IS SPONSORED/CONTAINS AFFILIATE LINKS TO PRODUCTS I USE. YOU CAN SEE MY FULL DISCLOSURE HERE.
SOURCE LIST
Pin Leg Table – SALVAGED
Paint Brush
White Lightning
Orbital Sander
Mojave Silk Paint
Mudcloth Stencil
Spray Adhesive
Foam Paint Roller
Coffee Bean Paint
Satin Clear Coat
MUDCLOTH STENCIL TABLE MAKEOVER
Oh, and before I get into the step-by-step tutorial, a BIG thank you to all of you who subscribed to my Youtube Channel! You’ve been so kind with your positive feedback and it means a lot. It encourages me to make more videos sharing the process so again, thank you! I’ll have this full makeover published on Youtube this Saturday for you as well. 🙂
Here’s how it all came together…
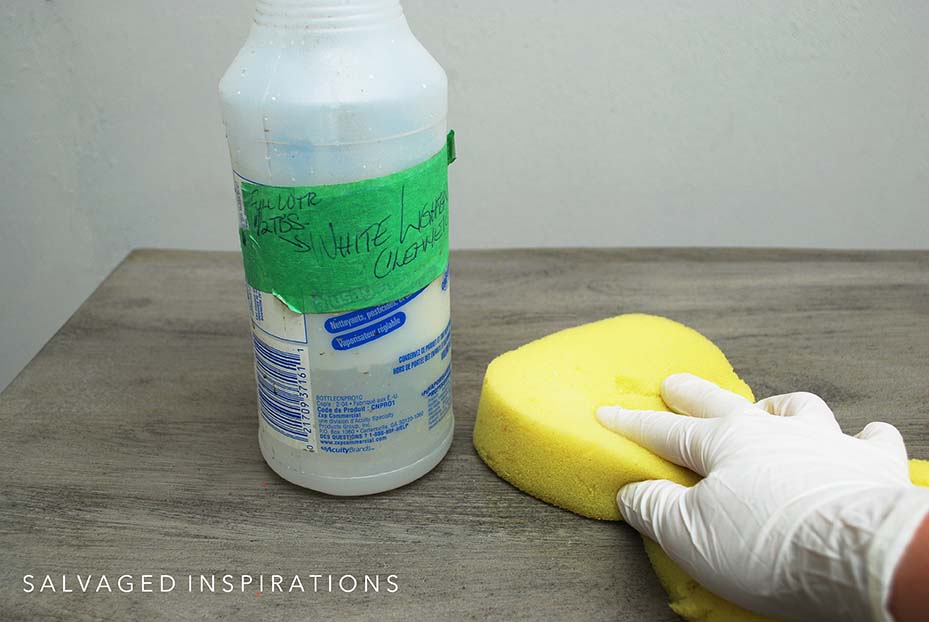
CLEAN
This table was found curbside and then sat in my garage for a few months so it needed a REALLY good cleaning. I used this White Lightning Cleaner which is a TSP substitute and cuts through crud beautifully. I add 1/2 a tablespoon to this spray bottle — fill it with water then shake. I find it so much easier to spray onto furniture rather than dunking my hand into a bucket.
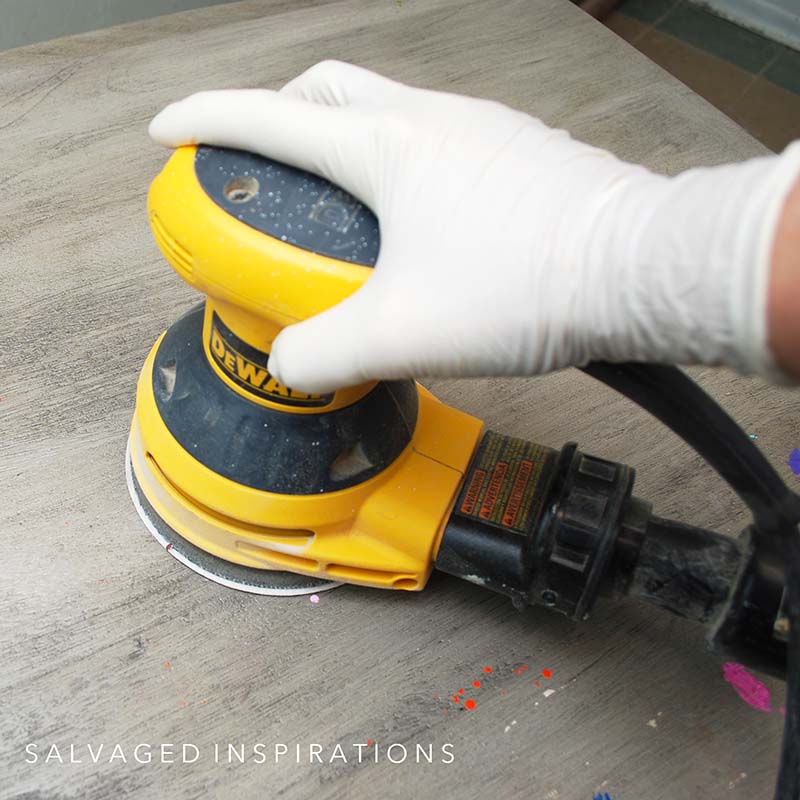
SCUFF SAND
To prep this table for paint, I used my orbital sander and a 120 grit to scuff sand the top of the table. I wasn’t worried about sanding off all the nail polish, paint, and stains. A scuff sanding is just that. Scuffing or slightly scratching the top surface provides a little ‘tooth’ for your paint to adhere to.
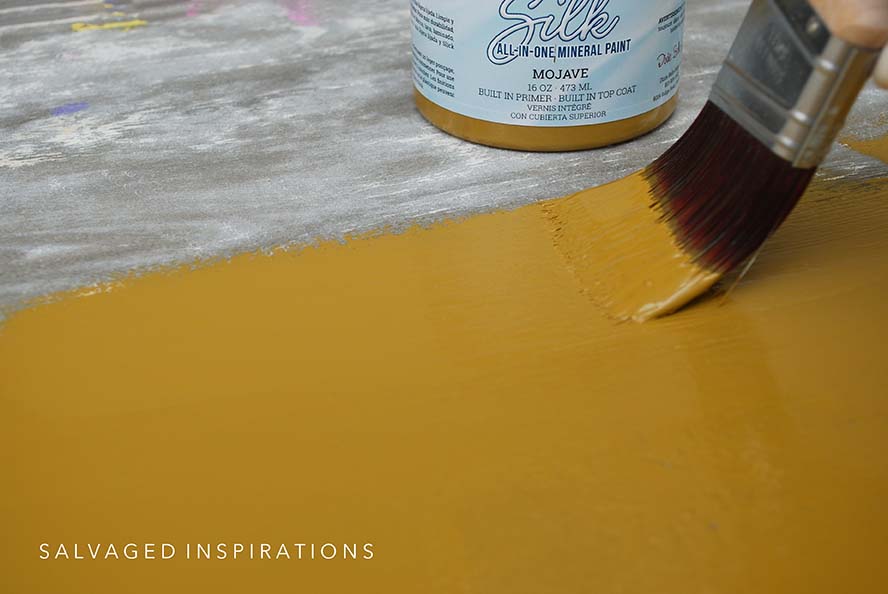
SILK ALL-IN-ONE MINERAL PAINT
I painted one coat of this NEW Mojave Silk All-In-One Mineral Paint. It’s quite the color! I would describe it as desert gold or dark mustard. The perfect base color for a Mudcloth Stencil! I’m not sure I would have been bold enough to pick this color if it was a piece I had purchased, but as I mentioned, I like stepping out of my comfort zone when it’s a freebie curb-shopped piece.
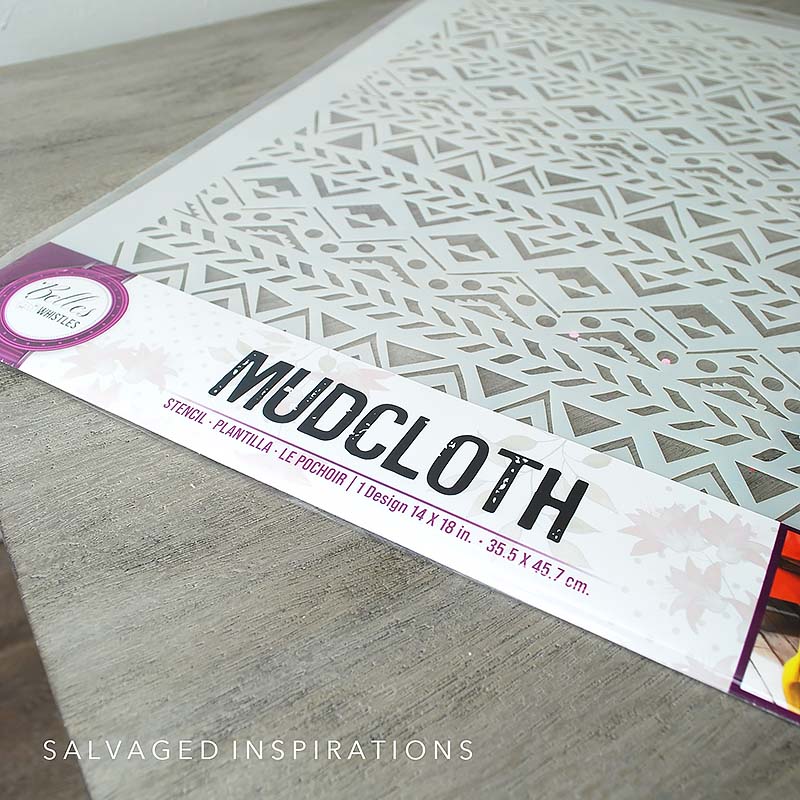
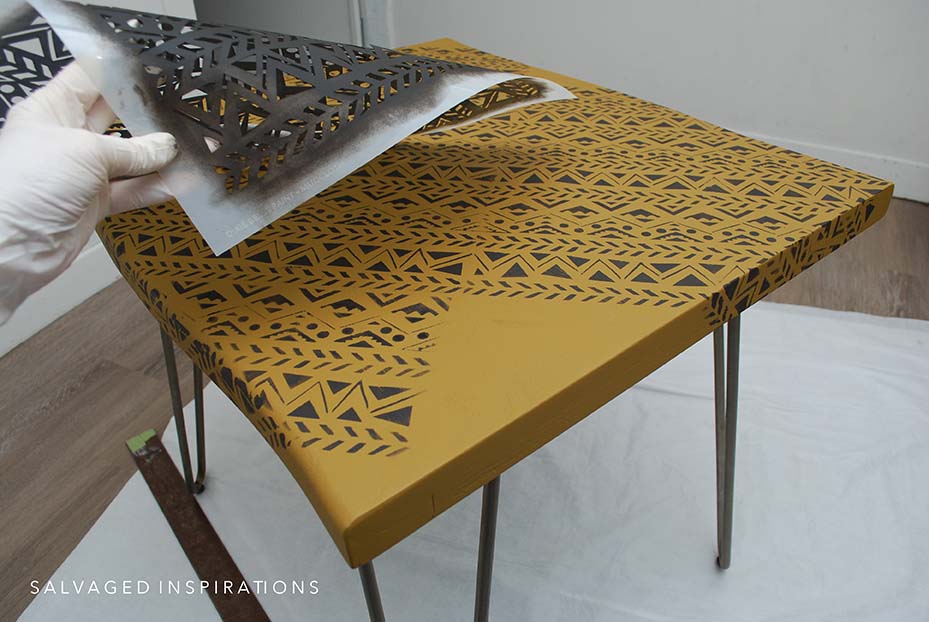
MUDCLOTH STENCIL LAYOUT
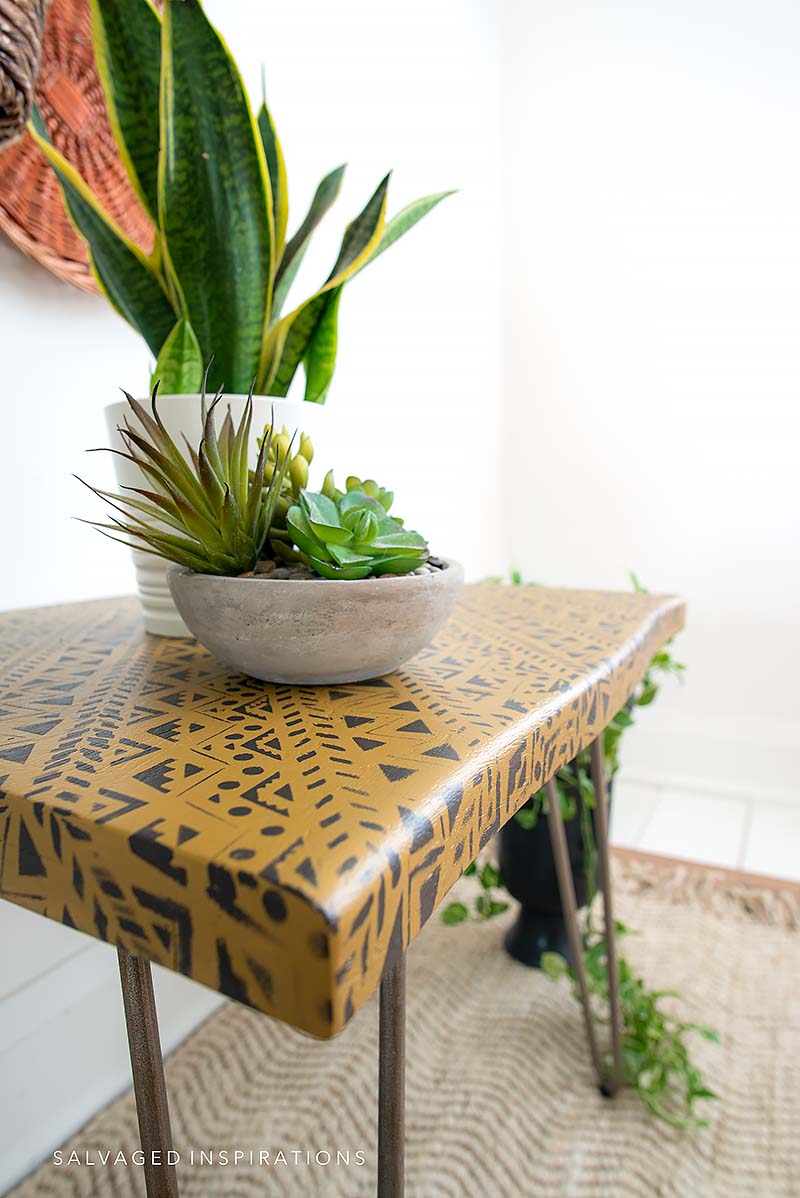
I probably should have centered and laid this Mudcloth Stencil straight on the table. But instead, I decided to use this stencil diagonally which was extra work. I REALLY like the way it all came together (which you’ll see in a bit) but if/when I used this stencil again, I’m laying it straight across on my piece.
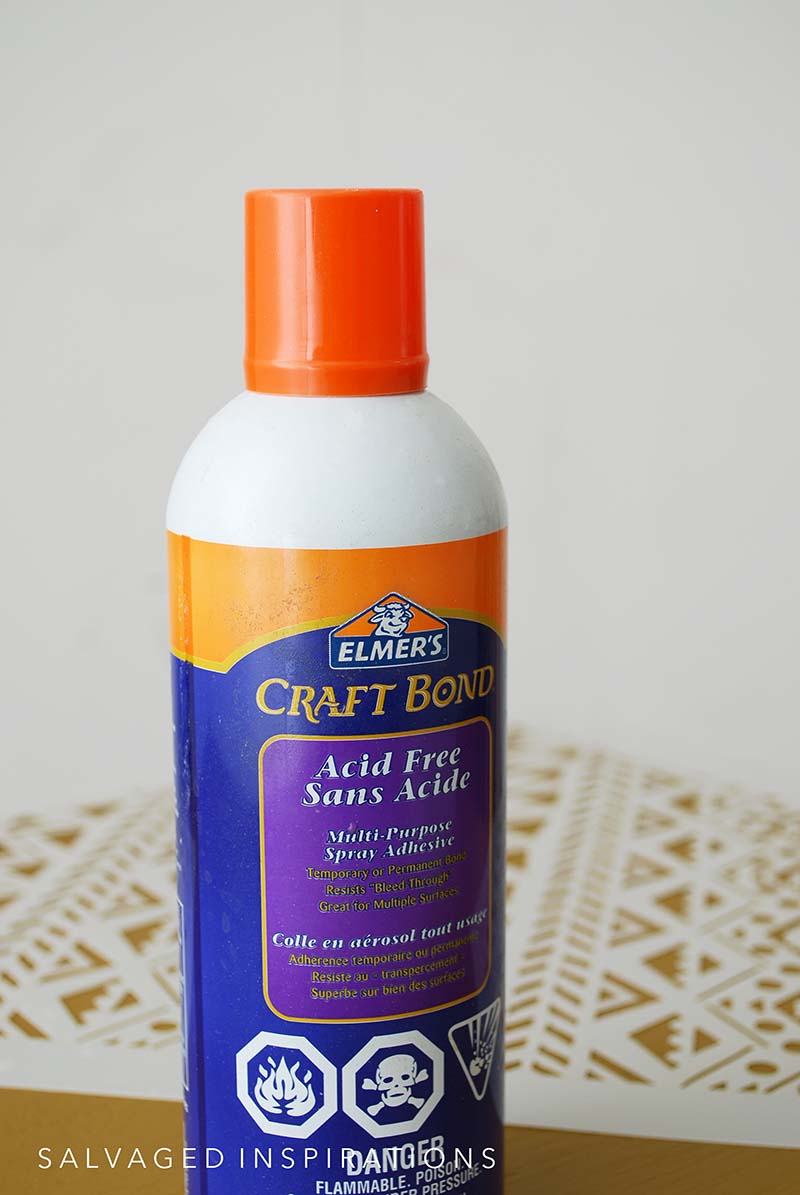
SPRAY WITH TEMP ADHESIVE
To keep my stencil in place while stenciling this tabletop, I used this Elmers Multi-Purpose Spray Adhesive. It’s easy to use. For a temporary bond, the instructions say spray a light coat and then wait 3-5 minutes before joining. I’ll be honest, I don’t bother waiting. I just position my stencil and start stenciling right away. The stencil is on the piece for a short amount of time and this glue takes an hour to set. I’ve never had a problem taking the stencils off or with any residue from this spray glue.
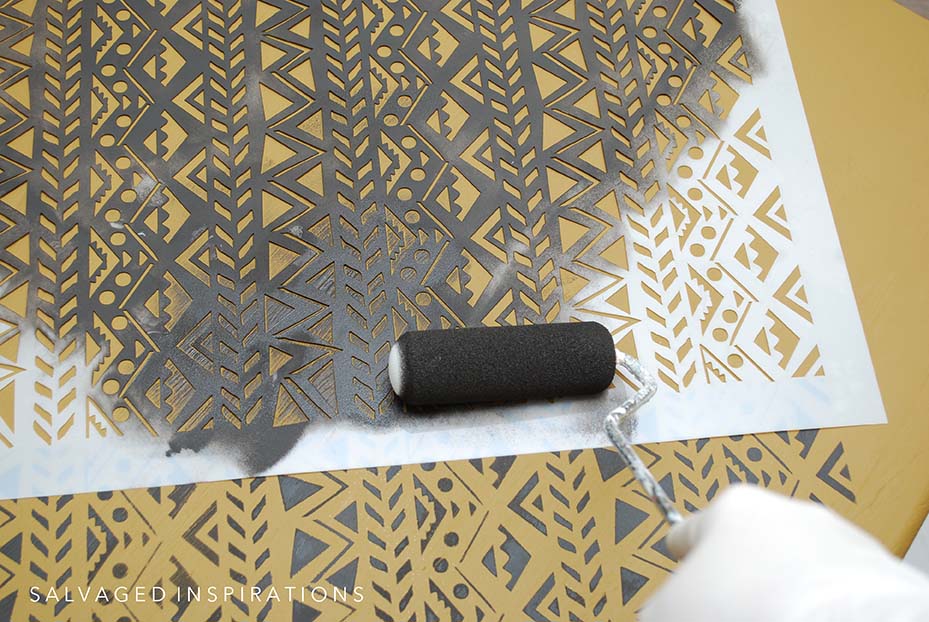
STENCIL WITH FOAM ROLLER
Because this is a larger design on a full tabletop, I used a foam roller to speed up the stenciling process. These foam rollers work GREAT for stenciling but the key is to offload any excess paint onto a paper plate or paper towel. This prevents bleed-through under your stencil so you end up with a crisp clean design.
Here’s what the table looked like partway finished. I gave myself extra work by using this Mudcloth design on the diagonal. I would recommend using it straight on. I’m sure it would look just as striking and lining it up would be much simpler! This Coffee Bean Paint color paired perfectly with the Mojave!
TOPCOAT
To seal and protect this Mudcloth Table I used this clear coat in Satin. It’s easy to brush on because it’s NOT clear while wet. You can see it has a milky hue while applying it (perfect visual so you don’t miss any spots) and then it dries perfectly clear.
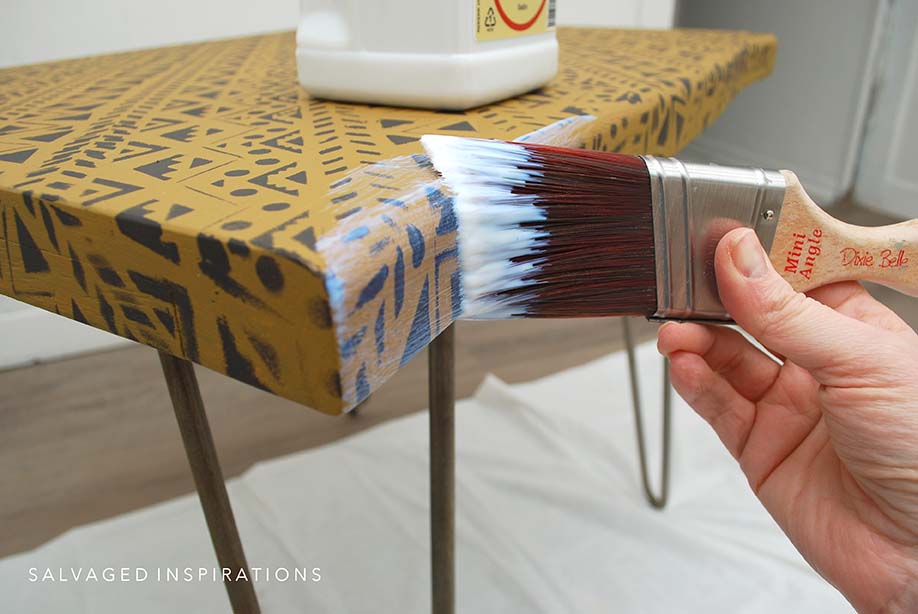
If your table or project is textured, like this table, the topcoat will look thicker in areas. No worries. Once it dries it all evens out and looks amazing.
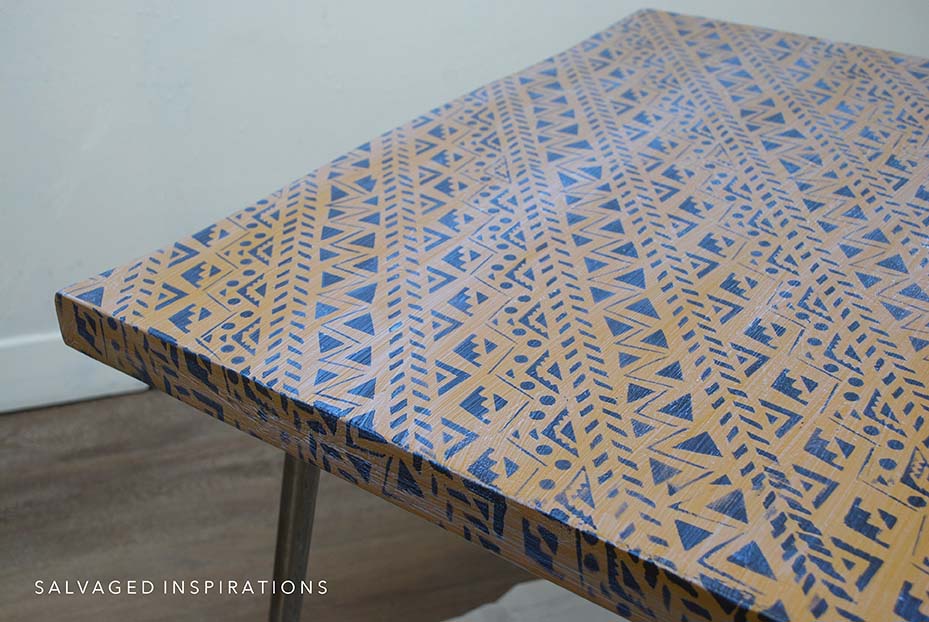
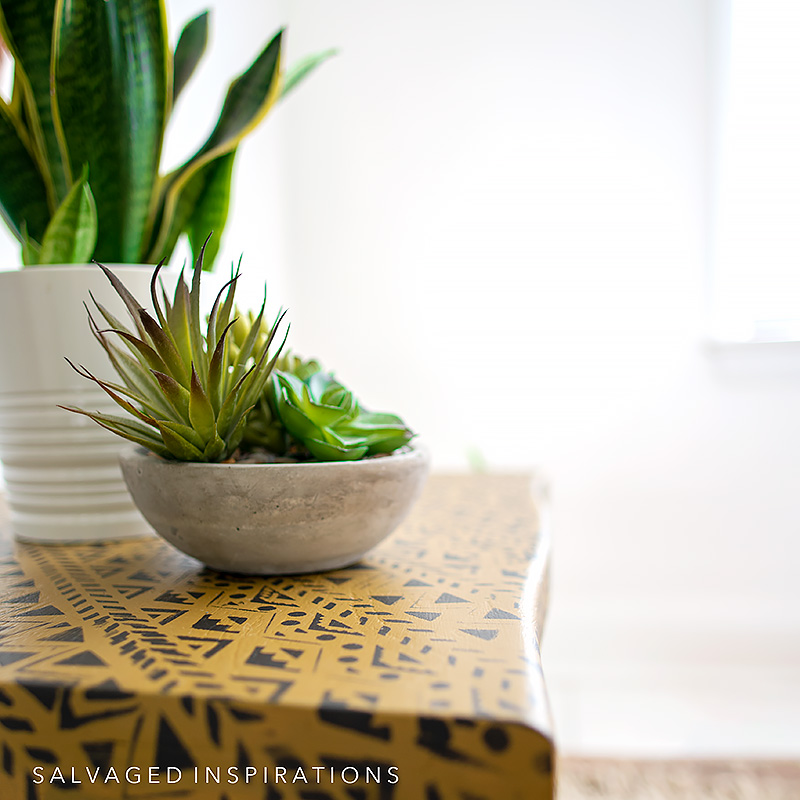
THE MUDLCOTH FINISH
Here’s the end result! I’m so happy I stepped out of my comfort zone to try this new color and stencil design!
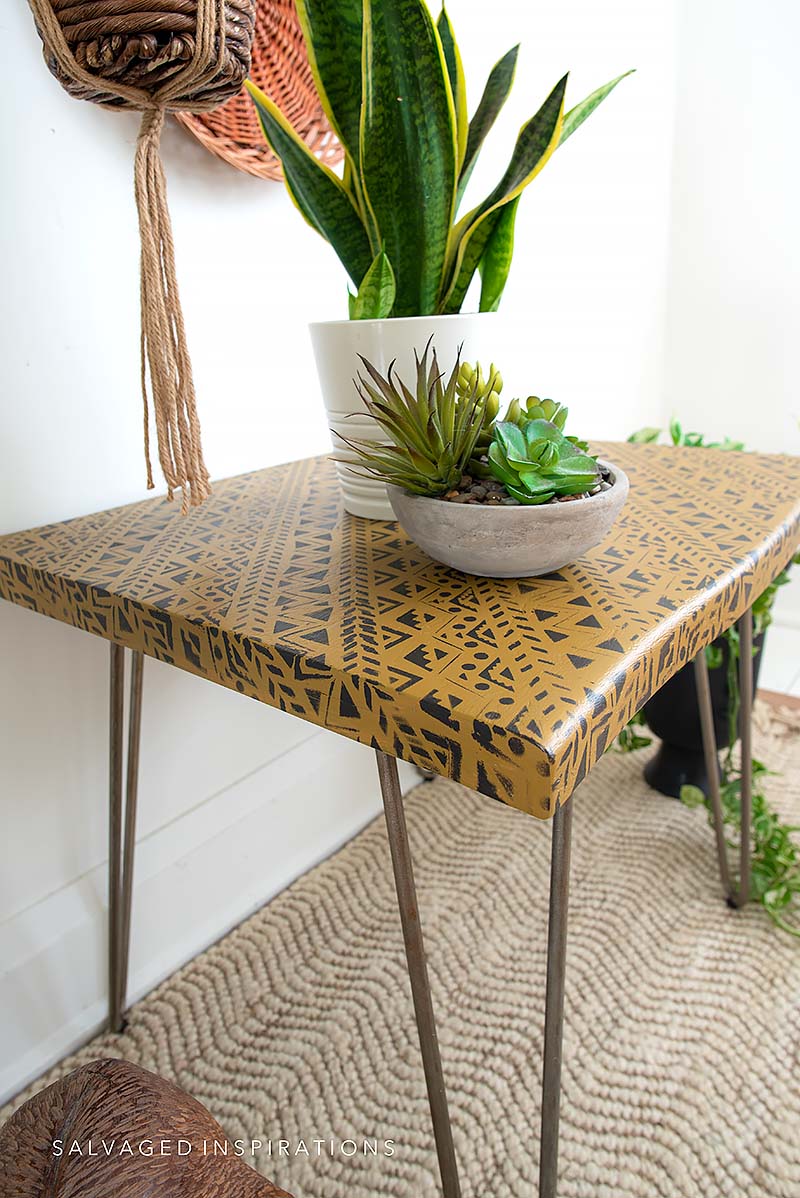
This is such a fun pattern and the color is gorgeous!
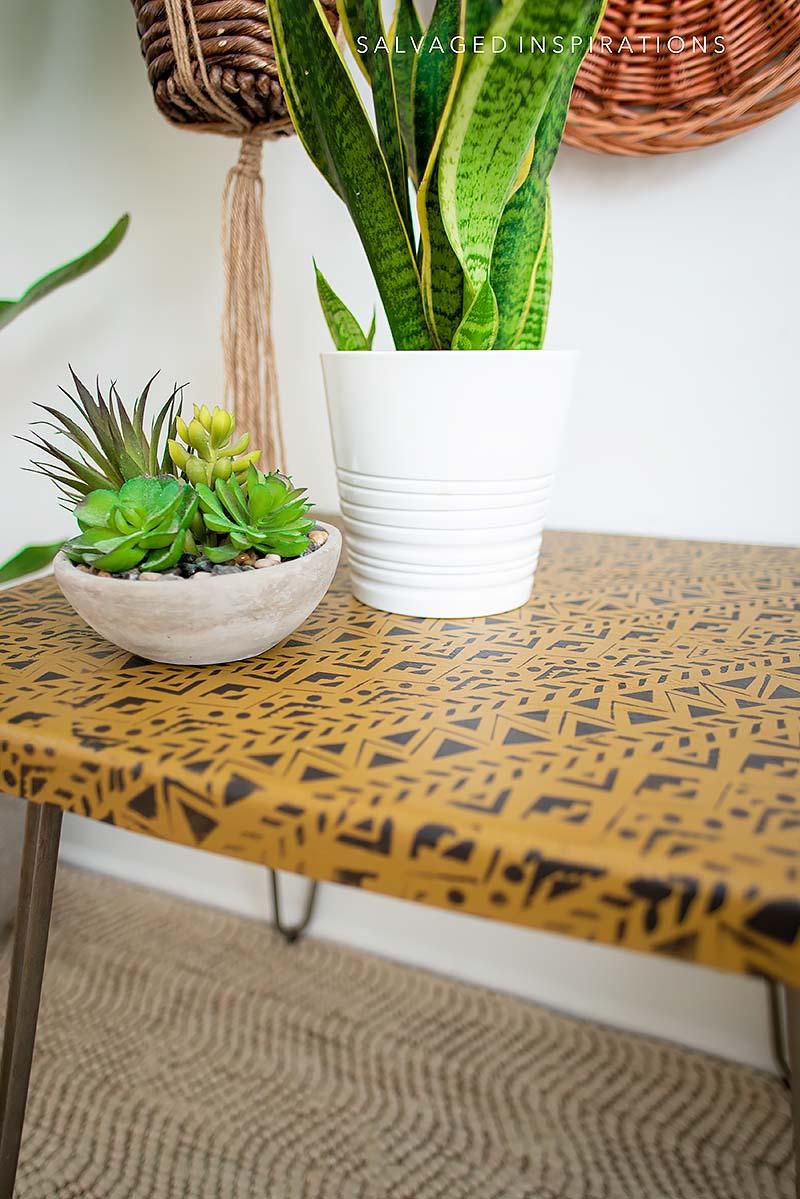
And check out the brushed on Satin Finish. It gives this piece a beautiful sheen when the light hits it but otherwise, it’s not too glossy.
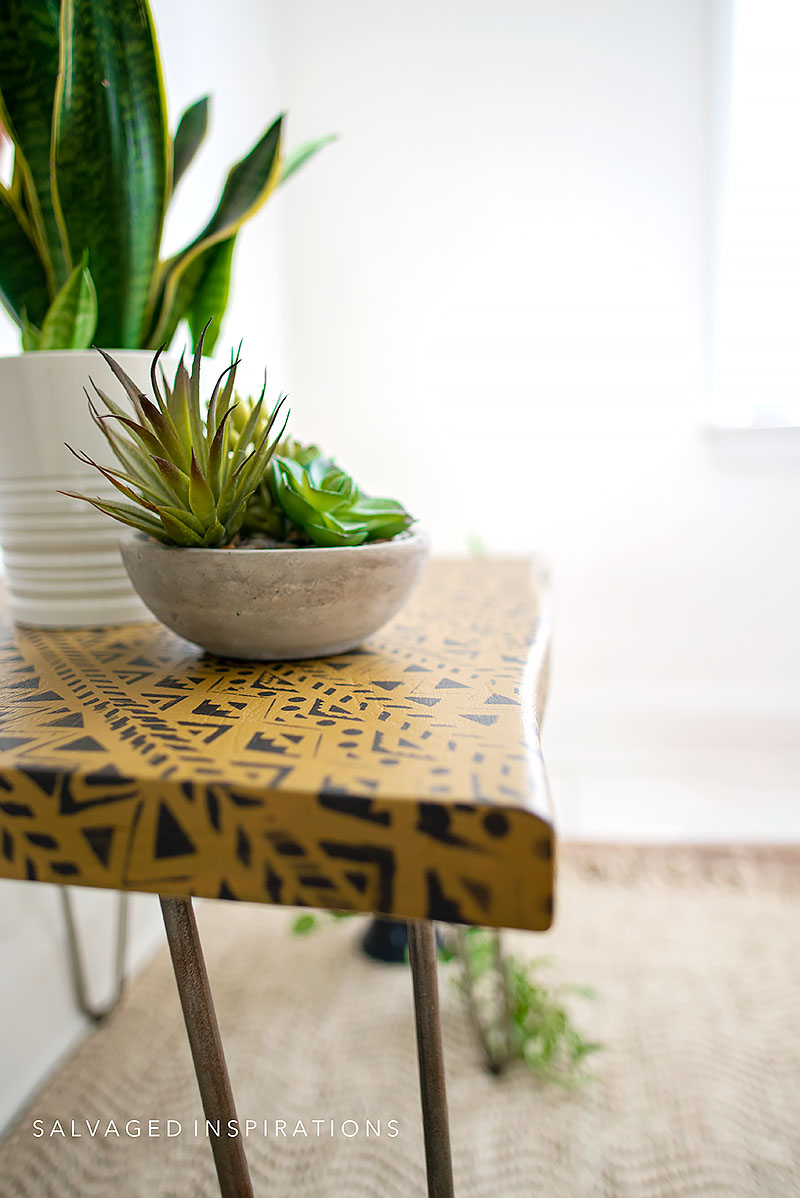
In the right decor, this little table will add so much character to a space!
YOUTUBE TUTORIAL
Here’s a step-by-step tutorial on Youtube. If you have any problems viewing below, feel free to watch it on my Youtube Channel here… and don’t forget to subscribe! I can’t believe I hit 12.5K Subs! So exciting, thank YOU! 🙂
AND NOW FOR SOME TRASH TO TREASURE FUN!
You’re going to LOVE what my creative team of Trash To Treasure ladies can do! Below are their BEFORE photos. Visit the links underneath to see the amazing AFTERS and learn how they did it! I’m heading over to take a peek as well! x
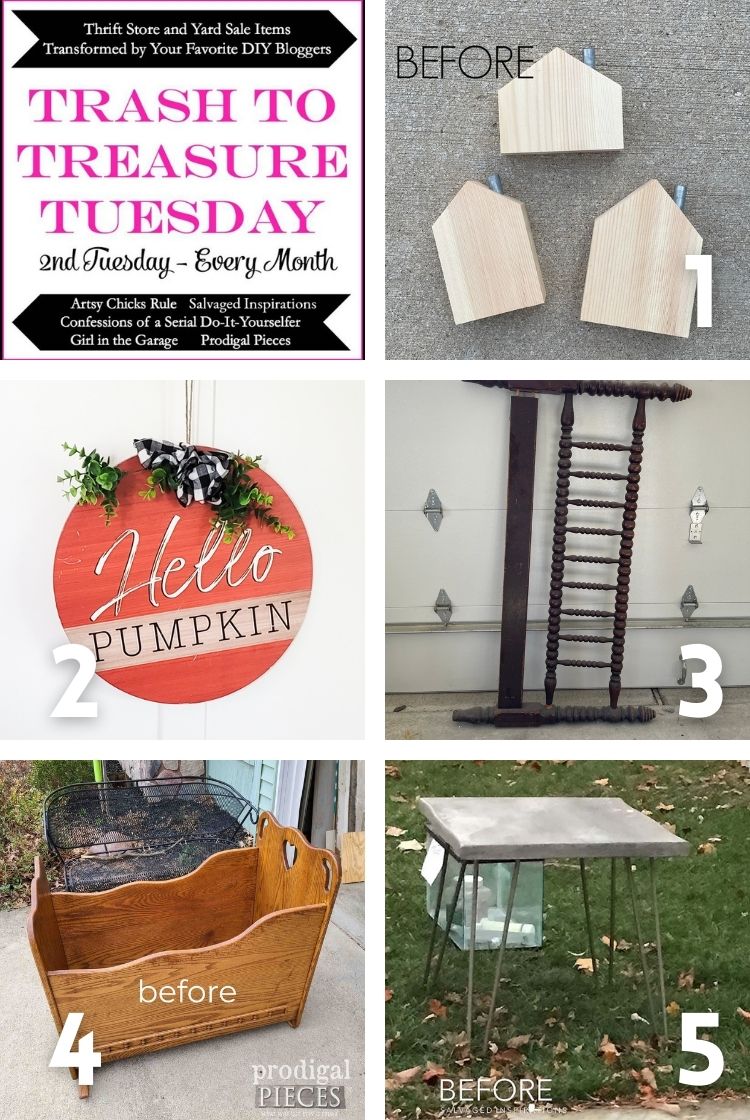
1. GIRL IN THE GARAGE
2. ARTSY CHICKS RULE
3. CONFESSIONS OF A SERIAL DIYER
4. PRODIGAL PIECES
5. SALVAGED INSPIRATIONS (HAPPY YOU’RE HERE!)
Here’s another look at this before and after. I hope it’s inspired you and given you some new ideas for your projects.
LET ME KNOW WHAT YOU THINK OF THIS MUDCLOTH STENCIL TABLE MAKEOVER PROJECT IN THE COMMENTS BELOW. ALSO, FEEL FREE TO ASK ANY QUESTIONS YOU MAY HAVE… I ALWAYS LOVE HEARING FROM YOU. IT MAKES MY DAY! 🙂
Happy furniture painting friends!
Denise x
RELATED POSTS::
7 FURNITURE STENCILING TIPS
RAISED STENCIL GOODWILL CABINET
HOW TO USE SILK SCREEN STENCILS
APPLYING A TEXTURED STENCIL
HOW TO STENCIL ON FURNITURE
PIN AND SHARE!

Hi Denise! I was just talking to one of my Interior Decorating friends today and she said that. The new trend will be rustic with a dark mustard colors. Well I guess you are one step ahead. I love love love how it turned out. I have this stencil. Just looking for the perfect piece. Congratulations on 12.6 Subscribers on You tube. I am one.of them,,
Hi Cheryl and good to know! This color intimidated me in the jar 😯 but I’m SO happy I tried it. I will definitely be using it again. Especially now that I know it’s trending! 😉 And thanks SO MUCH for subscribing Cheryl. I’m trying to be more consistent with videos and Youtube so your support means a lot. XOXO
What a great transformation! Love love the result – you are so good at seeing an object’s potential and coming up with a stunning design. This table turned out fantastic.
Thanks Marcia! It was fun to try something new. Plus, I get bored doing the same thing. Lol
What a cute accent table, Denise – and that stencil is pretty awesome! xo
It is awesome… I’m so happy I gave it a try! Thanks Jen! XOXO
Awesome, Love the new look! xo
Thanks Nancy! XOXO
What a great find! Hairpin legs are costly so you lucked out. I’ve always been attracted to ethnic patterns & mudcloths are right up there on my list. Love the colours you chose. 🥰🥰🥰
Hairpin legs are costly, aren’t they!? And I’m loving the mudcloth patterns as well. I’ve seen entire walls stenciled in it and it looks phenominal!
I tend towards neutrals, and love pretty accent pieces. 🙂
This deco table is a great piece now !!
i really like this Mohave dark mustard color ! Looks great with blues and black.
I haven’t seen these Mudcloth patterns. I love the structural graphic design. 🙂
I also agree – the diagonal layout adds so much interest.
You have a great eye for design !
Thanks for sharing.
p
Oh, I didn’t know this Mohave pairs well with blues… I have to give this a try! 🙂
I really like the way your table turned out. It has given me ideas……
Yaaaay, that’s what it’s all about! Thanks Barbara!
Great job stepping out of your comfort zone! My ‘steps’ dont usually turn out this beautiful. Another winner!!
Lol… some of mine don’t either but that’s okay. We both get an “A+” for effort! 😉 And I have to admit, when something doesn’t turn out – that’s when I learn the most!
Wow, I am so motivated to try this design, great color choice. Love your vision.
Thanks Susan! And if you give it a go have FUN!
Hey Denise,
You didn’t mention in this post what you did (if anything!) to those hairpin legs! Did they just get cleaned and left as is? Thanks for clarifying. As always, inspirationally beautiful design and work from you 🙂
Yes, exactly! They were in perfect condition and all it took was a good cleaning!
Love the color and the stencil! Great look!
Aw, thanks so much Gwen! XOXO
I agree with the others, the diagonal design is what makes it! What a fun piece it is now!! XOXO
Thanks Christy, it’s a fun design! XOXO
That was a great find for the legs alone! You have such a knack for original ideas, really cute!
Right!?!… those legs!🦵😃. If it doesn’t sell, I’m going to remove the legs and salvage the top into something else.🙌
Denise,
I realize that stenciling this on the vertical was a lot more difficult, but I do not think it would have worked as well if you had done it straight across. It has a snap to it that you would not have got the other way. I really like the colors you chose. I have a project in mind that the Mohave paint would work well on.
Thank you for the inspiration.
Michael
Thanks Michael and I agree… even though it was more work. If the table had straight edges all around, lining the stencil straight would have looked really good. I wasn’t so sure with the two ends that had the curves. Anyway, now that it’s done, I’m super pleased.😊
Love love love this!!! Can’t wait to try it myself.
Thanks Margaret and have fun! 🙂
Hi Denise. I love how you turned this table from drab and boring to fabulous. I think the extra work you put in to have the stencil on the diagonal looks amazing. Beautiful transformation:)
Aw, thanks Monique! I really like the look of the diagonal too but it wasn’t easy lining everything up with this patterned stencil. It was a lesson in patience. hehe
Not is that a sweet find, but even a sweeter update. Beautiful, Denise!
Thanks Larissa! XOXO