HERE ARE 12 FURNITURE PREPPING QUICK TIPS TO SAVE YOU TIME, EFFORT, MONEY AND WORRY!
 Hi, sweet #SIfamily! Furniture prep isn’t the ‘sexiest’ subject, but to get that gorgeous looking furniture we all want, prepping furniture is a MUST! Years ago, every week I featured a Quick Tip Tuesday. I thought it would be fun and helpful to revisit the popular prepping posts that have been helpful to me and my readers. Here are 12 Furniture Prepping Quick Tips I’ve rounded up from prior QTT posts to save you time, money, and get you that perfect painted finish!
Let’s get this roundup started…
TIP #1 ~ 15 PRO SANDING TIPS FOR SMOOTH FURNITURE
For a perfectly painted piece of furniture, the goal is to start with a smooth piece and provide a surface for the new paint to adhere to. In some cases, sanding isn’t necessary, but in most cases, a little scuff sand goes a long way. You don’t have to sand down to bare wood to get a flawless paint finish but here are 15 Sanding Tips and Pro Secrets to get a professional look.

If you’re not into sanding by hand or want to sand down to bare wood, below is a Youtube tutorial using my favorite sander.
TIP #2 ~ FURNITURE REPAIR WITH BONDO
Bondo is one of the most strong and versatile fillers I use. It dries super fast can be sanded and ready for paint or primer within 15-20 minutes. You can also use it for filling hardware holes or drill holes (through it) for new knobs and handles because it’s hard and durable!
Below are two of my favorite posts on Bondo repairs and a Youtube Tutorial.
Amazing Non-Stick Bondo & Filler Repairs
Furniture Repair – Bondo vs Wood Filler
TIP #3 ~ GET ORGANIZED – 7 EASY TIPS
I’ll admit when I’m working on my furniture projects, my studio gets messy. Pulling out different colors and brushes is all part of my creative process. But the truth is the more organized my space is, the more organized my mind. That’s why after EVERY piece of furniture I paint, I take the time to clean my studio for the next project. An organized workspace saves time and energy and it’s a lot safer to work in as well! Here are 7 Easy Tips to Get Your Workspace Organized.
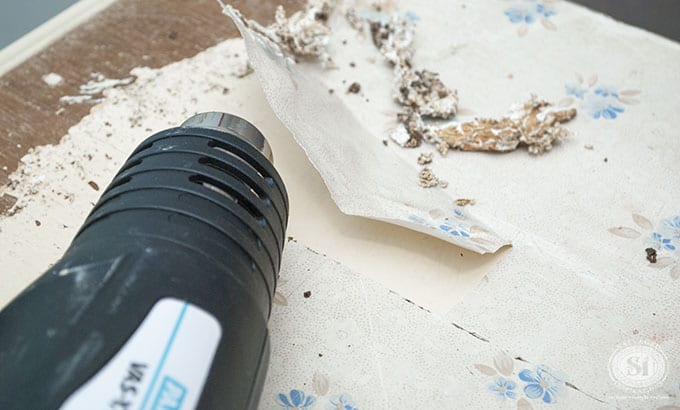
TIP #4 ~ REMOVING STICKERS AND RESIDUE
I can’t tell you how many times I’ve had to remove children’s stickers, price tags, tape, or other sticky things. Here are some great quick tips on How To Remove Stickers and Residue easily… without ruining your piece!
TIP #5 ~ HOW TO REMOVE CONTACT PAPER IN MINUTES
Removing contact paper can be a job and a half — especially if it’s been adhered for years. Here’s my secret weapon that removes contact paper in minutes!
TIP #6 ~ HOW TO REMOVE GLASS FROM OLD CABINETS
When I started painting furniture, I found one of the scariest things about painting older china cabinets was removing the glass or fretwork. It was nerve-wracking thinking I might break the glass or fretwork and ruin the piece. But it’s actually not that difficult! Here’s a guide to help you remove the glass from your vintage china cabinets.

TIP #7 ~ WET PAINT BRUSH STORAGE
I don’t like spending my creative time cleaning brushes, trays, and rollers between each coat of paint. Wet Paint Brush Storage is an easy solution that can save you precious time by eliminating extra clean-up!
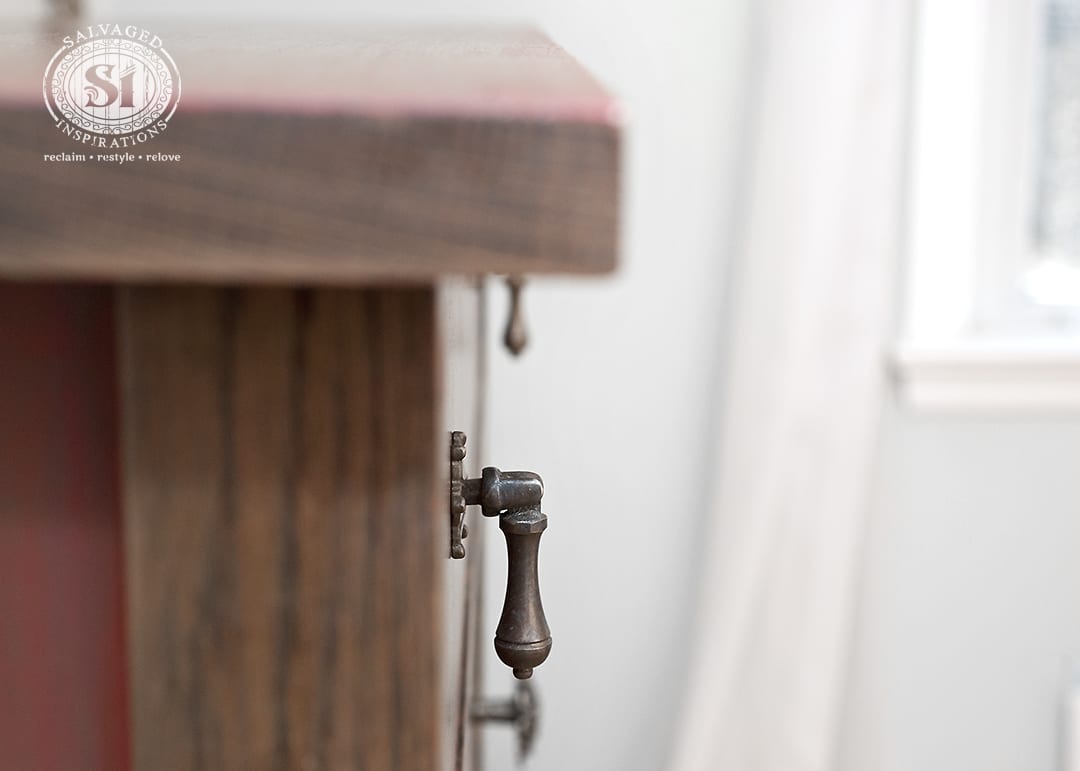
TIP #8 ~ BEST PLACES TO BUY FURNITURE HARDWARE
Furniture hardware can make a HUGE impact on your furniture makeovers. So to save you some time and money searching for the perfect hardware, here are my favorite places to buy my hardware along with a free downloadable list you can keep on hand.
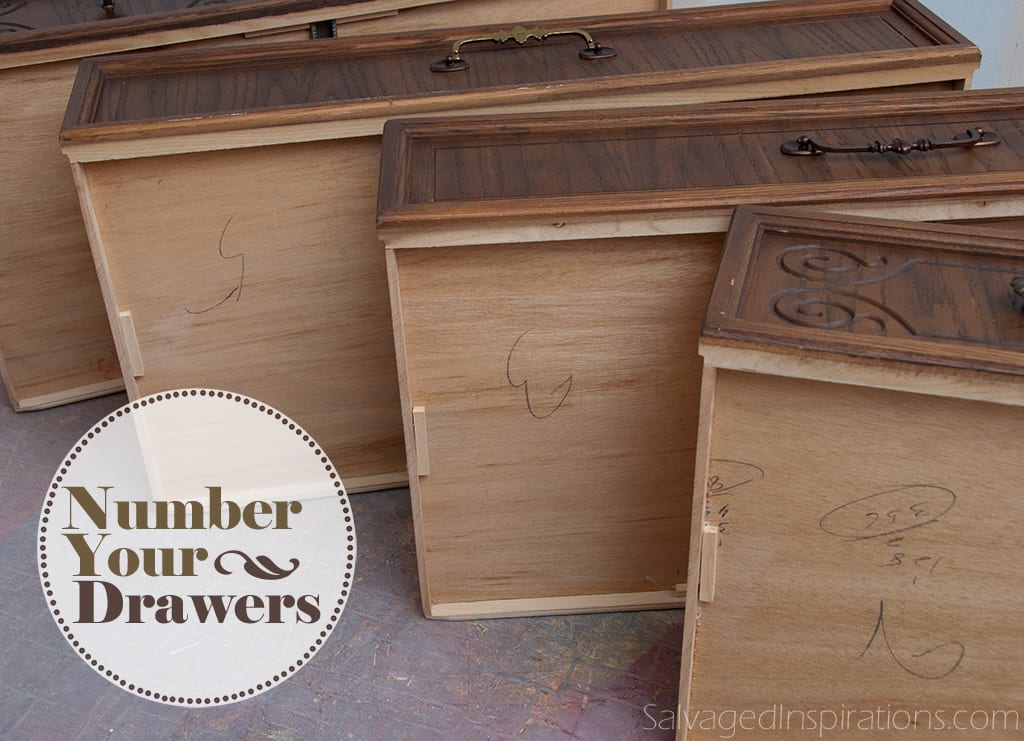
TIP #9 ~ NUMBER DRAWERS
Furniture drawers can be finicky especially when working on older or vintage pieces. A simple tip to avoid mixing drawers up is to number them on the back. This avoids the aggravation of sticking drawers or repairing drawers that don’t really need any repair!
TIP #10 ~ ROAD RESCUE TOOLS
Some of my most fun and satisfying makeovers have been roadside rescues… or as I like to call it — curb shopping. Here’s a list of my must-have tools that make furniture hunting and painting so much easier. The best way to start any project is to be readily equipped.
TIP #11 ~ LAMINATE VS VENEER
When I first started working with furniture, I had NO idea what laminate or veneers actually were… or the different prep that was required for each. I found out it’s important to identify and be familiar with the kind of furniture finish you have. If you don’t know what you are working with, it’s easy to prep incorrectly and this can ruin your entire piece. Here’s a tutorial on The Difference Between Veneer & Laminate Furniture.
TIP #12 ~ FEED YOUR CREATIVITY
Here’s a simple blog post on how I recharge my creativity. I hope it inspires you!
BONUS #1~ STAIN BLOCK & STOP BLEED-THROUGH
Bleedthrough can be a huge problem when painting wood. The wood tannins can seep through your finish and cause a blotchy mess on your new finish. Here’s how to Stain Block and Stop Bleed-Through along with a BIN Shellac Step-by-Step Youtube Video below.
BONUS #2~ FIX MUSTY SMELLING FURNITURE
Here’s an amazing tutorial on How To Get Rid of Musty Smells From Wood Furniture. Be sure to read through the comments because there are SO MANY amazing tips and tricks readers have added!
Thanks so much for joining me today. I’ll be back next Tuesday with my talented Trash to Treasure Crew. See you then!
Happy furniture painting my friends!
Denise x

is it safe to use Bondo wood filler on children’s furniture? Having some repainted but they said they would also have to use the Bondo filler 🙁
Hi Ann. Once it’s fully dried, cured, primed and painted, I’ve never heard of any issues.
Great tips Denise 👍👍
Thanks Annie! XOXO
Thanks !!!!
Not only do you provide excellent creative tutorials, you’re also sharing your experience and tips w us DIYers .
So Generous !! Maybe you should compile a book. I’d surely buy it. 😉
You do such beautiful work. Thanks for being such a good teacher as well.
p
Thank you SO much! I’m really happy you’re finding the tutorials helpful… even my mishaps! 😉
Hi Denise. These are all great tips. Very helpful and informative. My favorite tip is numbering the back of drawers. Such a simple thing to do yet can save a ton of time and irritation. Love it!
Thanks, Monique! And ya, super simple and its saved me a ton of work throughout the years!
Loved ALL your QTT’s. Thanks for all you do and share! ~ Nicki
Thanks so much Nicki! XOXO
This is fabulous! Since I’m a fairly new blogger (just a few months), I love these tips. You sent me one about cutting down the length of knob screws. It is so handy. Love seeing you bring this back. I would like to see one on different types of sand paper too, although I think you already did this. LOL! Have a great day. See you on Thursday.
I’m so happy Kathy the tips are helpful and congrats on your NEW blog, how exciting! I think you’re referring to this post on shortening screws. I could have added it to the list so I’ll link it here. Also, great idea on the sandpaper tutorial… love this idea, thank you!
I purchased a pair of unfinished end tables and I’m ready to chalk paint white. These tables are rubberwood, other than sanding any extra prep needed?
Hi Linda! If you’re going with white, I would use a primer to seal before painting. 🙂
RUBBERWOOD? I’m not familiar with that term, could you explain it please?
Hi Sharon! Rubberwood is another name for Parawood. It’s light in color, dense, and fairly inexpensive compared to some other hardwoods. I believe they call it rubberwood because the tree seeps out a milky sap that they make latex and rubber from. 🙂
I love your tips, especially the one about Bondo! What do you recommend for dove tail joints in drawers that keep coming apart? I tried wood glue and clamps. It lasted a while then came apart again.
Thanks!
Hi Vee! Glue and clamps usually do the trick. I’ve been using this Titebond Glue… works amazing! If that’s not enough support I use my pin nailer to add a few pin nails to hold it together. 🙂